
Introduction: Techniques for Making Balloon Animals and Shapes
As a professional balloon twister with over 10 years of experience, I have learned the art of creating various balloon animals and shapes. Balloon twisting is an exciting and fun way to entertain kids and adults at parties, events, and gatherings. It’s also a great way to express your creativity and imagination.
When I first started, I struggled to understand the techniques and methods required to make different balloon designs. But with practice and patience, I was able to master the skills necessary to create intricate balloon sculptures that would amaze and impress my audience.
My Experience with Balloon Twisting
Over the years, I have created various balloon designs, from simple animals like dogs and cats to complex shapes like motorcycles and airplanes. I have also had the opportunity to teach others the art of balloon twisting, which has been a rewarding experience.
In this article, I will be sharing my tips and techniques for creating balloon animals and shapes. Whether you’re a beginner or an experienced twister, this guide will provide you with the knowledge and skills needed to create beautiful and impressive balloon sculptures.
So, let’s get started!
Getting Started with Balloon Twisting
Before you start twisting balloons into fun shapes and animals, it is important to have the right materials and equipment. Here are some tips to help you get started:
Choosing the Right Balloons
Not all balloons are created equal when it comes to balloon twisting. The most important factor is the balloon’s size and shape. For beginners, it is recommended to use standard 260Q balloons, which are long and thin. These balloons are easy to work with and can be used to make a variety of shapes and animals.
You should also consider the quality of the balloons. Look for balloons made from high-quality latex that are specifically designed for balloon twisting. Cheaper balloons may break or burst easily, making it difficult to create intricate designs.
Inflating the Balloons
When inflating your balloons, it is important to leave enough space at the end for twisting and tying. A good rule of thumb is to leave about 2-3 inches of uninflated balloon at the end. This will give you enough room to work with and prevent the balloon from bursting.
It is also important to inflate your balloons evenly. Use a pump or your mouth to inflate the balloon slowly and steadily, making sure that both ends of the balloon are inflated evenly.
Tying the Balloons
Once your balloon is inflated, it is time to tie it off. Hold the balloon tightly at the end and twist it once or twice to create a small bubble. Then, fold the bubble over and twist it onto the main part of the balloon to create a knot. Make sure the knot is tight and secure, otherwise your balloon creation may deflate or come apart.
By following these simple tips, you can ensure that you have the right materials and equipment to get started with balloon twisting. With a little practice and patience, you will be able to create a wide range of shapes and animals that will impress your friends and family.
Basic Balloon Twisting Techniques
If you want to learn balloon twisting, you need to start with the basic techniques. Balloon twisting involves inflating balloons and twisting them into various shapes and animals. Here are the basic balloon twisting techniques that you need to know:
The Basic Twist
The basic twist is the foundation of all balloon twisting techniques. To create a basic twist, you need to hold the balloon at the nozzle and twist it several times to create a bubble. Then, you need to hold the bubble and twist the balloon again to create another bubble. Repeat this process until you have the desired length of the balloon.
The Lock Twist
The lock twist is used to secure the balloon and prevent it from untwisting. To create a lock twist, you need to hold the balloon at the nozzle and twist it several times to create a bubble. Then, you need to fold the bubble in half and twist the two ends together. This will create a lock that will prevent the balloon from untwisting.
The Fold Twist
The fold twist is used to create angles and joints in balloon models. To create a fold twist, you need to hold the balloon at the nozzle and twist it several times to create a bubble. Then, you need to fold the bubble in half and twist the two ends together. This will create a joint that you can use to create angles and bends in your balloon model.
By mastering these basic balloon twisting techniques, you will be able to create a wide variety of balloon animals and shapes. Practice these techniques until you can do them without thinking, and then move on to more advanced techniques.

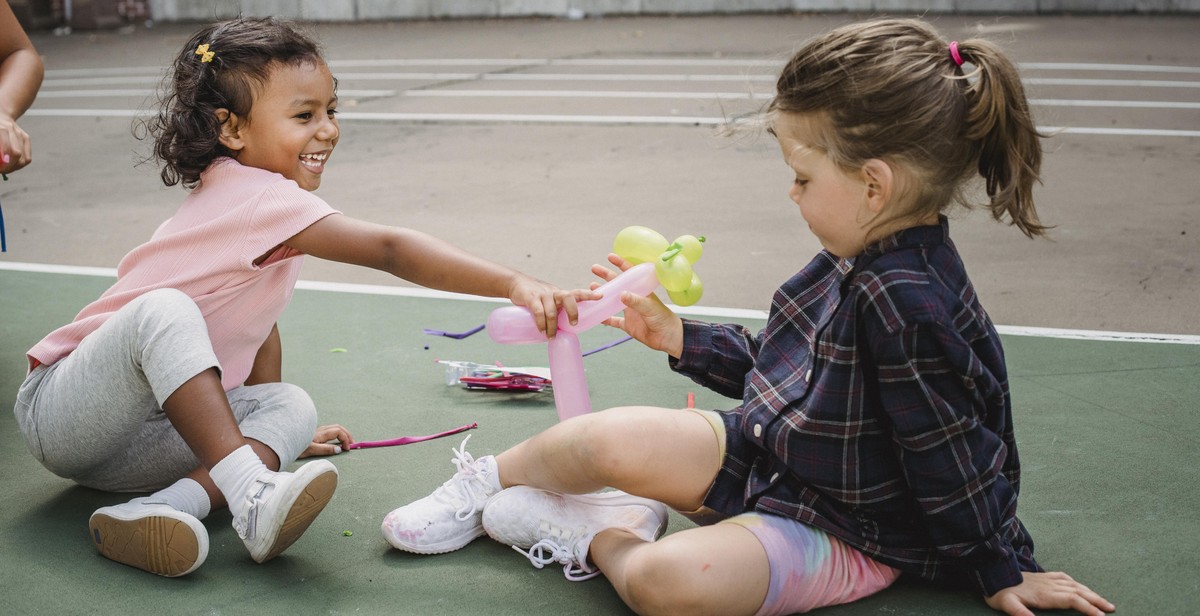
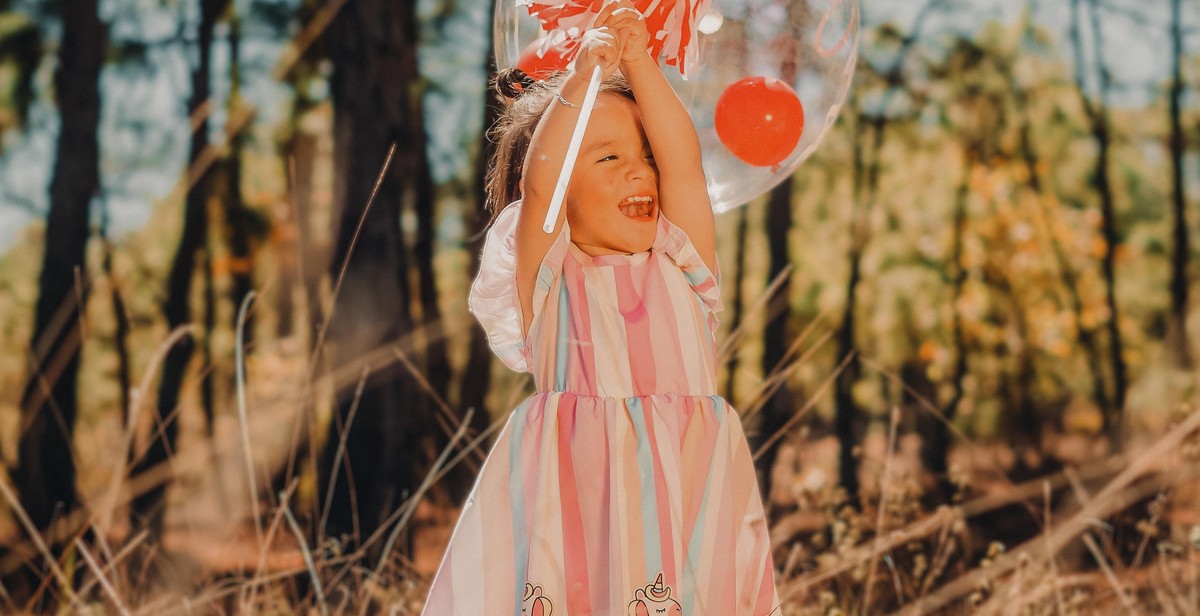
Making Balloon Animals and Shapes
Balloon twisting, also known as balloon sculpting, is the art of twisting and shaping balloons into various shapes and designs. It’s a fun activity that both kids and adults can enjoy. In this section, we will discuss the techniques for making some of the most popular balloon animals and shapes.
Dog
The dog is a classic balloon animal that is easy to make. Start by inflating a balloon leaving about 3 inches at the end. Tie a knot at the end of the balloon. Fold the balloon in half, leaving about 2 inches from the knot. Twist the folded part to create a loop, then twist the loop to create the dog’s head. Twist the remaining part of the balloon to create the dog’s body and legs. Finally, twist the end of the balloon to create the dog’s tail.
Swan
The swan is a beautiful balloon animal that requires a bit more skill. Inflate a balloon leaving about 4 inches at the end. Tie a knot at the end of the balloon. Fold the balloon in half, leaving about 2 inches from the knot. Twist the folded part to create a loop, then twist the loop to create the swan’s head and neck. Twist the remaining part of the balloon to create the swan’s body and wings. Finally, twist the end of the balloon to create the swan’s tail.
Flower
The flower is a simple balloon shape that is perfect for decorating. Inflate a balloon leaving about 2 inches at the end. Tie a knot at the end of the balloon. Twist the balloon in half, then twist the two halves together to create a loop. Twist the loop to create the flower’s petals. Finally, twist the remaining part of the balloon to create the flower’s stem.
Sword
The sword is a popular balloon shape that is great for kids. Inflate a balloon leaving about 6 inches at the end. Tie a knot at the end of the balloon. Twist the balloon in half, then twist the two halves together to create a loop. Twist the loop to create the sword’s handle. Finally, twist the remaining part of the balloon to create the sword’s blade.
Heart
The heart is a classic balloon shape that is perfect for Valentine’s Day. Inflate a balloon leaving about 4 inches at the end. Tie a knot at the end of the balloon. Fold the balloon in half, leaving about 2 inches from the knot. Twist the folded part to create a loop, then twist the loop to create the heart’s top. Twist the remaining part of the balloon to create the heart’s bottom.
| Animal/Shape | Balloon Color | Difficulty Level |
|---|---|---|
| Dog | Brown or White | Easy |
| Swan | White | Intermediate |
| Flower | Assorted Colors | Easy |
| Sword | Assorted Colors | Easy |
| Heart | Red or Pink | Easy |
Advanced Balloon Twisting Techniques
If you’re looking to take your balloon twisting skills to the next level, there are a few advanced techniques you should learn. These techniques require a bit more practice and skill, but they can create some truly impressive balloon animals and shapes.
The Pinch Twist
The pinch twist is a technique that allows you to create more intricate shapes and designs with your balloons. To perform a pinch twist, you’ll need to create a basic twist in your balloon, leaving a small bubble at the end. Then, using your fingers, pinch the bubble to create a small twist. This will create a joint in your balloon that you can use to add more bubbles and twists.
The pinch twist is a versatile technique that can be used to create all sorts of shapes and designs. For example, you can use it to create arms and legs for your balloon animals, or to add details like ears or horns.
The Roll Through
The roll through is a technique that allows you to create smooth, curved shapes in your balloons. To perform a roll through, you’ll need to create two basic twists in your balloon, leaving a small bubble in between. Then, roll the two twists towards each other, creating a smooth, curved shape in your balloon.
The roll through is a great technique for creating things like balloon flowers or curved tails for your balloon animals. With a bit of practice, you can create some truly impressive designs using this technique.
The Pop Twist
The pop twist is a technique that allows you to create bubbles within bubbles in your balloons. To perform a pop twist, you’ll need to create a basic twist in your balloon, leaving a small bubble at the end. Then, using your fingers or a balloon twister’s tool, push the small bubble back into the larger bubble. This will create a small bubble within the larger one, which you can then twist to create a joint.
The pop twist is a fun technique that can add some extra flair to your balloon designs. For example, you can use it to create eyes or nostrils on your balloon animals, or to add extra detail to your balloon flowers.
| Technique | Description |
|---|---|
| Pinch Twist | A technique for creating joints in your balloons, allowing you to create more intricate shapes and designs. |
| Roll Through | A technique for creating smooth, curved shapes in your balloons. |
| Pop Twist | A technique for creating bubbles within bubbles in your balloons, adding extra detail to your designs. |
Tips and Tricks for Balloon Twisting
Balloon twisting is a fun and creative activity that requires patience and practice. Here are some tips and tricks to help you improve your balloon twisting skills:
Practice, Practice, Practice
Like any skill, balloon twisting requires practice to master. Start with simple shapes and gradually work your way up to more complex designs. Don’t get discouraged if your first attempts don’t turn out perfectly. Keep practicing and you will improve over time.
Use Reference Material
There are many resources available to help you learn new balloon twisting techniques. Books, online tutorials, and videos can all be helpful in providing inspiration and guidance. Take advantage of these resources to expand your repertoire of balloon animal and shape designs.
Don’t Overinflate the Balloons
Overinflating balloons can cause them to burst or become misshapen. Use a pump to inflate your balloons to the appropriate size and avoid overinflating them.
Have Fun!
Remember, balloon twisting is supposed to be a fun and entertaining activity. Don’t get too caught up in creating the perfect design. Enjoy the process and have fun with it!
| Tip | Description |
|---|---|
| Practice, Practice, Practice | Practice is key to improving your balloon twisting skills. |
| Use Reference Material | Books, online tutorials, and videos can help you learn new techniques. |
| Don’t Overinflate the Balloons | Use a pump to inflate balloons to the appropriate size to avoid bursting or misshaping. |
| Have Fun! | Remember to enjoy the process and have fun with balloon twisting. |