
How to Paint Your Kitchen Cabinets for a Fresh Look
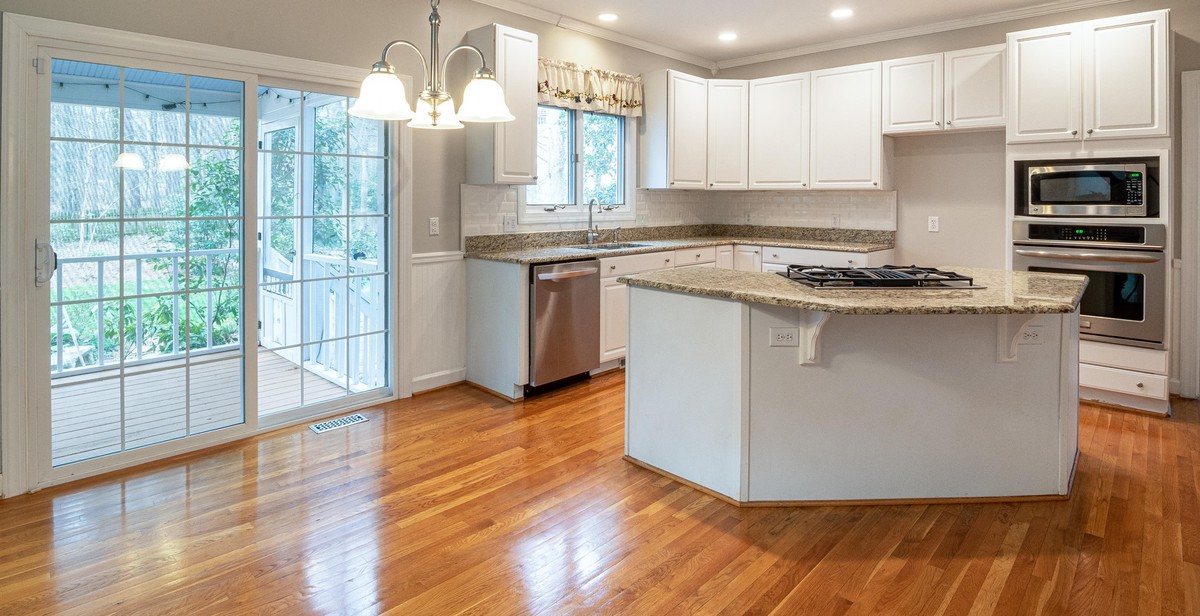
If you’re looking to give your kitchen a fresh new look without having to undergo a full renovation, painting your kitchen cabinets can be a great solution. Not only is it a cost-effective option, but it can also be a fun and rewarding DIY project.
Why Paint Your Kitchen Cabinets?
- Cost-effective: Painting your kitchen cabinets is a much more affordable option compared to replacing them entirely.
- Customizable: You can choose any color or finish that you want, giving you full control over the look and feel of your kitchen.
- Quick and easy: Painting your cabinets can be done in just a few days, making it a quick and easy way to update your kitchen.
- Increased home value: A fresh coat of paint can do wonders for the overall look and feel of your kitchen, which can increase the value of your home.
However, painting your kitchen cabinets can be a daunting task, especially if you’ve never done it before. But with the right tools and techniques, it can be a fun and rewarding project that can transform your kitchen into the space you’ve always dreamed of.

How to Paint Your Kitchen Cabinets for a Fresh Look
If you’re looking for a budget-friendly way to give your kitchen a fresh look, painting your cabinets is a great option. Not only is it a cost-effective alternative to replacing your cabinets entirely, but it also allows you to customize the look and feel of your kitchen. In this article, we’ll guide you through the step-by-step process of painting your kitchen cabinets.
Step 1: Preparation
Before you start painting your kitchen cabinets, it’s important to prepare the area and gather all the necessary materials. Here’s what you’ll need:
- Paint brushes
- Roller brush
- Primer
- Paint
- Sandpaper (medium and fine grit)
- Screwdriver
- Tape
- Detergent
- Cloth or sponge
Once you have all the materials, you can start preparing your cabinets for painting. Here are the steps:
Gather Your Materials
Make sure you have all the necessary materials before you start painting. This will save you time and make the process smoother.
Remove Cabinet Doors and Hardware
Use a screwdriver to remove the cabinet doors and hardware. This will make it easier to paint the cabinets and ensure that you don’t accidentally paint over the hardware.
Clean and Sand the Cabinets
Use a detergent and cloth or sponge to clean the cabinets thoroughly. This will remove any dirt, grease, or grime that could interfere with the painting process. Once the cabinets are clean, use medium and fine grit sandpaper to sand them down. This will create a rough surface that the primer and paint can adhere to.
By following these preparation steps, you’ll be ready to move on to the next step of the painting process: applying primer. Stay tuned for our next section on how to apply primer to your kitchen cabinets.
Step 2: Prime the Cabinets
Priming your kitchen cabinets is an essential step in the process of painting them. A high-quality primer will help the paint adhere to the surface and prevent it from chipping or peeling off. Here’s what you need to know about priming your cabinets:
Choose the Right Primer
When choosing a primer for your kitchen cabinets, it’s important to select one that is specifically designed for use on wood surfaces. Look for a primer that is labeled as “high adhesion” or “bonding” to ensure that it will stick to the surface of your cabinets.
If your cabinets have a glossy or shiny finish, you’ll also want to choose a primer that is designed to work on slick surfaces. This will help the primer adhere to the surface and create a smooth base for the paint.
Apply the Primer
Before applying the primer, make sure your cabinets are clean and free of dirt, grease, and other debris. Use a degreasing cleaner to remove any grease or grime that may be on the surface.
Once your cabinets are clean, you can begin applying the primer. Use a brush or a roller to apply a thin, even coat of primer to the surface of the cabinets. Make sure to cover all areas, including the corners and edges.
Allow the primer to dry completely before applying the paint. This will typically take between 2-4 hours, but be sure to check the manufacturer’s instructions for specific drying times.
- Choose a primer specifically designed for use on wood surfaces.
- Look for a primer labeled as “high adhesion” or “bonding.”
- Choose a primer designed to work on slick surfaces if your cabinets have a glossy finish.
- Clean your cabinets before applying the primer.
- Apply a thin, even coat of primer using a brush or roller.
- Allow the primer to dry completely before painting.
By following these steps, you’ll be well on your way to achieving a fresh, new look for your kitchen cabinets.
Step 3: Paint the Cabinets
Now that you have prepared your cabinets, it’s time to apply the paint. Here are the steps to follow:
Choose the Right Paint
Choosing the right paint is crucial for a successful cabinet painting project. You want a paint that is durable, easy to clean, and has a smooth finish. Here are some options to consider:
- Oil-based paint: This type of paint is durable and easy to clean. However, it takes longer to dry and has a strong odor.
- Water-based paint: This type of paint dries faster and has less odor than oil-based paint. However, it may not be as durable.
- Chalk paint: This type of paint is popular for its matte finish and easy application. However, it may require a wax or sealant to protect the finish.
Consider your personal preference and the needs of your kitchen when choosing the paint for your cabinets.
Apply the Paint
Now that you have chosen the right paint, it’s time to apply it to your cabinets. Here are the steps to follow:
- Start with the back of the cabinet doors and drawers. Use a brush or roller to apply a thin, even coat of paint. Allow the paint to dry completely before flipping the doors and drawers over to paint the front.
- Paint the cabinet frames. Use a brush or roller to apply a thin, even coat of paint. Be sure to paint any areas that will be visible when the cabinets are installed.
- Apply a second coat of paint. Once the first coat is dry, apply a second coat of paint to ensure a smooth, even finish. Allow the paint to dry completely before handling the cabinets.
Remember to follow the manufacturer’s instructions for drying time and clean-up.
Conclusion
With these simple steps, you can give your kitchen cabinets a fresh new look. Remember to choose the right paint and apply it carefully for the best results.
Step 4: Reattach Doors and Hardware
After allowing the paint to dry for at least 24 hours, it’s time to reattach the doors and hardware. This is the final step in the process of painting your kitchen cabinets for a fresh look. Here’s how to do it:
1. Organize the Hardware
Before you start reattaching the hardware, organize them according to their corresponding cabinets. This will make the process much easier and faster. Use a small plastic bag or container to keep the screws and other small pieces of hardware together.
2. Reattach the Hinges
Start by reattaching the hinges to the cabinet frame. Use a drill to screw the hinges back into place. Make sure that the hinges are properly aligned with the holes on the frame to ensure that the doors will open and close smoothly.
3. Reattach the Doors
Once the hinges are securely attached to the cabinet frame, it’s time to reattach the doors. Ask a friend or family member to hold the door in place while you attach the hinges to the door. Use a drill to screw the hinges into the door. Make sure that the door is properly aligned with the frame and that it opens and closes smoothly.
4. Reattach the Hardware
After the doors are securely attached to the cabinet frame, it’s time to reattach the hardware. Use a screwdriver to attach the knobs or pulls to the doors. Use the plastic bag or container you used earlier to keep the screws and other small pieces of hardware together.
5. Test the Doors
Once you’ve reattached all the doors and hardware, test the doors to make sure that they open and close smoothly. If any adjustments need to be made, use a screwdriver to make these adjustments.
Congratulations! You’ve successfully painted your kitchen cabinets for a fresh look.
Conclusion
Painting your kitchen cabinets can be a great way to give your kitchen a fresh new look without breaking the bank. It may seem like a daunting task, but with the right tools and techniques, it can be a fun and rewarding DIY project.
Benefits of Painting Your Kitchen Cabinets
- Cost-effective way to update your kitchen
- Allows for customization and personalization of your space
- Can increase the value of your home
- Provides a fresh and clean look to your kitchen
Important Considerations
Before embarking on your kitchen cabinet painting project, there are a few important considerations to keep in mind:
- Proper preparation is key to a successful outcome
- Choosing the right type of paint and finish is important
- Invest in quality tools and materials for the best results
Enjoy Your Fresh New Kitchen!
Once you’ve completed your kitchen cabinet painting project, take a step back and admire your hard work. Your fresh new kitchen will not only look great, but it will also provide a renewed sense of pride in your home. With proper care and maintenance, your newly painted kitchen cabinets will continue to look great for years to come.
| Tool/Material | Cost |
|---|---|
| Paint | $30-$50 per gallon |
| Paintbrushes | $10-$20 per set |
| Paint rollers | $10-$20 per set |
| Sandpaper | $5-$10 per pack |
| Tape | $5-$10 per roll |