How to Master Night Photography: Techniques for Capturing Stunning Low-Light Shots
Photography is an art, and mastering it takes time and practice. Night photography, in particular, can be challenging due to the limited light sources available. However, with the right techniques and equipment, you can capture stunning low-light shots that will leave your audience in awe.
Understanding the Basics of Night Photography
Before you can master night photography, you need to understand the basics. Night photography involves capturing images in low-light conditions, which means you need to adjust your camera settings accordingly. This includes adjusting your ISO, aperture, and shutter speed to allow more light into your camera.
Equipment You Need for Night Photography
While you can take night photos with any camera, having the right equipment can make a significant difference in the quality of your images. You will need a tripod to keep your camera steady, a remote shutter release to avoid camera shake, and a lens with a wide aperture to allow more light into your camera.
Techniques for Capturing Stunning Night Photos
Once you have the right equipment and understand the basics, you can start experimenting with different techniques to capture stunning night photos. This includes playing with long exposures, using light painting techniques, and capturing the night sky with astrophotography.
- Long Exposures: By using a long exposure, you can capture the movement of light in a scene, creating stunning and dynamic images.
- Light Painting: This technique involves using a light source to paint or draw in the scene while the camera’s shutter is open, creating unique and creative images.
- Astrophotography: Capturing the night sky and stars requires a long exposure, a wide aperture, and a high ISO. This technique can produce breathtaking images of the galaxy and the Milky Way.
With these techniques and tips, you can master night photography and capture stunning low-light shots that will leave your audience in awe.
Understanding Night Photography
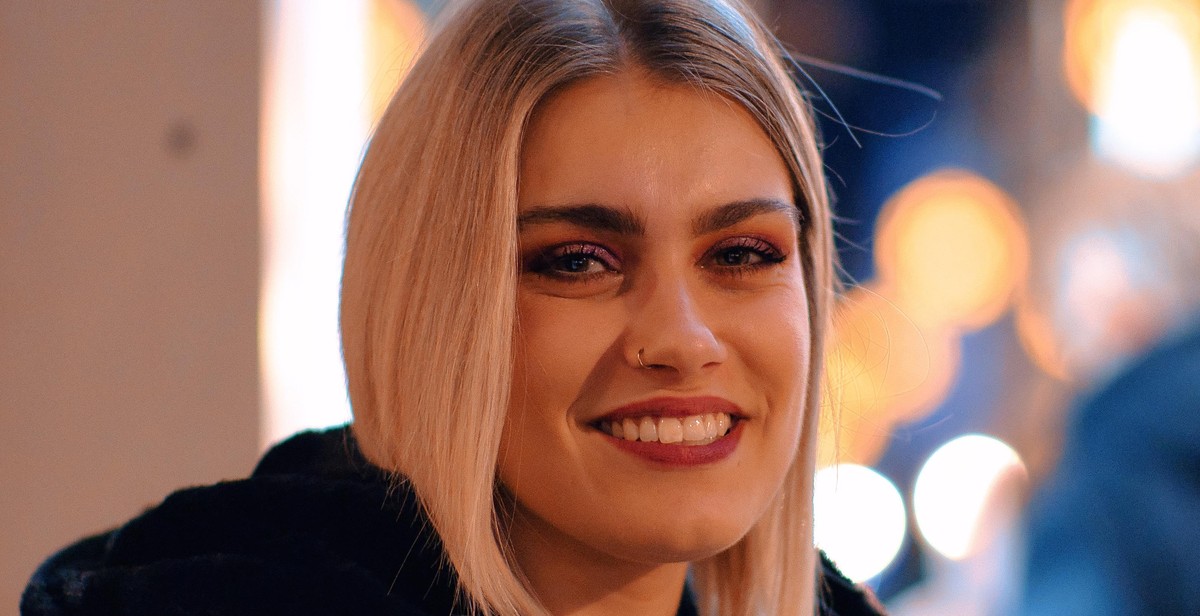
Night photography is a technique of capturing photographs in low-light conditions or after sunset. It is an art of capturing the beauty of the night sky, cityscapes, and landscapes that are not visible during the day. Night photography requires a different set of skills and techniques than traditional photography, as the lighting conditions are quite different.
Why is Night Photography Challenging?
Night photography is challenging due to the lack of light available during the night. This makes it difficult to get a clear and sharp image, and the camera needs to be adjusted accordingly. The main challenge in night photography is to balance the exposure, shutter speed, and aperture settings to get a well-lit and sharp image.
Another challenge in night photography is the presence of noise in the image. This is due to the high ISO settings required to capture enough light in low-light conditions. Noise can be reduced by using noise reduction software or by shooting in RAW format and editing the image in post-processing.
Additionally, night photography requires a sturdy tripod to keep the camera steady during long exposure shots. A remote shutter release or self-timer can also be used to prevent camera shake.
In conclusion, night photography is a challenging yet rewarding technique that requires patience, practice, and creativity. Understanding the basics of night photography is essential to capture stunning low-light shots.
Equipment for Night Photography
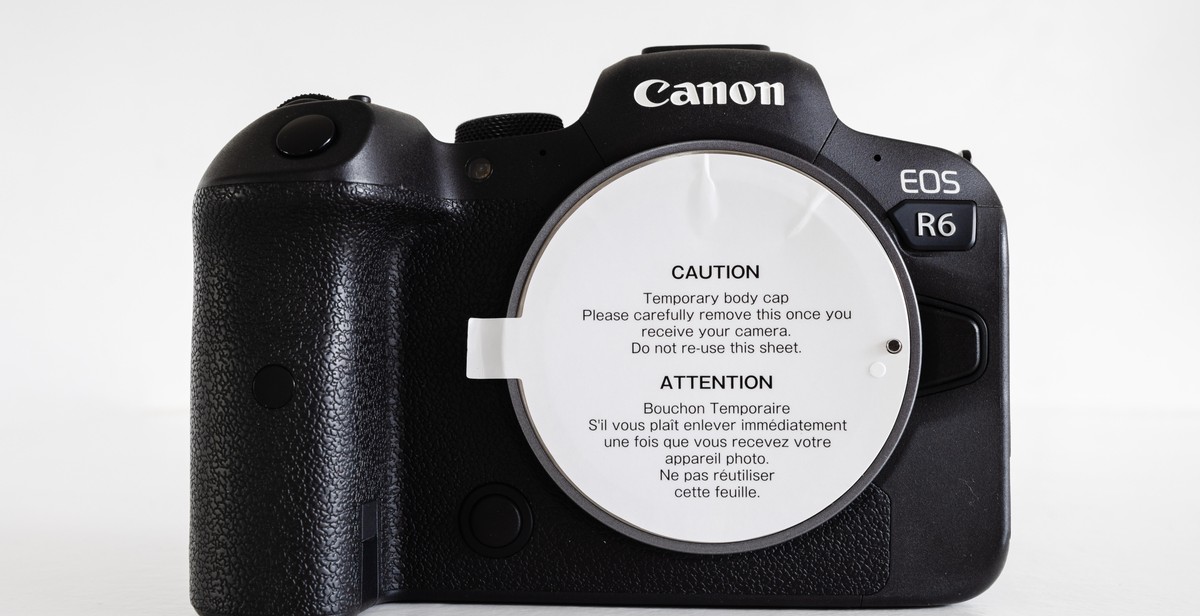
When it comes to night photography, having the right equipment can make a huge difference in the quality of your shots. Here are some essential pieces of equipment to consider:
Camera
The most important piece of equipment for night photography is your camera. Look for a camera with a high ISO range, as this will allow you to capture more light in low-light situations. Full-frame cameras are ideal, but if you’re on a budget, a crop-sensor camera can work too. Make sure your camera also has manual controls, as you’ll need to be able to adjust settings like aperture and shutter speed to get the best results.
Lenses
A fast lens with a wide aperture is essential for night photography. Look for lenses with an aperture of f/2.8 or wider. Prime lenses are also a good choice, as they tend to be faster than zoom lenses. A wide-angle lens can be particularly useful for capturing expansive night scenes.
Tripod
A sturdy tripod is a must-have for night photography. This will allow you to keep your camera steady and avoid blur caused by camera shake. Look for a tripod that’s easy to set up and adjust, and make sure it can support the weight of your camera and lens.
Remote Shutter Release
A remote shutter release allows you to trigger your camera without physically touching it, which can help reduce camera shake. There are several types of remote shutter releases available, including wired and wireless options. Choose the one that works best for your camera and shooting style.
Flashlight
A flashlight can be a useful tool for night photography, allowing you to illuminate your subject or the area around your camera. Look for a flashlight with adjustable brightness levels, and consider using a diffuser to soften the light.
With the right equipment, you’ll be well on your way to capturing stunning low-light shots. But equipment alone isn’t enough – you’ll also need to master the right techniques. Keep reading to learn more.
Settings for Night Photography
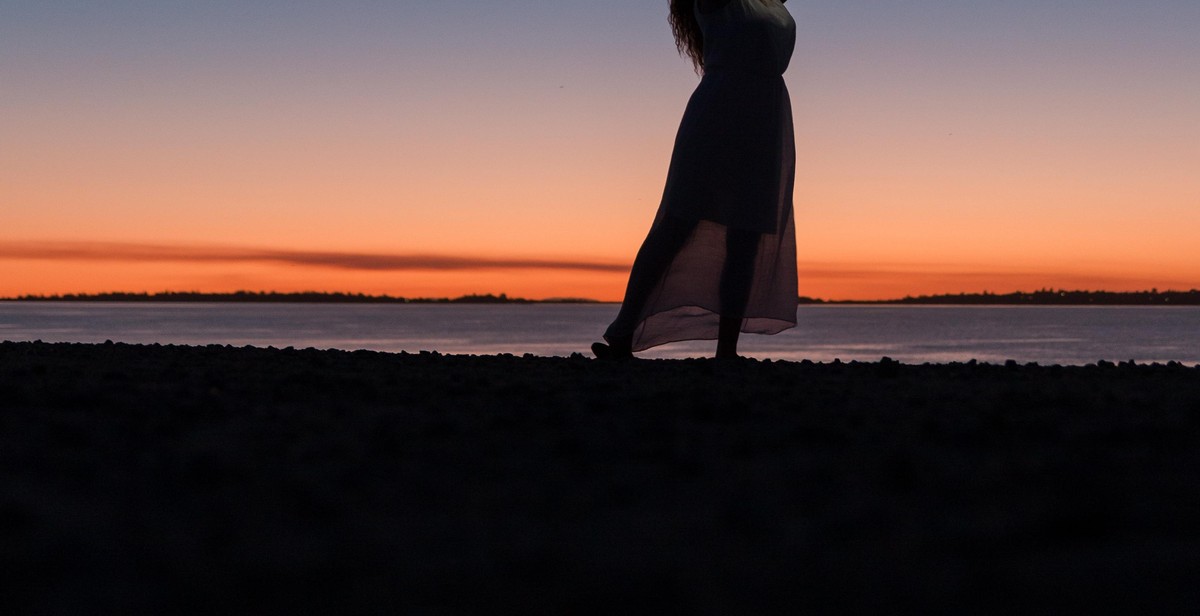
When it comes to night photography, getting the right settings is crucial to capturing stunning low-light shots. Here are the key settings to keep in mind:
ISO
ISO measures the sensitivity of your camera’s sensor to light. For night photography, you’ll want to use a higher ISO to capture more light. However, keep in mind that a higher ISO can also introduce noise or graininess into your photos. Start with an ISO of around 800 and adjust as needed.
Aperture
The aperture controls how much light enters your camera. For night photography, you’ll want a wider aperture (lower f-number) to let in more light. Keep in mind that a wider aperture can also result in a shallower depth of field. Start with an aperture of around f/2.8 and adjust as needed.
Shutter Speed
The shutter speed controls how long your camera’s sensor is exposed to light. For night photography, you’ll want a longer shutter speed to capture more light. However, keep in mind that a longer shutter speed can also result in motion blur if your subject or camera moves. Start with a shutter speed of around 15-30 seconds and adjust as needed.
White Balance
White balance controls the color temperature of your photos. For night photography, you’ll want to adjust the white balance to match the type of light in your scene. For example, if you’re shooting under streetlights, you may want to adjust the white balance to a warmer temperature to counteract the cool tones of the artificial light. Experiment with different white balance settings to find the right one for your scene.
By adjusting these key settings, you’ll be able to capture stunning low-light shots in your night photography. Keep in mind that every scene is different, so don’t be afraid to experiment and adjust your settings as needed.
Techniques for Night Photography
Capturing stunning low-light shots during nighttime can be a challenging task for photographers. However, with the right techniques, you can master the art of night photography and produce amazing results. Here are some techniques that you can use to create stunning nighttime images:
Long Exposure Photography
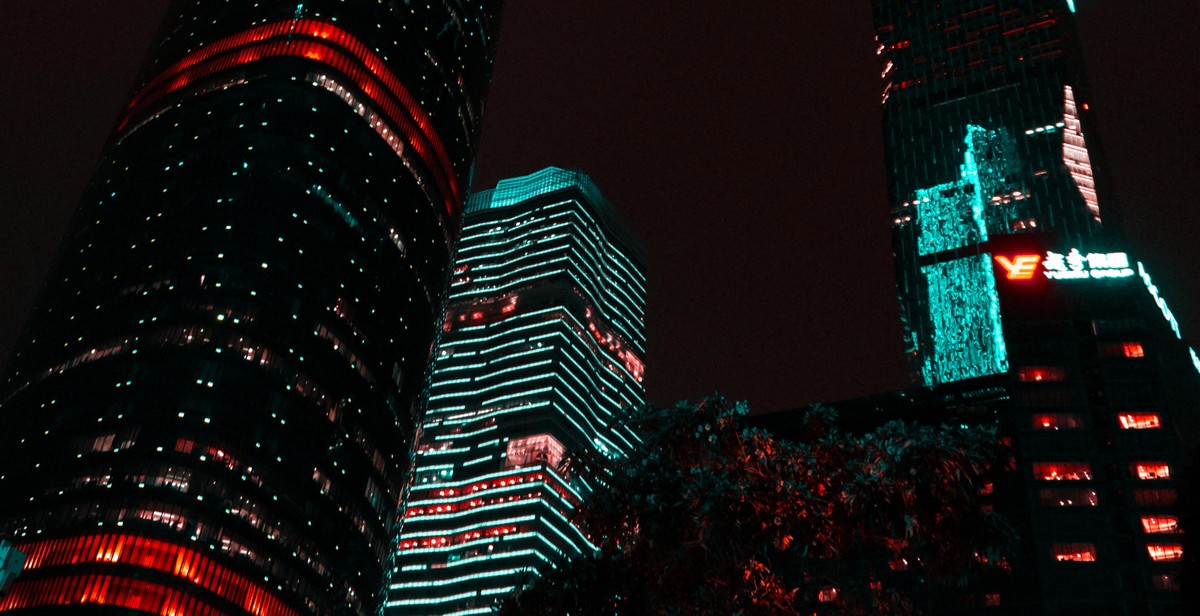
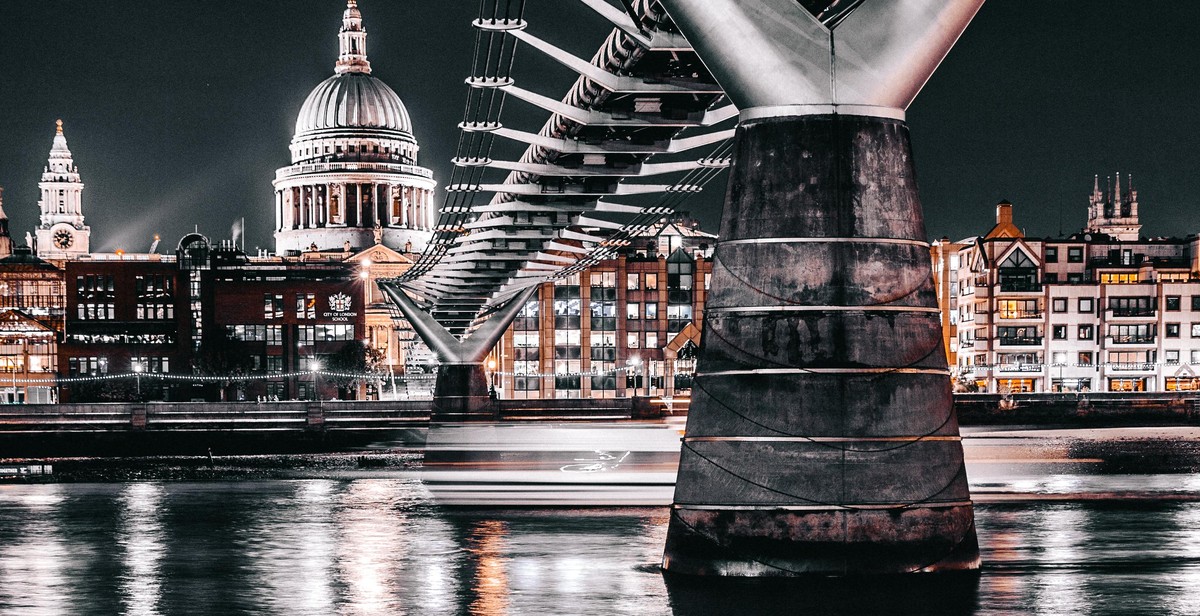
Long exposure photography involves keeping the camera’s shutter open for an extended period to capture more light. This technique is ideal for capturing night scenes, cityscapes, and fireworks. To get the best results, use a tripod to keep the camera steady and avoid any camera shake.
Light Painting
Light painting is a creative technique that involves using a handheld light source to paint light onto a scene while the camera’s shutter is open. This technique is perfect for adding an extra dimension to your night photography, creating unique and fascinating images. Experiment with different light sources and colors to create stunning effects.
HDR Photography
HDR photography involves capturing multiple images at different exposure levels and blending them together to create a single image that is more detailed and vibrant. This technique is perfect for capturing night scenes with a wide range of light levels, such as cityscapes and landscapes.
Astrophotography
Astrophotography involves capturing images of the night sky, including stars, planets, and the Milky Way. This technique requires a tripod, a fast lens, and a camera with manual controls to adjust the exposure settings. You will also need to find a location with minimal light pollution to get the best results.
By using these techniques, you can take your night photography to the next level and capture stunning low-light shots that will leave your viewers in awe.
Tips for Night Photography
Night photography can be a challenging but rewarding experience. Here are some tips to help you capture stunning low-light shots:
Scout Locations During the Day
Scouting your location during the day can help you find the best spots for your night shoot. Look for interesting architecture, cityscapes, or landscapes that will make great subjects for your photos. Take note of any potential obstacles or hazards that may affect your shoot, such as crowds, traffic, or low visibility areas.
Use Manual Focus
When shooting at night, autofocus may not work as well as it does during the day. Switch to manual focus to ensure that your subject is in sharp focus. Use the focus ring on your lens to adjust the focus until your subject is sharp and clear.
Experiment with Different Compositions
Don’t be afraid to try different compositions when shooting at night. Play with angles, perspectives, and framing to create unique and interesting shots. Try shooting from a low angle or a high angle to add depth to your photos.
Bring Extra Batteries and Memory Cards
Night photography can drain your camera’s battery quickly. Make sure to bring extra batteries and memory cards to avoid running out of power or storage space during your shoot. Keep them in a separate bag or pocket so that you can easily access them when needed.
With these tips, you’ll be well on your way to mastering the art of night photography. Remember to be patient, experiment, and have fun!
Conclusion
Night photography can be a challenging but rewarding experience. With the right techniques and equipment, you can capture stunning low-light shots that will leave your viewers in awe.
First, it’s important to understand the basics of exposure and how to adjust your camera settings to get the desired effect. Experimenting with different shutter speeds, apertures, and ISO levels will allow you to find the perfect balance for your shot.
Second, using a tripod and remote shutter release will help you stabilize your camera and prevent blurry images. Additionally, using a wide-angle lens will allow you to capture more of the scene and create a sense of depth in your photos.
Third, don’t be afraid to get creative with your lighting sources. Using artificial light, such as street lamps or flashlights, can add depth and interest to your photos.
Finally, practice makes perfect. Don’t be discouraged if your first few attempts don’t turn out as expected. Keep experimenting and trying new techniques, and soon you’ll be able to master the art of night photography.
Remember these key takeaways:
- Understand exposure and adjust your camera settings accordingly
- Use a tripod and remote shutter release to stabilize your camera
- Get creative with your lighting sources
- Practice makes perfect
| Technique | Key Takeaway |
|---|---|
| Adjusting camera settings | Understand exposure and adjust your camera settings accordingly |
| Using a tripod and remote shutter release | Stabilize your camera to prevent blurry images |
| Getting creative with lighting sources | Experiment with artificial light to add interest to your photos |
| Practice | Keep trying new techniques and practicing to master the art of night photography |
By following these techniques and taking the time to practice, you’ll soon be able to capture stunning low-light shots that will leave a lasting impression on your viewers.
