
Introduction
When it comes to pasta, there is nothing quite as satisfying as a plate of handcrafted tortellini. This stuffed pasta delight is a favorite among Italian cuisine enthusiasts and is known for its delicate texture and rich flavor. While it may seem daunting to make this pasta from scratch, the effort is well worth it. In this article, we will guide you through the process of making tortellini by hand, so you can enjoy the authentic taste of this Italian classic.
Why Handmade Tortellini is Worth the Effort
One of the main reasons to make tortellini by hand is the quality of the final product. When you use fresh ingredients, you have control over the flavor and texture of the pasta. Additionally, making tortellini from scratch allows you to customize the filling to your liking. Whether you prefer a classic meat filling or a vegetarian option, you can tailor the recipe to suit your taste.
Another benefit of making tortellini by hand is the sense of accomplishment that comes with creating something from scratch. It may take some practice to perfect the technique, but the end result is a plate of delicious, homemade pasta that you can be proud of.
In the following sections, we will walk you through the steps of making homemade tortellini, from preparing the dough to shaping and filling the pasta. So, roll up your sleeves and get ready to create a dish that is sure to impress your family and friends!

Ingredients
Pasta Dough
- 2 cups all-purpose flour
- 3 large eggs
- 1/2 teaspoon salt
- 1 tablespoon olive oil
- 1/4 cup water, as needed
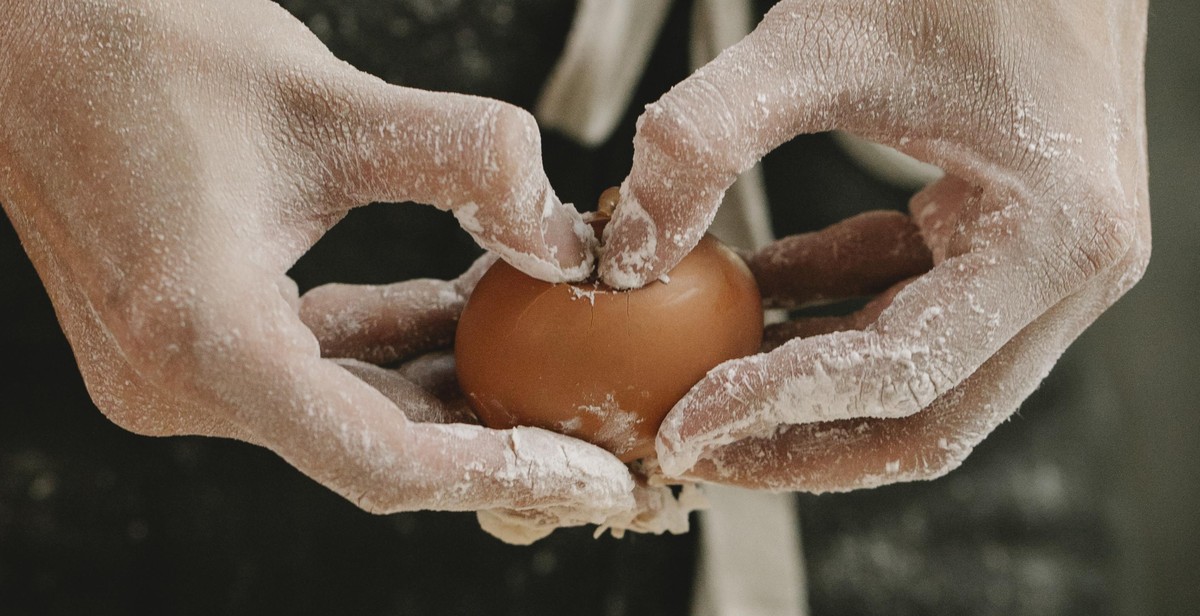
For the pasta dough, you will need all-purpose flour, eggs, salt, olive oil, and water. Combine the flour and salt in a large mixing bowl. Make a well in the center of the flour mixture and add the eggs and olive oil. Use a fork to whisk the eggs and oil together, gradually incorporating the flour mixture until a dough forms. Knead the dough for several minutes until it becomes smooth and elastic. If the dough is too dry, add water a tablespoon at a time until it reaches the desired consistency. Wrap the dough in plastic wrap and let it rest for at least 30 minutes before rolling it out.
Filling Options
| Filling | Ingredients |
|---|---|
| Cheese and Spinach | Ricotta cheese, spinach, Parmesan cheese, salt, and pepper |
| Mushroom and Onion | Mushrooms, onions, garlic, Parmesan cheese, salt, and pepper |
| Meat | Ground beef, pork, or chicken, garlic, onion, Parmesan cheese, salt, and pepper |
When it comes to filling tortellini, the possibilities are endless. You can use a variety of meats, cheeses, and vegetables to create your own unique filling. Some popular options include cheese and spinach, mushroom and onion, and meat fillings. To make the cheese and spinach filling, combine ricotta cheese, chopped spinach, Parmesan cheese, salt, and pepper. For the mushroom and onion filling, sauté mushrooms and onions with garlic and Parmesan cheese. For a meat filling, brown ground beef, pork, or chicken with garlic and onion, and mix in Parmesan cheese, salt, and pepper. Once you have your filling prepared, follow the instructions for shaping and cooking your tortellini.
Making the Pasta Dough
Before making tortellini, it is essential to make the perfect pasta dough. The key to making great pasta dough is to use high-quality ingredients and give the dough enough time to rest. Here’s how to make the perfect pasta dough:
Step 1: Mixing the Ingredients
The first step in making pasta dough is to mix the ingredients. For this recipe, you will need:
- 2 cups of all-purpose flour
- 3 large eggs
- 1 teaspoon of salt
Start by sifting the flour onto a clean work surface and making a well in the center. Crack the eggs into the well and add the salt. Using a fork, beat the eggs and gradually incorporate the flour until a dough forms.
Step 2: Kneading the Dough
Once the dough has formed, it’s time to knead it. Kneading the dough is important because it helps to develop the gluten, which gives the pasta its chewy texture. Knead the dough for about 10 minutes until it becomes smooth and elastic.
Note:
If the dough is too dry, you can add a little water. If it’s too wet, you can add a little flour. The dough should be firm but not too hard.
Step 3: Resting the Dough
After kneading the dough, it’s time to let it rest. Cover the dough with plastic wrap and let it rest for at least 30 minutes at room temperature. This will help the gluten relax and make the dough easier to roll out.
| Ingredients | Quantity |
| All-purpose flour | 2 cups |
| Eggs | 3 large |
| Salt | 1 teaspoon |

Preparing the Filling
Now that you have chosen your filling ingredients, it’s time to prepare the filling for your tortellini. Follow these simple steps to create a delicious and satisfying filling:
Step 1: Cook the Meat
If you are using meat in your filling, cook it thoroughly before adding it to the other ingredients. This will ensure that the meat is safe to eat and will also improve the flavor of your filling. You can cook the meat by boiling, roasting, or frying it. Once it is cooked, chop it into small pieces or shred it with a fork.
Step 2: Combine the Ingredients
Combine all of your filling ingredients in a large mixing bowl. Mix them together thoroughly until they are well incorporated. You can use a spoon, whisk, or your hands to mix the ingredients.
Step 3: Season the Filling
Taste the filling and adjust the seasoning as needed. You may need to add more salt, pepper, or other spices to achieve the desired flavor. Remember that the filling should be well-seasoned but not overpowering.
Step 4: Chill the Filling
Once your filling is prepared, cover it with plastic wrap and chill it in the refrigerator for at least 30 minutes. This will allow the flavors to meld together and make the filling easier to work with when you are ready to stuff your tortellini.
By following these simple steps, you can prepare a delicious filling for your homemade tortellini. Experiment with different ingredients and seasonings to create a filling that suits your taste preferences.
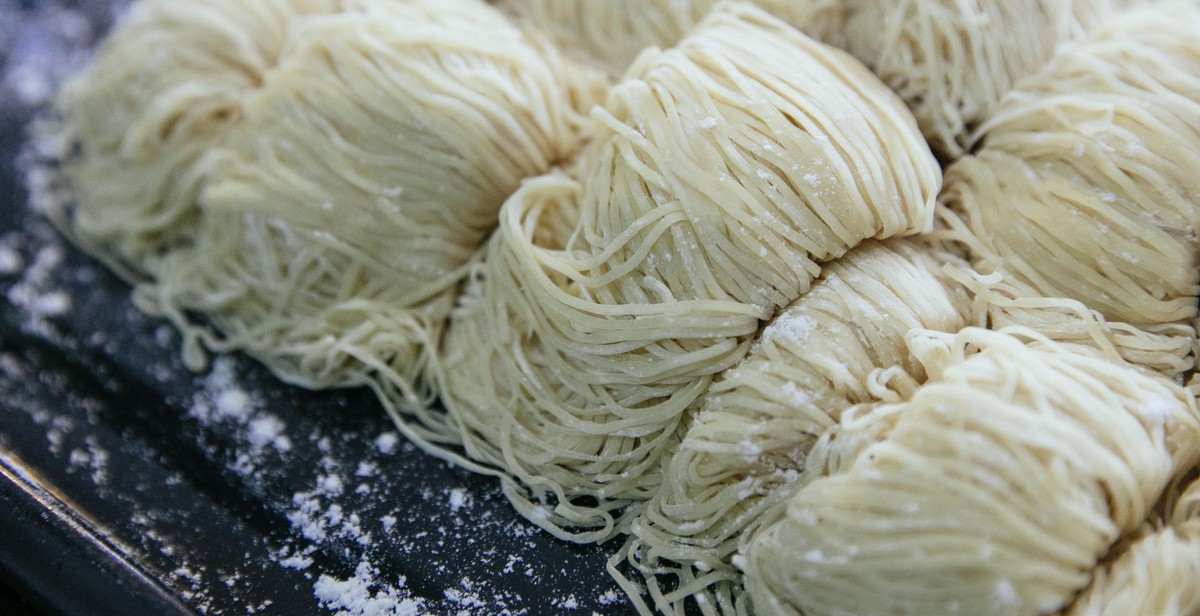
Rolling and Cutting the Dough
Once you have kneaded the dough and let it rest, it’s time to roll it out and cut it into the desired shapes for your tortellini.
Step 1: Divide the Dough
Begin by dividing the dough into small portions, about the size of a golf ball. This will make it easier to roll out and cut into the desired shapes.
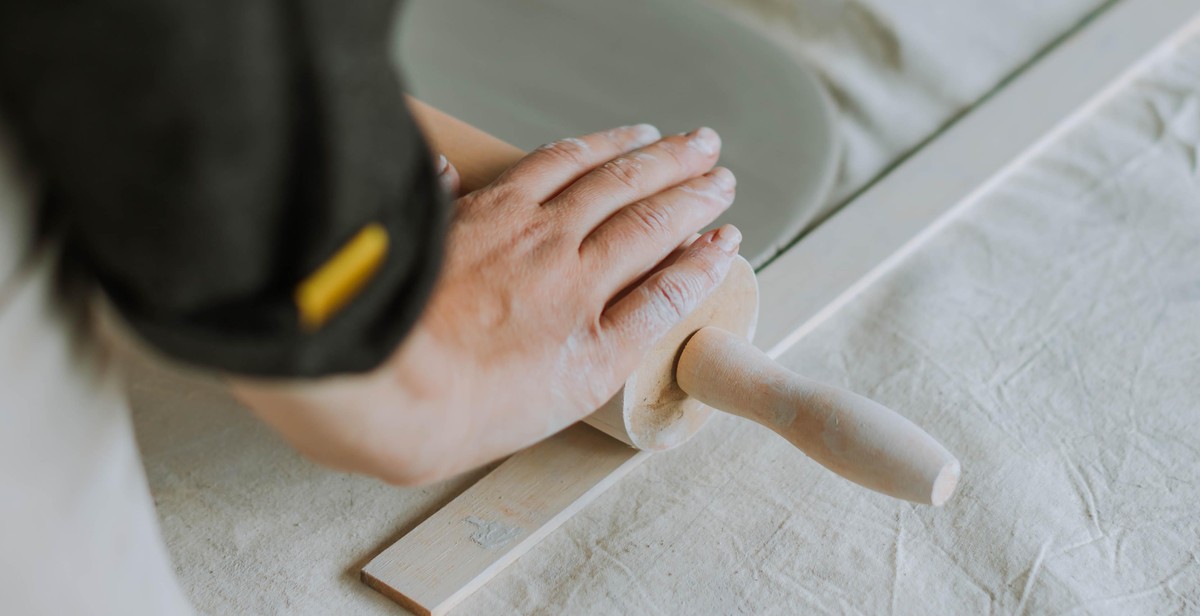
Step 2: Roll Out the Dough
Using a rolling pin or pasta machine, roll out each portion of dough until it is thin and smooth. Be sure to dust the surface and the dough with flour to prevent sticking.
For tortellini, you want the dough to be thin enough to see through, but not so thin that it tears easily. Aim for a thickness of about 1-2mm.
Step 3: Cut the Dough
Once the dough is rolled out, it’s time to cut it into the desired shapes. For tortellini, you can use a round cookie cutter or a glass to cut out circles of dough.
Place a small amount of filling in the center of each circle, then fold the dough over to create a half-moon shape. Use your fingers to press the edges of the dough together, sealing in the filling.
Finally, use your fingers or a fork to crimp the edges of the dough, creating a decorative border. Repeat this process with the remaining dough and filling until you have a batch of delicious homemade tortellini.
Filling and Shaping the Tortellini
Step 1: Add the Filling
The filling is the heart of the tortellini, and it’s what gives the pasta its distinct flavor. There are many different types of fillings you can use, but some of the most popular include cheese, spinach, meat, and mushroom. To make the filling, you’ll need to combine your chosen ingredients in a bowl and mix them together until they’re well combined. You can experiment with different herbs and spices to create a filling that suits your taste.
Once you have your filling ready, it’s time to start assembling the tortellini. Begin by rolling out your pasta dough, making sure it’s thin enough to work with. Then, use a round cookie cutter to cut out circles of dough. Place a small amount of filling in the center of each circle, being careful not to overfill them.
Step 2: Shape the Tortellini
Shaping the tortellini is a bit of an art form, and it can take some practice to get it right. To start, fold the circle of dough in half, pressing the edges together to seal the filling inside. Then, take the two corners of the half-circle and bring them together, pressing them firmly to seal the tortellini into its distinctive shape.
Repeat this process until you’ve used up all of your dough and filling. You can boil the tortellini immediately, or you can freeze them for later use. To cook the tortellini, bring a large pot of salted water to a boil and add the pasta. Cook for 2-3 minutes, or until the tortellini float to the surface. Serve with your favorite sauce and enjoy!

Cooking and Serving the Tortellini
Now that your handcrafted tortellini is ready, it’s time to cook and serve them. Follow these simple steps to enjoy your delicious stuffed pasta.
Step 1: Boil the Water
Fill a large pot with water and bring it to a boil. Add salt to the water to enhance the flavor of the pasta.
Step 2: Cook the Tortellini
Once the water is boiling, carefully add the tortellini to the pot. Cook the pasta for 2-3 minutes or until it floats to the surface. Be careful not to overcook the pasta as it can become mushy.
Use a slotted spoon or strainer to remove the cooked tortellini from the pot and place them in a serving dish.
Step 3: Serve and Enjoy
There are many ways to serve tortellini. You can toss them with your favorite sauce, add them to a soup, or simply drizzle some olive oil and sprinkle some grated Parmesan cheese over them.
For a delicious and filling meal, try serving the tortellini with some garlic bread and a side salad.
Enjoy your handcrafted tortellini with family and friends, and savor the flavors of your hard work and creativity.