
Introduction: How to Make Fruit Pops: Healthy and Delicious Frozen Treats for Kids
Fruit pops are a fun and healthy way to cool off during hot summer days. Not only are they refreshing, but they can also be a great way to sneak in some extra servings of fruit for your kids. Making fruit pops at home is easy, and you can customize them with your favorite fruits and flavors.
Why Fruit Pops are a Healthy Treat for Kids
Fruit pops are a healthy alternative to sugary snacks and desserts. They are made with real fruit, which provides essential vitamins and minerals that growing kids need. Plus, fruit is a great source of fiber, which can help keep kids feeling full and satisfied.
Making fruit pops at home also allows you to control the ingredients and avoid any added sugars or artificial flavors. This makes them a great option for kids with food allergies or sensitivities.
How to Make Fruit Pops
Making fruit pops at home is simple and requires just a few ingredients. You will need a blender, popsicle molds, and your choice of fruit and liquid.
Here’s a basic recipe to get you started:
- Blend your choice of fruit with a liquid, such as water or juice, until smooth.
- Pour the mixture into popsicle molds.
- Insert popsicle sticks and freeze for several hours or overnight.
- Enjoy your delicious and healthy fruit pops!
You can also experiment with different fruit combinations and add-ins, such as yogurt, honey, or herbs like mint or basil.
Conclusion
Fruit pops are a tasty and healthy treat that kids will love. Making them at home is easy and allows you to customize the flavors and ingredients to your liking. So, next time you’re looking for a cool and refreshing snack, try making some fruit pops with your kids!
Why Make Fruit Pops?
Fruit pops are a fantastic way to enjoy a healthy and delicious frozen treat. Unlike store-bought popsicles that are often filled with sugar and artificial flavors, homemade fruit pops are made with real ingredients, making them a healthier option for both kids and adults.
Making fruit pops is also a great way to get creative in the kitchen and experiment with different flavor combinations. You can use a variety of fruits, such as strawberries, blueberries, watermelon, and kiwi, to create unique and tasty popsicles that everyone will love.
Another reason to make fruit pops is that they are incredibly easy to make. All you need is a few simple ingredients, a blender, and some popsicle molds. You can also add in other healthy ingredients, such as yogurt or honey, to make the popsicles even more nutritious.
Finally, making fruit pops is a fun activity to do with kids. They can help choose the fruits and flavors, blend the ingredients, and pour the mixture into the molds. It’s a great way to get them excited about healthy eating and spending time in the kitchen.
- Homemade fruit pops are:
- Healthy
- Delicious
- Easy to make
- A fun activity to do with kids
In the next section, we’ll discuss the ingredients and equipment you’ll need to make your own fruit pops.
Choosing the Right Fruits
When making fruit pops, it’s important to choose the right fruits to ensure that your frozen treats are both healthy and delicious. Here are some tips on selecting the best fruits:
Sweet Fruits
Sweet fruits are perfect for adding natural sweetness to your fruit pops without the need for added sugars. Some of the best sweet fruits for fruit pops include:
- Strawberries
- Mangoes
- Bananas
- Pineapples
- Watermelons
- Blueberries
Tart Fruits
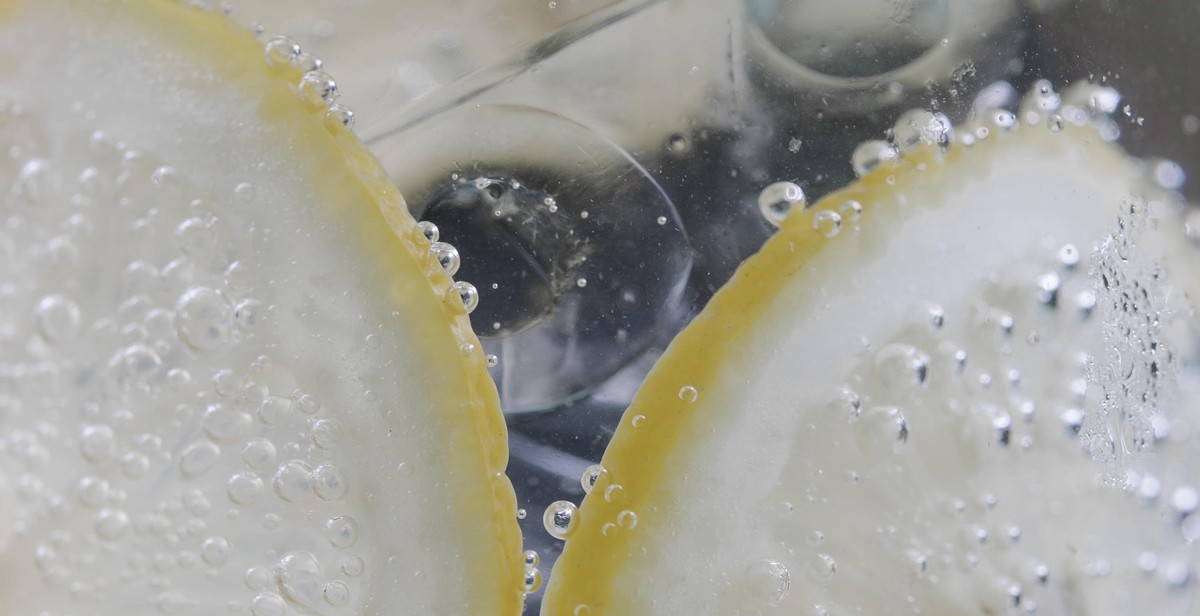
Tart fruits add a refreshing and tangy flavor to your fruit pops. When choosing tart fruits, it’s important to balance them with sweeter fruits to avoid overpowering the flavor. Some of the best tart fruits for fruit pops include:
- Lemons
- Limes
- Grapefruits
- Oranges
- Raspberries
- Cranberries
By choosing a combination of sweet and tart fruits, you can create a delicious and healthy frozen treat that your kids will love!
| Sweet Fruits | Tart Fruits |
|---|---|
| Strawberries | Lemons |
| Mangoes | Limes |
| Bananas | Grapefruits |
| Pineapples | Oranges |
| Watermelons | Raspberries |
| Blueberries | Cranberries |
Preparing the Fruits
Before you start making fruit pops, it’s important to properly prepare your fruits. Here are the steps to follow:
Washing and Drying
The first step is to wash your fruits thoroughly with water. This will help remove any dirt, pesticides, or bacteria that may be on the surface. You can use a brush to scrub the skin of fruits like apples and pears. After washing, dry the fruits with a clean towel or paper towel.
Peeling and Slicing
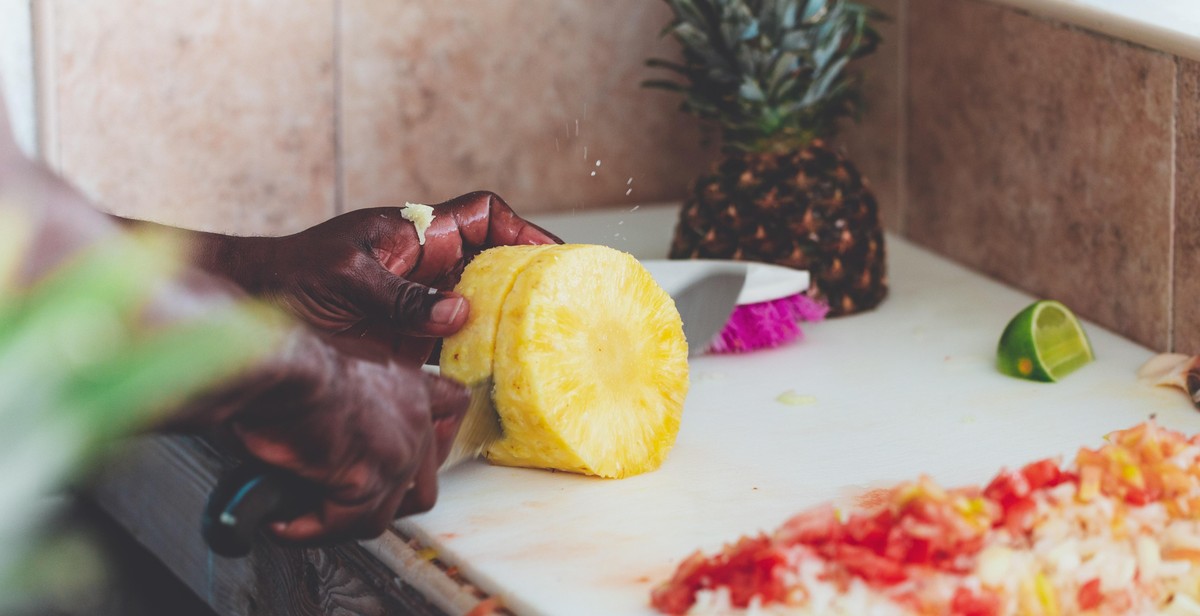
For some fruits like mangoes and kiwis, you’ll need to peel the skin before slicing. Use a vegetable peeler or a sharp knife to remove the skin. Then, slice the fruits into small pieces. For other fruits like strawberries and blueberries, you can leave the skin on and simply slice them in half or quarters.
It’s important to slice the fruits into small, bite-sized pieces so that they fit well in the popsicle molds. This will also make it easier for kids to eat the fruit pops.
Once you’ve prepared your fruits, you’re ready to start making your delicious and healthy fruit pops!
Making the Fruit Puree
To make fruit pops, you need to start by making the fruit puree. This is the base of your frozen treat, and it’s important to get it right. Here’s how:
Blending the Fruits
Choose your favorite fruits and wash them thoroughly. Cut them into small pieces and remove any seeds or pits. Place the fruit pieces in a blender and blend until smooth.
| Fruits to consider | Other notes |
|---|---|
| Berries (strawberries, blueberries, raspberries) | Remove the stems and leaves before blending |
| Mango | Remove the skin and pit before blending |
| Banana | Peel the banana and cut into small pieces before blending |
Adding Sweeteners
Fruits are naturally sweet, but you can add some extra sweetness if you like. Here are some options:
- Honey
- Maple syrup
- Agave nectar
Add the sweetener to the blender and blend with the fruit until well combined.
Once you have your fruit puree, you’re ready to move on to the next step.
Freezing the Fruit Pops
After filling the molds with your desired fruit mixture, it’s time to freeze them. Here are the steps to ensure your fruit pops come out perfectly:
Choosing the Right Mold
Make sure to choose a mold that is appropriate for freezing. The molds should be made of a material that can withstand low temperatures, such as silicone or plastic. Avoid molds made of glass or metal, as they can break or warp in the freezer.
Filling the Mold
Before filling the mold, make sure that the mixture is thoroughly mixed and well-combined. Pour the mixture into each mold, leaving about 1/4 inch of space at the top. This will allow the mixture to expand as it freezes.
Adding the Sticks
Once the molds are filled, it’s time to add the sticks. Place the sticks in the center of each mold, making sure they are standing upright and straight. If the sticks are not staying in place, try freezing the mixture for about 30 minutes before adding the sticks.
After adding the sticks, place the molds in the freezer and let them freeze completely. This can take anywhere from 4 to 8 hours, depending on the size of the mold and the temperature of your freezer. Once frozen, remove the molds from the freezer and run them under warm water for a few seconds to loosen the fruit pops. Serve immediately and enjoy!
Serving and Storing Fruit Pops
Once you’ve made your delicious fruit pops, it’s time to serve and store them properly to ensure they stay fresh and tasty.
Removing the Fruit Pops from the Mold
To remove the fruit pops from the mold, run the mold under warm water for a few seconds. This will loosen the pops and make it easier to remove them. Gently pull on the stick to release the pop from the mold. If the fruit pop is difficult to remove, run it under warm water for a few more seconds.
Serving the Fruit Pops
Once you’ve removed the fruit pops from the mold, you can serve them immediately. Place the fruit pops on a plate or tray and serve them to your kids. If you want to make the fruit pops even more delicious, you can dip them in melted chocolate or sprinkle them with chopped nuts or coconut flakes.
Storing the Fruit Pops
If you have leftover fruit pops, you can store them in the freezer for later. Place the fruit pops in an airtight container or freezer bag and store them in the freezer for up to one month. When you’re ready to enjoy them, simply remove them from the freezer and let them thaw for a few minutes before serving.
| Tip | Description |
|---|---|
| Label the container | Write the date and flavor of the fruit pops on the container or bag so you can easily identify them later. |
| Store them flat | Store the fruit pops flat in the freezer to prevent them from sticking together. |
| Keep them away from strong odors | Store the fruit pops away from strong-smelling foods in the freezer to prevent them from absorbing any unwanted flavors. |
Conclusion
Making fruit pops is a fun and healthy way to treat your kids. It is an excellent way to ensure that they are getting their daily intake of fruits and vegetables. Moreover, it is a perfect way to keep them hydrated during hot summer days.
With the tips and tricks provided in this article, you can create a variety of fruit pops that are not only delicious but also visually appealing. From watermelon and strawberry to kiwi and blueberry, the possibilities are endless.
Remember to use fresh and ripe fruits, and avoid adding too much sugar or artificial sweeteners. You can also experiment with different flavors and textures by adding herbs or nuts.
When making fruit pops, it is essential to involve your kids in the process. Let them choose their favorite fruits, and allow them to help you blend and freeze the mixture. This will not only make the process more fun but also encourage them to eat the fruit pops.
Finally, always ensure that you have the necessary equipment, including popsicle molds, sticks, and a blender. With these tools, you can make fruit pops that your kids will love and enjoy.
So go ahead and try out these recipes, and let your kids indulge in these healthy and delicious frozen treats!