
How to Knit a Cozy Blanket: Step-by-Step Instructions for a Warm and Snuggly Project
Knitting is a wonderful hobby that allows you to create beautiful and practical items with your own two hands. One of the most popular items to knit is a cozy blanket, perfect for snuggling up on the couch or keeping warm on a chilly night.
As a professional article writer and content creator, I have been knitting for over 20 years and have made countless blankets for myself and loved ones. In this article, I will share my step-by-step instructions for knitting a cozy blanket that will keep you warm and snuggly all winter long.
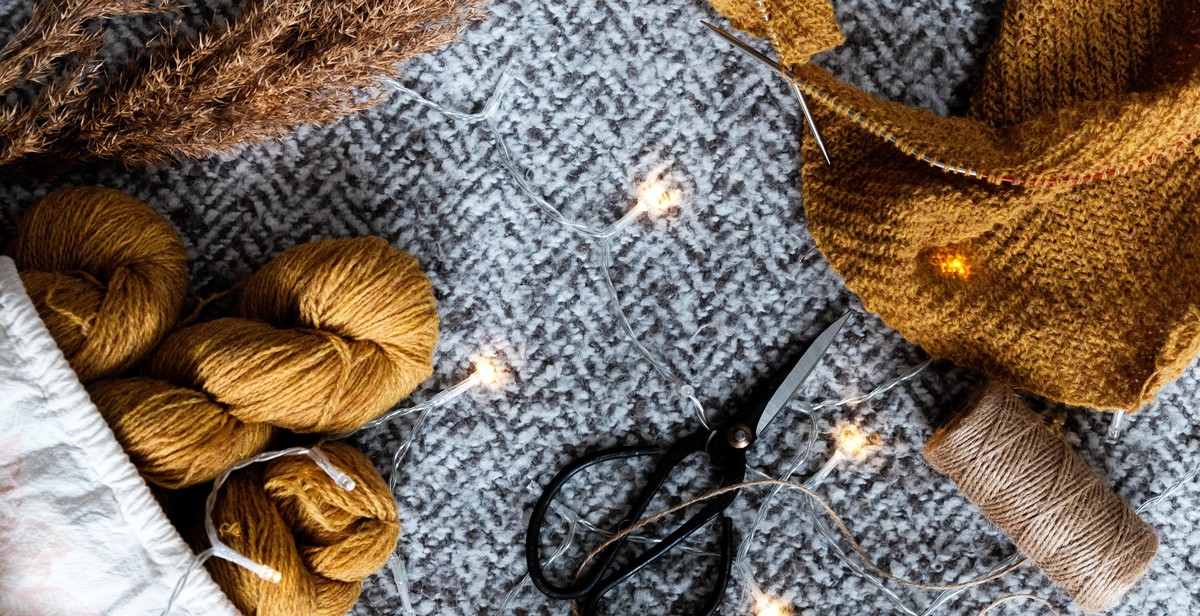
Materials You Will Need
Before you begin knitting your cozy blanket, you will need to gather some materials. Here is a list of what you will need:
- Knitting needles
- Yarn
- Tapestry needle
- Scissors
Once you have gathered all of your materials, you are ready to begin knitting your cozy blanket. Follow the step-by-step instructions below for a warm and snuggly project.
Choosing the Right Yarn and Needles
When it comes to knitting a cozy blanket, choosing the right yarn and needles is crucial. Here are some tips to keep in mind:
Consider the Yarn Fiber Content
The first thing to consider when choosing yarn for your blanket is the fiber content. There are many different types of yarn available, each with its own unique properties. Some common fibers used for knitting blankets include:
- Wool: This is a popular choice for blankets because it is warm, soft, and durable.
- Cotton: Cotton is a good choice for lighter weight blankets, as it is breathable and easy to care for.
- Acrylic: Acrylic yarn is a budget-friendly option that is also machine washable.
- Alpaca: Alpaca yarn is known for its softness and warmth, but it can be more expensive than other fibers.
When choosing your yarn, consider the climate you live in, as well as any allergies or sensitivities you or your intended recipient may have.
Choosing the Right Needle Size
Once you have chosen your yarn, you will need to select the right needle size. The size of your needles will affect the look and feel of your finished blanket. Generally, the thicker the yarn, the larger the needles you will need. Some common needle sizes for knitting blankets include:
| Yarn Weight | Needle Size |
|---|---|
| Fingering | US 1 – 3 (2.25 – 3.25 mm) |
| Sport | US 3 – 5 (3.25 – 3.75 mm) |
| Worsted | US 7 – 9 (4.5 – 5.5 mm) |
| Bulky | US 10 – 11 (6.0 – 8.0 mm) |
It’s important to note that these are just general guidelines, and you may need to adjust your needle size based on your personal tension and the look you want to achieve.
Casting On: Starting Your Knitting Project
Before you can begin knitting your cozy blanket, you need to cast on. This is the process of creating the foundation row of stitches on your knitting needle.
Making a Slipknot
The first step in casting on is making a slipknot. This is a loop that will be used to anchor your yarn to the needle. Here’s how to make a slipknot:
- Hold the end of your yarn in your left hand, with the tail hanging down.
- Using your right hand, make a loop in the yarn by bringing the end over the working yarn.
- Insert your right hand through the loop, and grab the working yarn.
- Pull the working yarn through the loop, creating a new loop that can be tightened around the needle.
Creating the First Stitch
With your slipknot in place, it’s time to create your first stitch. Here’s how:
- Hold your needle with the slipknot in your right hand, and the other needle in your left hand.
- Insert the left needle into the slipknot, from front to back.
- Wrap the working yarn around the right needle, moving from back to front.
- Use the right needle to pull the working yarn through the slipknot, creating a new stitch on the right needle.
- Slide the new stitch onto the left needle, and tighten the yarn to secure it in place.
- Repeat these steps until you have the desired number of stitches on your needle.
Now that you’ve cast on your stitches, you’re ready to start knitting your cozy blanket!
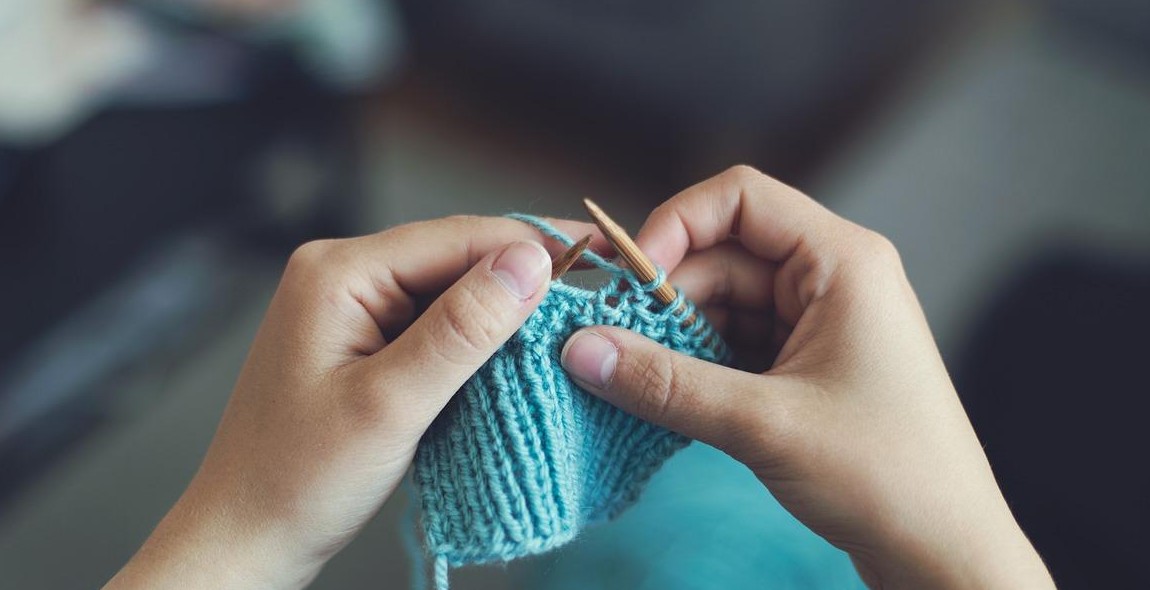
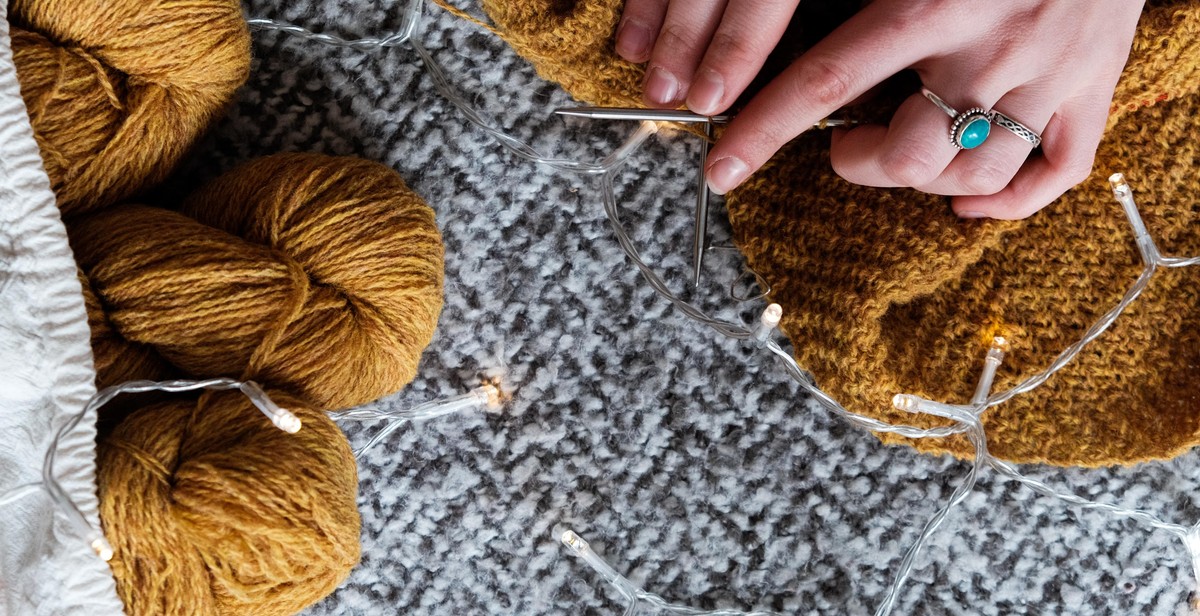
Knitting the Blanket
Knitting the First Row
The first step to knitting a cozy blanket is to cast on the required number of stitches. This will depend on the size of the blanket you want to make. Once you have cast on, you can start knitting the first row. For this, you will need to use the knit stitch. Insert your right-hand needle into the first stitch on your left-hand needle from left to right. Wrap the yarn around the right-hand needle, and pull it through the first stitch. Slip the first stitch off the left-hand needle, and repeat across the row.
Continuing with the Stockinette Stitch
After you have completed the first row, you can continue with the stockinette stitch. This is a simple stitch that creates a smooth and even texture. To do this, knit one row and then purl the next row. Repeat this pattern until the blanket is the desired length.
Changing Colors
If you want to change colors, simply knit to the end of the row with the old color. Then, tie the new color to the old color with a knot, leaving a tail of about 6 inches. Continue knitting with the new color. When you finish the blanket, weave in the ends of the yarn to secure them.
| Tip: | Keep your tension even throughout the blanket to ensure that it is the same size from start to finish. |
|---|
Now that you have learned how to knit the blanket, you can continue working on it until it is the perfect size and texture for you. With these simple instructions, you can create a warm and snuggly blanket that you will cherish for years to come.
Finishing the Blanket
After completing the last row of your blanket, it’s time to bind off and weave in the ends.
Binding Off the Last Row
To bind off, knit the first two stitches of the row as usual. Then, using your left-hand needle, lift the first stitch over the second stitch and off the right-hand needle. Knit the next stitch and repeat the process of lifting the previous stitch over the new one until you reach the end of the row. Cut the yarn, leaving a tail of about 6 inches.
Weaving in the Ends
Take the tail of yarn and weave it in and out of the stitches along the edge of the blanket. Be sure to go in one direction for a few inches and then turn and go back in the opposite direction. This will help secure the tail and prevent it from unraveling.
If you have multiple ends to weave in, you can use a tapestry needle to thread them through the stitches on the wrong side of the blanket. Be sure to trim any excess yarn once you’ve woven in all the ends.
Once you’ve finished weaving in the ends, your cozy blanket is ready to snuggle up with! Whether you’re keeping it for yourself or giving it as a gift, this warm and snuggly project is sure to be a hit.
Blocking the Blanket
After washing your newly knitted blanket, it’s important to block it to ensure it retains its shape and size. Blocking involves stretching and pinning the blanket so it dries in the desired shape.
Stretching the Blanket
Begin by laying your damp blanket on a clean, flat surface. Gently stretch it lengthwise and widthwise, being careful not to pull too hard and distort the stitches. If your blanket has a pattern, make sure the design is even and symmetrical.
Once you’ve stretched the blanket to the desired size, use T-pins or blocking wires to hold it in place. Pin the edges first, making sure they’re straight and even. Then work your way toward the center, placing pins about an inch apart.
Tip:
- Use a measuring tape to ensure your blanket is the right size before you start pinning.
- For best results, use rust-resistant T-pins or stainless steel blocking wires.
- Don’t be afraid to adjust the pins as needed to get the desired shape.
Pinning the Blanket
Once your blanket is stretched to the right size and shape, it’s time to pin it in place. Start by pinning the edges, making sure they’re straight and even. Then work your way toward the center, placing pins about an inch apart. Make sure the pins are inserted straight down, not at an angle.
If your blanket has a border or edging, make sure it’s pinned evenly and straight. You may need to use more pins in these areas to get the desired shape.
Tip:
- Use a blocking mat or foam board to prevent the pins from damaging your surface.
- Make sure the blanket is completely dry before removing the pins.
- Be patient – blocking can take several hours or even overnight to dry completely.
| Materials: | T-pins or blocking wires, measuring tape, blocking mat or foam board |
|---|---|
| Time: | Several hours or overnight |

Conclusion
Knitting a cozy blanket is a fulfilling project that allows you to create a warm and snuggly addition to your home. With the step-by-step instructions provided in this article, even beginners can easily follow along and create a beautiful blanket.
Remember to choose the right yarn and needles for your project, and to practice the basic knitting stitches before starting. Take your time and enjoy the process, as knitting can be a relaxing and meditative activity.
Once you have completed your blanket, you can enjoy the cozy warmth it provides while also admiring your handiwork. You can use your new blanket to snuggle up on the couch, keep warm during chilly nights, or even give it as a thoughtful and personal gift.
Overall, knitting a cozy blanket is a wonderful way to express your creativity and add a personal touch to your home. With the right materials, tools, and guidance, anyone can create a beautiful and functional blanket that will provide warmth and comfort for years to come.
| Pros | Cons |
|---|---|
| Easy to follow instructions | May take some time to complete |
| No prior experience necessary | Requires purchasing materials and tools |
| End result is a cozy and functional blanket | Requires patience and practice |
Overall, knitting a cozy blanket is a wonderful way to express your creativity and add a personal touch to your home. With the right materials, tools, and guidance, anyone can create a beautiful and functional blanket that will provide warmth and comfort for years to come.