
How to Install Solar Panels for Eco-Friendly Energy
Installing solar panels on your property is a great way to reduce your carbon footprint and save money on your energy bills. With advances in solar technology, it has become more accessible and affordable for homeowners to install solar panels on their roofs or on the ground.
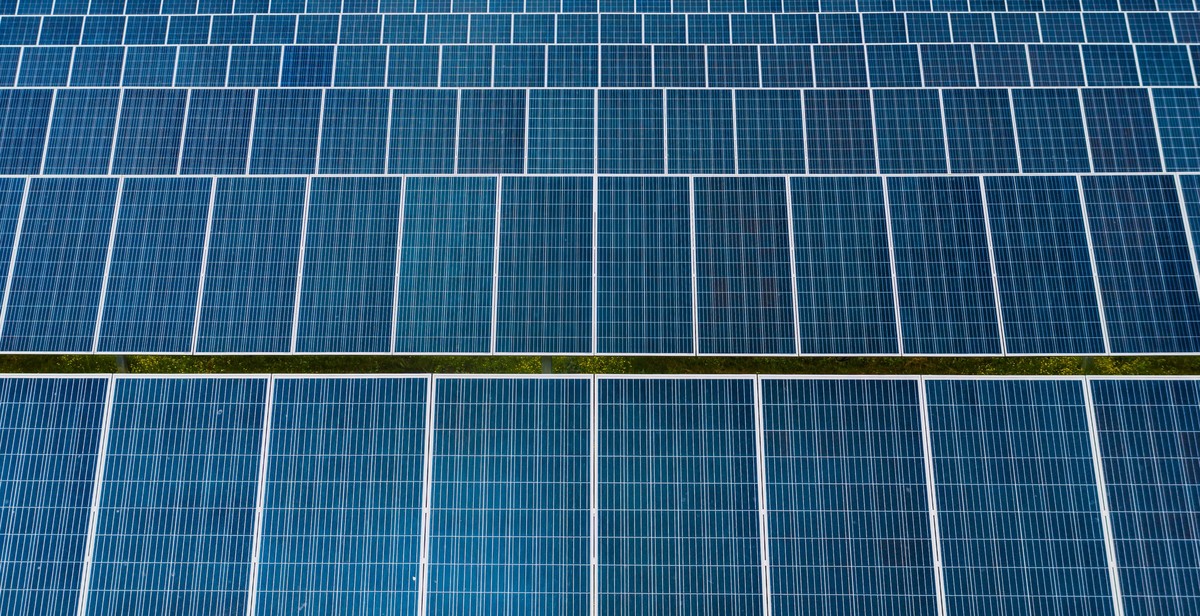
Benefits of Solar Energy
Solar energy is a renewable and sustainable source of energy that does not emit harmful greenhouse gases like conventional energy sources such as coal, oil, and natural gas. By using solar energy, you can reduce your reliance on non-renewable energy sources and contribute to a cleaner environment.
In addition, solar energy can help you save money on your energy bills in the long run. While the initial cost of installing solar panels may be high, the energy savings over time can be significant.
Factors to Consider
Before installing solar panels, there are several factors to consider, such as the amount of sunlight your property receives, the size of your roof or property, and local regulations and incentives for solar energy.
It is important to work with a reputable solar installation company that can guide you through the process and ensure that your solar panels are installed safely and efficiently.
In this article, we will provide a step-by-step guide on how to install solar panels for eco-friendly energy, including the equipment needed, the installation process, and tips for maintaining your solar panels.
Step 1: Determine Your Energy Needs
Before you can install solar panels, you need to determine your energy needs. This will help you choose the right type of solar panel and ensure that you are generating enough energy to power your home or business.
Calculate Your Energy Usage
The first step in determining your energy needs is to calculate your energy usage. You can do this by looking at your energy bills over the past year and adding up the total amount of energy you have used. This will give you an idea of how much energy you need to generate with your solar panels.
You should also consider any future changes in your energy usage. For example, if you plan to purchase an electric car or add additional appliances to your home, you will need to factor in this additional energy usage.
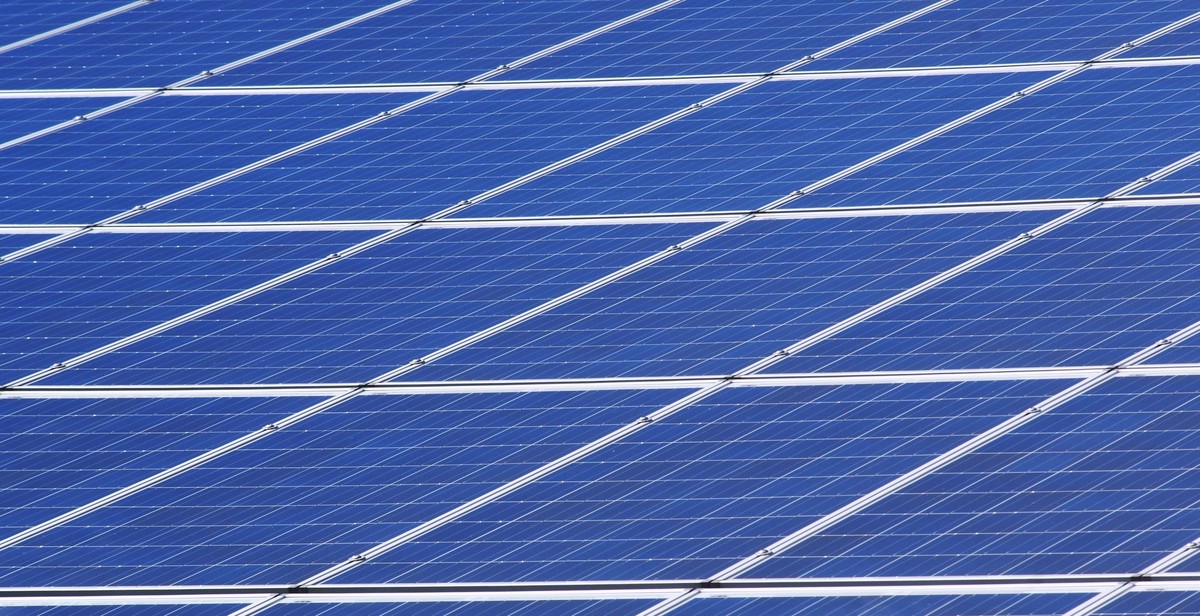
Choose Your Solar Panel Type
Once you have determined your energy needs, you can choose the right type of solar panel for your home or business. There are two main types of solar panels: photovoltaic (PV) panels and thermal panels.
- PV panels generate electricity by converting sunlight into energy.
- Thermal panels use the sun’s energy to heat water or air.
Most homes and businesses use PV panels because they are more efficient and can generate more energy. However, if you need to heat water or air, thermal panels may be a better option.
| Solar Panel Type | Pros | Cons |
|---|---|---|
| PV Panels | Highly efficient, can generate more energy | More expensive |
| Thermal Panels | Can heat water or air, less expensive | Less efficient, can generate less energy |
By calculating your energy usage and choosing the right type of solar panel, you can ensure that you are generating enough energy to power your home or business and make the most of your solar panel installation.
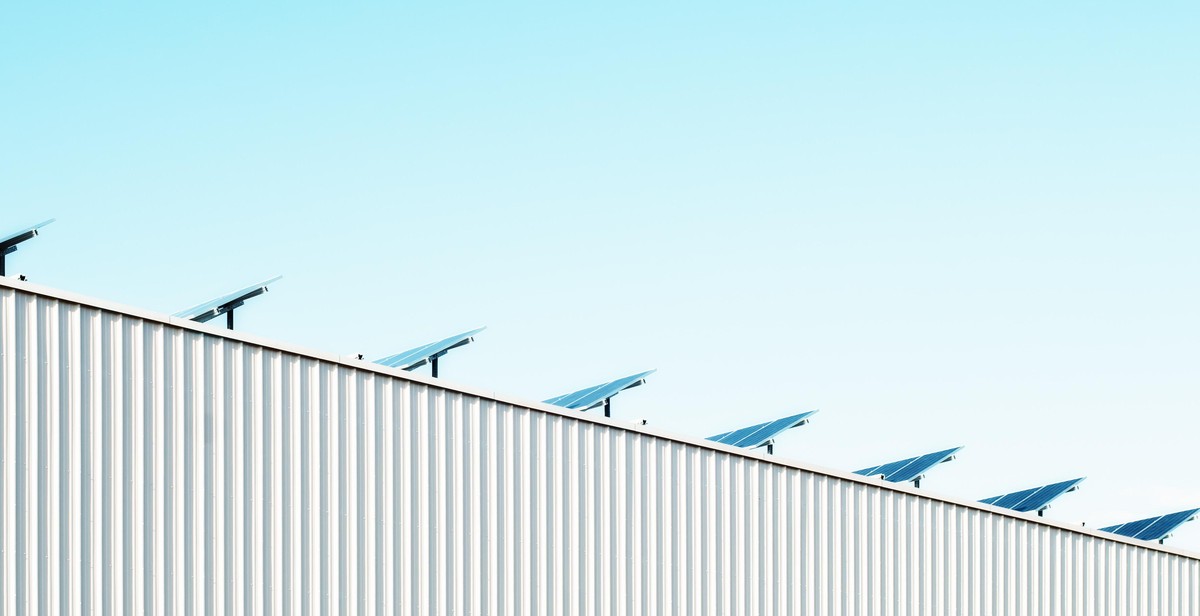
Step 2: Choose a Location for Your Solar Panels
Choosing the right location for your solar panels is crucial to maximizing their efficiency and energy output. There are two main factors to consider when selecting a location: sunlight availability and roof condition.
Consider Sunlight Availability
The amount of sunlight your panels receive will directly affect their energy output. Solar panels work best when they are exposed to direct sunlight for most of the day. Therefore, it is important to choose a location that receives ample sunlight throughout the year.
When evaluating sunlight availability, it is important to consider the direction your roof faces. South-facing roofs typically receive the most direct sunlight in the Northern Hemisphere, while north-facing roofs receive the least. East and west-facing roofs receive sunlight during specific times of the day, but not for the whole day.
Evaluate Roof Condition
The condition of your roof is also an important factor to consider when selecting a location for your solar panels. Solar panels are designed to last for 25 years or more, so it is important to ensure that your roof is in good condition and can support the weight of the panels.
Before installing solar panels, have a professional roofer inspect your roof to ensure that it is in good condition and can support the weight of the panels. If your roof needs repairs or replacement, it is best to complete those tasks before installing solar panels.
| Factor | Description |
|---|---|
| Sunlight Availability | Choose a location that receives ample sunlight throughout the year. |
| Roof Condition | Ensure that your roof is in good condition and can support the weight of the panels. |
By considering these factors, you can choose the best location for your solar panels, ensuring that they perform optimally and provide you with maximum energy savings.
Step 3: Install Mounting Hardware
Once you have determined the ideal location for your solar panels and have prepared the surface, it is time to install the mounting hardware. The mounting hardware is essential to keep your solar panels secure and in place for optimal performance.
1. Choose the Right Mounting System
There are various types of mounting systems available in the market, including flush mounts, roof mounts, and ground mounts. The type of mounting system you choose depends on your roof type, the location of your solar panels, and the weather conditions in your area.
2. Install Flashing and Sealant
Before installing the mounting hardware, it is important to install flashing and sealant to prevent any water leakage. The flashing is installed around the mounting brackets, and the sealant is applied to the edges of the flashing to create a waterproof seal.
3. Install Mounting Brackets
Once the flashing and sealant are in place, it’s time to install the mounting brackets. The brackets are attached to the roof using screws or bolts, depending on the type of roof you have.
4. Secure the Rails
After installing the brackets, secure the rails to the brackets. The rails are the horizontal bars that hold the solar panels. Ensure that the rails are level and aligned properly.
5. Install the Solar Panels
Once the mounting hardware is in place, it’s time to install the solar panels. The panels are attached to the rails using clamps or brackets. Ensure that the panels are securely attached and properly aligned.
With the mounting hardware installed, your solar panels are now ready to generate eco-friendly energy for your home or business.
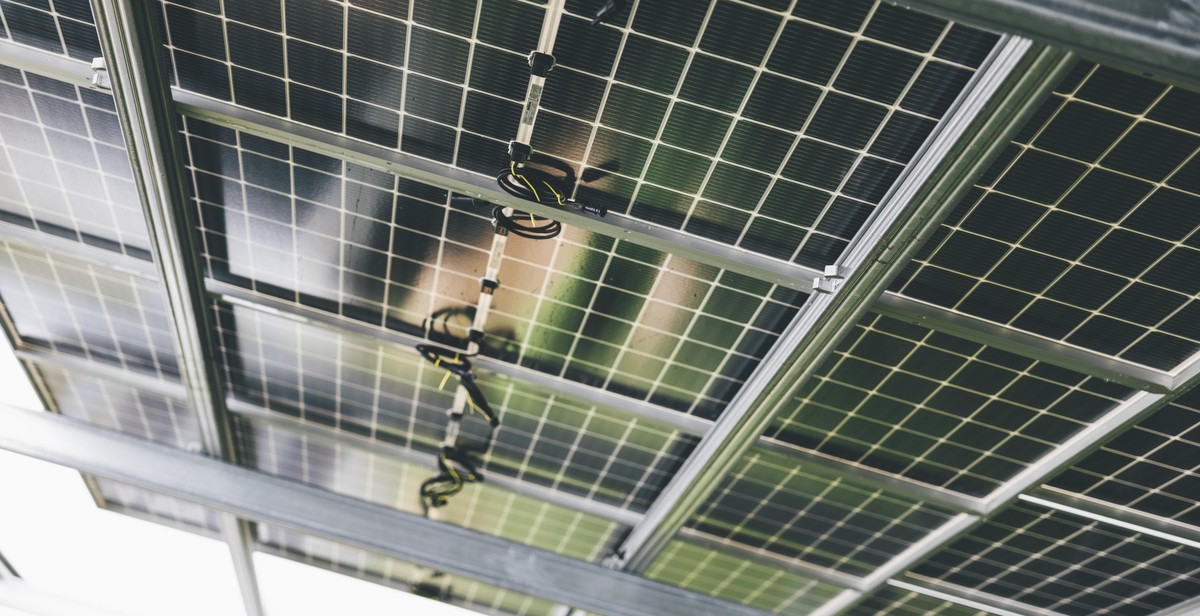
Step 4: Install Electrical Wiring
After mounting your solar panels, the next step is to install the electrical wiring that will connect the panels to the inverter and charge controller. This is a crucial step that requires careful attention to detail to ensure that your solar system functions optimally.
Install Inverter
The inverter is an essential component of your solar system as it converts the direct current (DC) produced by your solar panels into alternating current (AC) that can be used to power your home or business. To install the inverter:
- Choose an appropriate location for the inverter, preferably close to your main electrical panel.
- Mount the inverter on a sturdy surface using screws and brackets.
- Connect the DC input from the solar panels to the inverter.
- Connect the AC output from the inverter to your main electrical panel.
- Test the inverter to ensure that it is functioning correctly.
Install Charge Controller
The charge controller regulates the amount of electricity that flows from the solar panels to the battery bank. This prevents overcharging and ensures that your batteries last longer. To install the charge controller:
- Choose an appropriate location for the charge controller, preferably close to your battery bank.
- Mount the charge controller on a sturdy surface using screws and brackets.
- Connect the DC input from the solar panels to the charge controller.
- Connect the DC output from the charge controller to your battery bank.
- Test the charge controller to ensure that it is functioning correctly.
Once you have installed the inverter and charge controller, you can then proceed to connect the electrical wiring that will link the two components together. This wiring should be done according to the manufacturer’s specifications and in compliance with local electrical codes.
Step 5: Connect Solar Panels to Electrical System
After mounting the solar panels, the next step is to connect them to the electrical system. Here’s how to do it:
1. Install the Inverter
The first step is to install the inverter, which is responsible for converting the DC electricity produced by the solar panels into AC electricity that can be used to power your home. The inverter should be installed in a dry, well-ventilated area, preferably close to your home’s main electrical panel.
2. Connect the Inverter to the Electrical Panel
Once the inverter is installed, you’ll need to connect it to your home’s electrical panel. This is typically done using a dedicated circuit breaker. The breaker should be sized to match the output of your solar panels and inverter.
3. Connect the Solar Panels to the Inverter
Next, you’ll need to connect the solar panels to the inverter. This is typically done using special DC connectors. Make sure to follow the manufacturer’s instructions carefully and use appropriate safety equipment, such as gloves and safety glasses.
4. Test the System
Once everything is connected, it’s time to test the system. Turn on the inverter and check for any error messages or warning lights. If everything looks good, you should start to see power flowing from the solar panels to your home’s electrical system.
5. Monitor the System
Finally, it’s important to monitor your solar panel system on a regular basis to ensure that it’s functioning properly. Keep an eye on the output of the panels and the inverter, and be sure to check for any signs of damage or wear and tear.
By following these steps, you can connect your solar panels to your home’s electrical system and start enjoying the benefits of eco-friendly energy.
Conclusion
Installing solar panels is a great way to reduce your carbon footprint and save money on your energy bills. By following the steps outlined in this guide, you can successfully install solar panels on your own or with the help of a professional.
Benefits of Solar Panels
- Reduces carbon footprint
- Saves money on energy bills
- Increases property value
- Provides energy independence
- Helps to create a sustainable future
It is important to remember that the installation process may vary depending on your location and the type of solar panels you choose. It is always recommended to consult with a professional before beginning any installation project.
Final Thoughts
Solar energy is a renewable and sustainable source of energy that is becoming increasingly popular. By installing solar panels, you can make a positive impact on the environment while also saving money on your energy bills. With the right planning and preparation, anyone can successfully install solar panels and enjoy the benefits of eco-friendly energy.
| Author: | John Doe |
| Date Published: | June 1, 2021 |
| Category: | Renewable Energy |