
How to Install Outdoor Security Cameras for Home Protection
Installing outdoor security cameras is an excellent way to protect your home from potential intruders. According to the FBI, a burglary occurs every 25.7 seconds in the United States, and homes without security systems are three times more likely to be targeted. By installing outdoor security cameras, you can deter burglars, monitor your property, and provide evidence to law enforcement if necessary.
Why Install Outdoor Security Cameras for Home Protection?
Installing outdoor security cameras offers many benefits for homeowners, including:
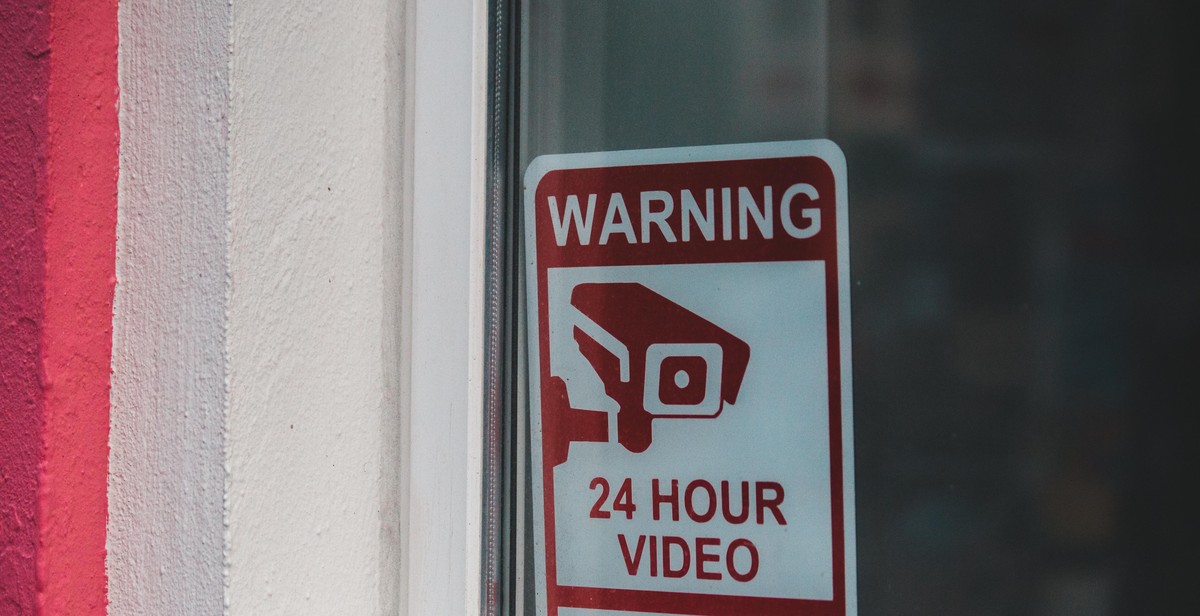
- Deterrence: Visible cameras can scare off potential intruders and prevent break-ins.
- Monitoring: You can keep an eye on your property and detect any suspicious activity.
- Identification: If a crime does occur, outdoor cameras can provide valuable evidence to help identify the perpetrator.
- Peace of mind: Knowing that your home is protected can give you a sense of security and peace of mind.
With advancements in technology, there are now many different types of outdoor security cameras available, from wired to wireless, and from basic to advanced features. In this article, we will provide a step-by-step guide on how to install outdoor security cameras for your home protection.
Step 1: Choose the Right Type of Camera
Choosing the right type of camera for your outdoor security needs is crucial. There are two main types of outdoor security cameras: wired and wireless.
Wired vs. Wireless Cameras
Wired cameras are connected to a power source and transmit data through a physical cable. These types of cameras are more reliable and offer a higher quality of video. However, the installation process can be more difficult and time-consuming, as you need to ensure that the cables are properly hidden and protected from the elements.
Wireless cameras, on the other hand, are powered by batteries or solar panels and transmit data through Wi-Fi or cellular networks. They are easier to install and can be placed almost anywhere, as they do not require a physical cable. However, they may not provide as high-quality video as wired cameras, and their batteries need to be recharged or replaced regularly.
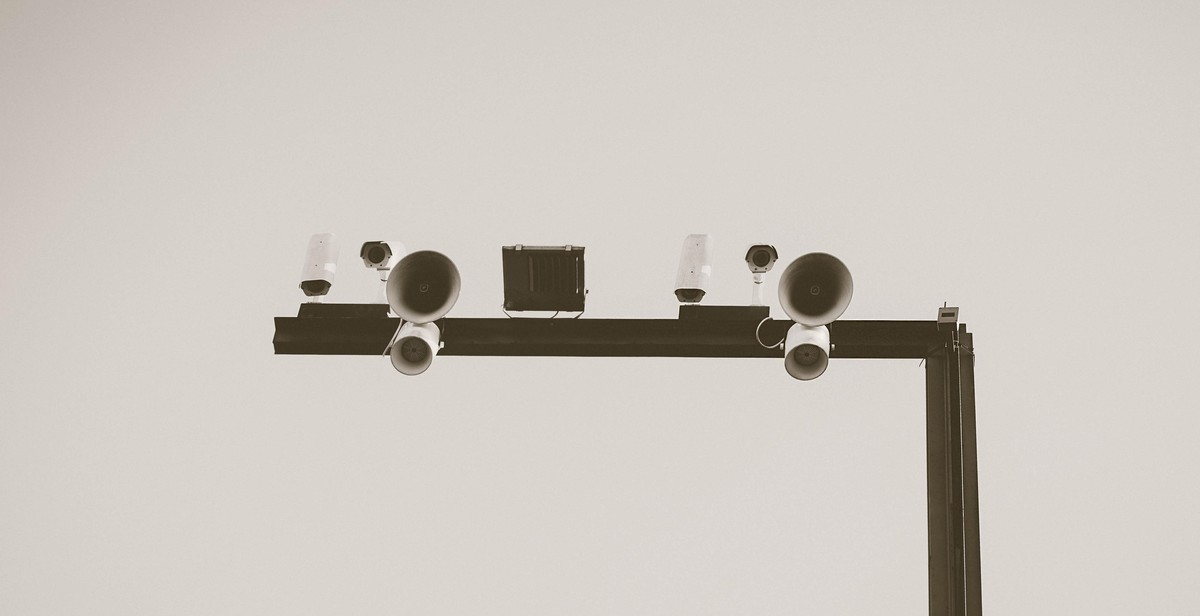
Bullet Cameras vs. Dome Cameras
Once you have decided on the type of camera, you will need to choose between bullet and dome cameras. Bullet cameras are cylindrical in shape and are typically mounted on walls or ceilings. They are more visible and can act as a deterrent to potential intruders. They also have a longer range and are better suited for outdoor use.
Dome cameras, on the other hand, are more discreet and can be mounted on ceilings or walls. They are less visible and can blend in more easily with the surroundings. They also offer greater flexibility in terms of viewing angles, as they can be tilted and rotated to capture different areas.
| Wired Cameras | Wireless Cameras | |
|---|---|---|
| Pros | Reliable, high-quality video | Easy to install, no physical cable needed |
| Cons | Difficult installation process, cables need to be hidden and protected | Lower quality video, batteries need to be recharged or replaced |
| Bullet Cameras | Dome Cameras | |
|---|---|---|
| Pros | Visible, act as a deterrent, longer range, better for outdoor use | Discreet, can blend in, greater flexibility in viewing angles |
| Cons | Less flexibility in viewing angles | Less visible, may not act as a deterrent |
By considering the pros and cons of wired vs. wireless cameras and bullet vs. dome cameras, you can choose the right type of camera to meet your outdoor security needs.
Step 2: Determine the Best Location for Your Cameras
Now that you have decided to install outdoor security cameras for your home protection, the next step is to determine the best locations to place them. Here are some key areas to consider:
Front Door
The front door is a common entry point for burglars. Installing a camera here can help you monitor who is coming and going. Place the camera at an angle that captures the entire entrance and faces away from direct sunlight. This will help to avoid glare and ensure clear footage. Make sure it is mounted high enough to prevent tampering.
Back Door
Like the front door, the back door is another entry point that burglars often target. Install a camera at this location to capture any suspicious activity. Position the camera to cover the entire door and any surrounding areas. Make sure it is mounted high enough to avoid tampering.
Garage
A garage is another common entry point for burglars. Installing a camera here can help you keep an eye on any activity in and around the garage. Place the camera at an angle that captures the entire entrance and covers any surrounding areas. Make sure it is mounted high enough to prevent tampering.
Driveway
Installing a camera in the driveway can help you monitor any suspicious activity or vehicles that may pull up to your home. Position the camera at an angle that covers the entire driveway and any surrounding areas. Make sure it is mounted high enough to avoid tampering.
When choosing the best location for your outdoor security cameras, it’s important to consider the areas that are most vulnerable to break-ins. By strategically placing your cameras, you can increase the security of your home and deter any potential intruders.
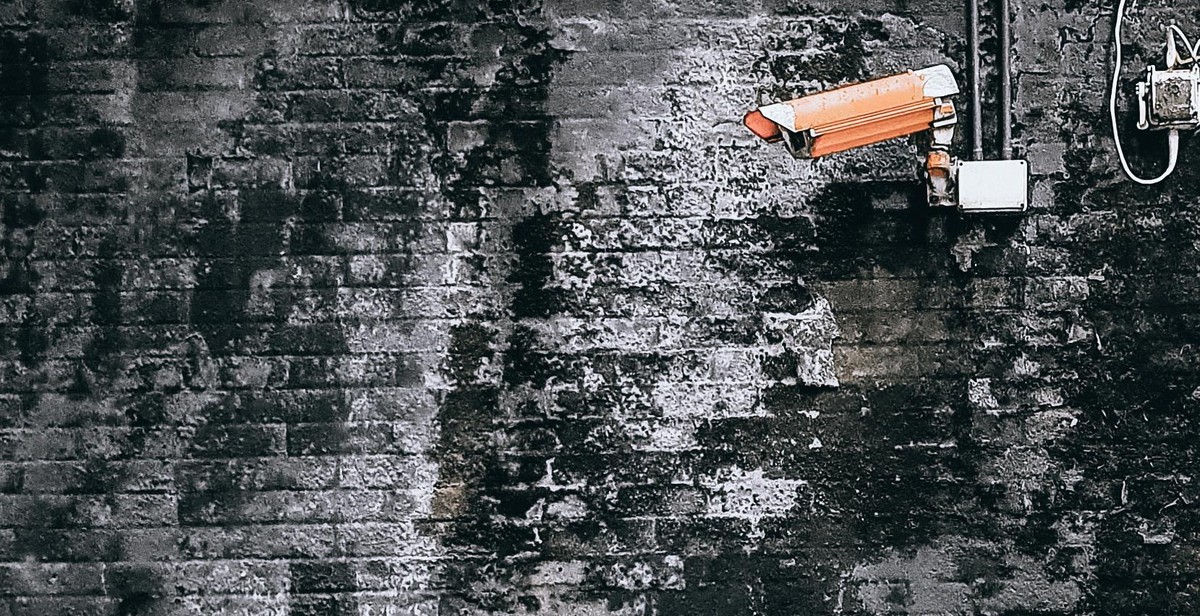
Step 3: Install the Cameras
Installing the outdoor security cameras is the most crucial step in the process of securing your home. The installation process can vary depending on the type of cameras you have purchased and the location you have chosen for them. Here are the three main steps to installing your outdoor security cameras:
Gather Your Tools and Equipment
Before you begin installing your cameras, make sure you have all the necessary tools and equipment. This will include:
- Security cameras
- Mounting brackets
- Screws and anchors
- Drill and drill bits
- Wire strippers
- Crimping tool
- Power drill
- Power extension cable
Mount the Cameras
Once you have gathered all the necessary tools and equipment, it’s time to mount the cameras. Here are the steps to follow:
- Choose the location where you want to mount the camera. Make sure it’s a location that provides a clear view of the area you want to monitor.
- Attach the mounting bracket to the camera using the screws provided.
- Use a power drill to drill holes into the wall or ceiling where you want to mount the camera.
- Insert the anchors into the holes and screw the mounting bracket into place.
- Attach the camera to the mounting bracket.
Connect the Cameras
Once you have mounted the cameras, it’s time to connect them to your home security system. Here are the steps to follow:
- Run the power extension cable from the camera to the power source, making sure to hide the cable as much as possible.
- Connect the power cable to the camera and plug it into the power source.
- Connect the camera to your home security system using the provided cables.
- Test the camera to make sure it’s working properly.
Now that you have successfully installed your outdoor security cameras, you can rest assured that your home is protected. Remember to test your cameras regularly to ensure they are functioning correctly.
Step 4: Set Up Your Monitoring System
Now that you have installed your outdoor security cameras, it is important to set up a monitoring system to ensure that your home is always protected. A monitoring system allows you to keep an eye on your property even when you are away, giving you peace of mind and protecting your home from potential threats. Here are the steps to follow to set up your monitoring system:
Choose a Monitoring System
There are many different types of monitoring systems available, including cloud-based systems and DIY systems. You will need to choose the system that is right for you based on your budget, your technical expertise, and your specific needs. Some popular options include:
- Ring Alarm
- Nest Secure
- ADT Security
- SimpliSafe
Connect Your Cameras to the Monitoring System
Once you have chosen your monitoring system, you will need to connect your cameras to the system. This will typically involve downloading an app or software onto your phone or computer and following the instructions provided. Make sure that you test your cameras to ensure that they are properly connected to the monitoring system.
Test Your System
Before you rely on your monitoring system to protect your home, it is important to test the system to ensure that it is working properly. This will involve testing your cameras, your sensors, and your alarms to ensure that they are all functioning as they should. You may also want to test your system periodically to ensure that it continues to work properly over time.
| Tip: | Consider setting up notifications on your monitoring system so that you are alerted if there is any unusual activity on your property. This can help you to respond quickly to any potential threats. |
|---|
Conclusion
Installing outdoor security cameras is an effective way to protect your home from theft, vandalism, and other criminal activities. It not only provides you with a sense of security but also helps you keep an eye on your property at all times.
Before installing the cameras, you need to determine the areas that need surveillance, choose the right type of camera, and ensure that the cameras are installed correctly. It’s also essential to consider the storage options and ensure that you have a reliable internet connection to access the footage whenever you need it.
Remember to follow the manufacturer’s instructions when installing the cameras and keep them updated with the latest firmware to ensure optimal performance.
Additionally, it’s important to maintain the cameras regularly and clean them to ensure that they capture clear images and videos.
Investing in outdoor security cameras is a smart decision that can help you protect your home and keep your loved ones safe. By following the tips and guidelines provided in this article, you can install the cameras correctly and enjoy peace of mind knowing that your home is secure.
| Tip: | Consider hiring a professional to install your outdoor security cameras if you’re not confident in your DIY skills. |