How to Edit and Enhance Your Photos with Lightroom: Step-by-Step Tutorial
If you’re a photographer, you know that taking great pictures is only half the battle. The other half is editing and enhancing those pictures to make them really stand out. One of the most popular tools for doing this is Adobe Lightroom.
What is Lightroom?
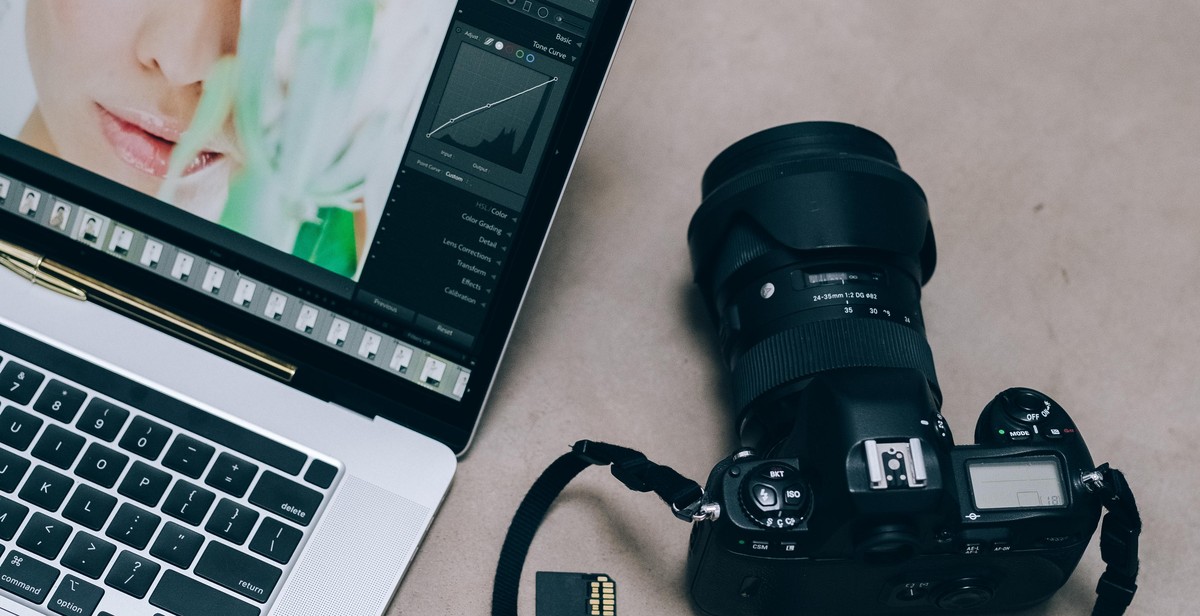
Adobe Lightroom is a powerful editing software that allows you to make a wide range of adjustments to your photos. It’s designed specifically for photographers and offers a range of features that make it easy to organize, edit, and enhance your photos.
With Lightroom, you can adjust things like exposure, contrast, color balance, and more. You can also crop and straighten your photos, remove blemishes and other imperfections, and even apply creative filters and effects.
In this step-by-step tutorial, we’ll show you how to use Lightroom to edit and enhance your photos. Whether you’re a beginner or an experienced photographer, you’ll learn tips and tricks for getting the most out of this powerful software.

Getting Started with Lightroom: A Step-by-Step Tutorial
If you are looking for a powerful tool to edit and enhance your photos, Adobe Lightroom is one of the best choices available. Lightroom is a professional-grade photo editing software that is used by photographers and graphic designers all over the world. In this tutorial, we will guide you through the process of getting started with Lightroom, including importing your photos, understanding the Lightroom interface, and using the Library module to organize your images.
Importing Photos into Lightroom
The first step in using Lightroom is to import your photos into the software. To do this, you need to connect your camera or memory card to your computer and open Lightroom. Once you have opened Lightroom, click on the “Import” button in the lower-left corner of the screen. This will bring up the Import dialog box.
In the Import dialog box, you can select the photos you want to import and choose where you want to store them on your computer. You can also apply keywords and metadata to your photos during the import process, which will make it easier to organize and find them later on.
Understanding the Lightroom Interface
Once you have imported your photos into Lightroom, you will need to familiarize yourself with the software’s interface. The Lightroom interface is divided into several modules, each of which serves a different purpose. The modules include the Library module, the Develop module, the Map module, the Book module, and the Print module.
The Library module is where you will spend most of your time in Lightroom. This module allows you to organize your photos, add keywords and metadata, and view your images in various ways. The Library module also includes tools for rating and flagging your photos, which will help you quickly identify your best shots.
Understanding the Library Module
The Library module is where you will start when you first open Lightroom. This module allows you to organize your photos and view them in various ways. The Library module includes several panels, including the Navigator panel, the Catalog panel, the Folders panel, and the Collections panel.
The Navigator panel allows you to zoom in and out of your photos and navigate through them quickly. The Catalog panel displays all of your photos in Lightroom, and the Folders panel allows you to navigate through your computer’s file system to find the photos you want to work with. The Collections panel allows you to create collections of photos based on specific criteria, such as date, location, or subject matter.
With these basic concepts under your belt, you’re ready to start exploring the powerful editing tools available in Lightroom. In the next section of this tutorial, we will guide you through the process of using the Develop module to edit and enhance your photos.

Editing Your Photos
Once you’ve imported your photos into Lightroom, it’s time to start editing and enhancing them using the Develop module. Here’s a step-by-step guide on how to edit your photos:
Understanding the Develop Module
The Develop module is where you’ll spend most of your time editing your photos in Lightroom. It’s where you can adjust the exposure, contrast, color, and sharpness of your images.
Cropping and Straightening Images
Before you start adjusting the exposure and color of your photos, it’s a good idea to crop and straighten them first. Use the Crop tool to remove any unwanted parts of your image and straighten any crooked horizons.
Adjusting Exposure and Contrast
The Exposure and Contrast sliders are the most basic adjustments you can make to your photos. Use the Exposure slider to brighten or darken your image, and the Contrast slider to increase or decrease the difference between the light and dark areas of your photo.
Color Correction and Enhancement
The Color panel in Lightroom allows you to adjust the color temperature, tint, saturation, and vibrance of your photos. Use the Temperature slider to make your image warmer or cooler, and the Tint slider to adjust the green and magenta tones. The Saturation slider can help make colors more vibrant, while the Vibrance slider can help boost the colors without oversaturating skin tones.
Sharpening and Noise Reduction
Finally, use the Detail panel to sharpen your image and reduce any noise. The Sharpening slider can help bring out more detail in your photo, but be careful not to overdo it and create a halo effect. The Noise Reduction slider can help reduce any graininess or noise in your image, but again, be careful not to overdo it and create a plastic-looking effect.
| Tip: | Use the Before/After view in Lightroom to compare your edited photo with the original. This can help you see if you’ve made any improvements or if you’ve gone too far with your adjustments. |
|---|
By following these simple steps, you can edit and enhance your photos in Lightroom to make them look their best.

Enhancing Your Photos
Once you have imported your photos into Lightroom, you can begin the process of enhancing them. Here are some tips and techniques to help you get the most out of your photos:
Using Presets
If you’re new to photo editing, presets can be a great way to get started. Presets are pre-made adjustments that you can apply to your photos with just one click. Lightroom comes with a variety of presets built-in, but you can also download additional presets from third-party sources. You can also create your own presets by saving your adjustments as a preset for future use.
Adding Creative Effects
Lightroom offers a variety of creative effects that you can use to enhance your photos. These include adding vignettes, adjusting the saturation and hue, and applying split toning. You can also add grain or noise to your photos to give them a vintage or film-like look. Experiment with different effects to find the ones that work best for your photos.
Removing Blemishes and Imperfections
If your photos have blemishes or imperfections, Lightroom has several tools that can help you remove them. The Spot Removal tool allows you to remove small spots or blemishes, while the Clone tool can be used to remove larger areas. You can also use the Healing Brush tool to remove wrinkles or other imperfections from your subject’s skin.
Creating Panoramas and HDR Images
If you have multiple photos of the same scene, you can use Lightroom to create a panorama or HDR (high dynamic range) image. To create a panorama, select the photos you want to use and then click on the Panorama button in the top menu. Lightroom will automatically stitch the photos together to create a single panorama image. To create an HDR image, select the photos you want to use and then click on the HDR button. Lightroom will blend the photos together to create an image with a greater range of brightness and detail.
By using these techniques, you can enhance your photos and make them look their best. Experiment with different settings and effects to find the ones that work best for your photos.

Exporting and Sharing Your Photos
Once you have edited and enhanced your photos to your satisfaction, it’s time to export and share them with the world. Here are some tips on how to export, print, and share your photos using Lightroom.
Exporting Images
Exporting your images is easy with Lightroom. Simply select the photo or photos you want to export, then click on the “Export” button. From there, you can choose the file format, quality, and size you want to export your photos in.
It’s important to optimize your images for the web to ensure they load quickly and look great on all devices. We recommend exporting your photos in JPEG format with a quality setting of 80% and a resolution of 72 pixels per inch.
Printing Photos
If you want to print your photos, Lightroom makes it easy to do so. Simply select the photo or photos you want to print, then click on the “Print” button. From there, you can choose the print size, layout, and other options.
It’s important to make sure your photos are optimized for printing to ensure they look great on paper. We recommend using a resolution of at least 300 pixels per inch and choosing a high-quality paper for best results.
Sharing on Social Media
Sharing your photos on social media is a great way to showcase your work and connect with others. Lightroom makes it easy to share your photos on popular social media platforms like Facebook, Instagram, and Twitter.
To share your photos, simply select the photo or photos you want to share, then click on the “Share” button. From there, you can choose the social media platform you want to share your photos on and customize your post.
Remember to optimize your photos for social media by choosing the appropriate size and resolution. We recommend using a square aspect ratio for Instagram and a landscape aspect ratio for Facebook and Twitter.
| Exporting Images | Printing Photos | Sharing on Social Media |
|---|---|---|
| Choose file format, quality, and size | Choose print size, layout, and other options | Choose social media platform and customize post |
| Optimize for web: JPEG, 80% quality, 72ppi | Optimize for print: 300ppi, high-quality paper | Optimize for social media: appropriate size and aspect ratio |
