
Introduction
Wildlife photography has become increasingly popular among photographers and nature enthusiasts alike. It involves capturing animals in their natural habitats, showcasing their beauty and behavior in a way that is both captivating and informative. Editing and enhancing wildlife photography can take your images to the next level, making them stand out from the rest. In this article, we will explore the art of editing and enhancing wildlife photography.
What is Wildlife Photography?
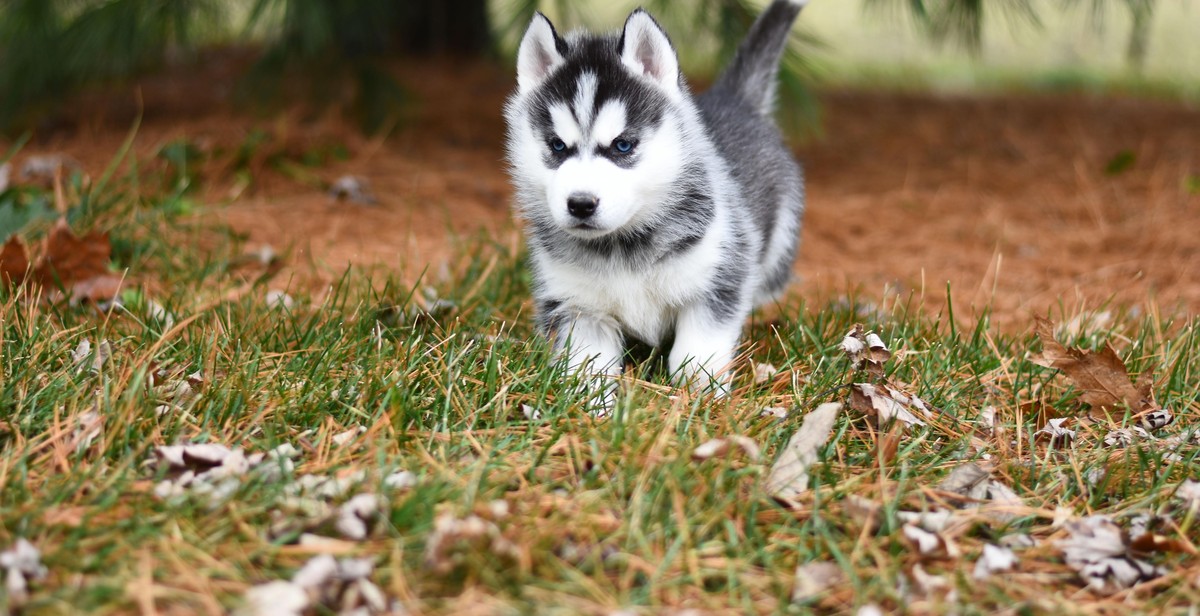
Wildlife photography is the art of capturing animals in their natural habitats. It is a challenging and rewarding genre of photography that requires patience, skill, and knowledge of animal behavior. Wildlife photographers aim to capture the beauty and behavior of animals in their natural environment, showcasing their unique characteristics and personalities.
Wildlife photography can be done in various settings, including forests, deserts, mountains, and oceans. It involves getting up close and personal with animals, often requiring specialized equipment such as telephoto lenses and camouflage gear.
Editing and enhancing wildlife photography can help to bring out the best in your images. It can help to correct exposure, adjust color and contrast, and sharpen details. With the right editing techniques, you can create stunning wildlife photographs that capture the essence of the animal and its environment.

Equipment and Preparation
Choosing the Right Camera and Lens
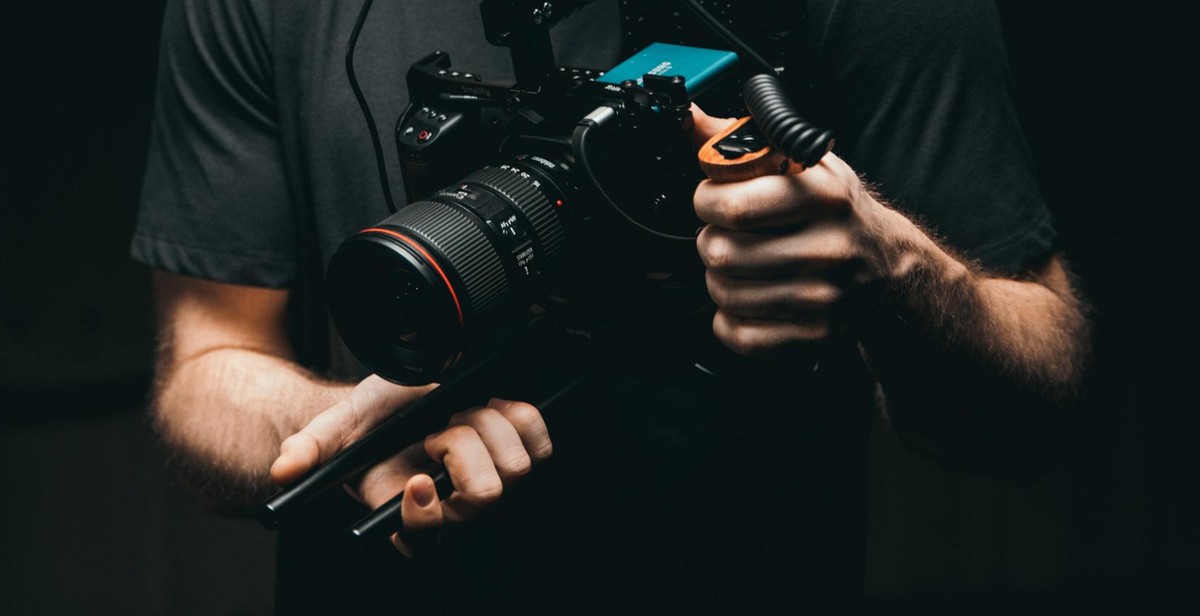
When it comes to wildlife photography, the right equipment is crucial for capturing stunning images. A camera with fast autofocus and a high frame rate is essential for capturing fast-moving animals. A full-frame camera is also recommended as it provides better image quality and low-light performance.
For lenses, a telephoto lens with a focal length of at least 200mm is recommended for capturing animals from a distance. A zoom lens with a wide range of focal lengths is also useful for versatility in different scenarios.
| Camera | Lens |
|---|---|
| Full-frame camera with fast autofocus and high frame rate | Telephoto lens with at least 200mm focal length and zoom lens with wide range of focal lengths |
Understanding Your Camera Settings
Knowing your camera settings is key to capturing great wildlife photos. Understanding aperture, shutter speed, and ISO will help you adjust to different lighting conditions and capture animals in motion.
- Aperture: A lower f-stop number creates a shallow depth of field, which can be used to isolate the animal from the background.
- Shutter speed: A faster shutter speed is needed to freeze motion and prevent blur.
- ISO: A higher ISO can be used in low-light conditions, but too high of an ISO can result in grainy photos.
Preparing for Your Photography Trip
Proper preparation is essential for a successful wildlife photography trip. Researching the location and animal behavior can help you anticipate their movements and capture unique shots.
It is also important to pack necessary gear, such as extra batteries, memory cards, and a tripod. Dressing appropriately for the weather and bringing snacks and water can also ensure a comfortable and productive trip.
- Research the location and animal behavior
- Pack necessary gear including extra batteries, memory cards, and a tripod
- Dress appropriately and bring snacks and water

Composition and Lighting
Composition and lighting are essential elements in wildlife photography. They can make or break your shot, so it’s important to pay attention to them when you’re out in the field.
Framing Your Subject
When it comes to wildlife photography, the subject is the most important element of the shot. Therefore, it’s important to frame your subject properly. One of the most basic rules of framing is the rule of thirds. This means that you should imagine a grid of nine equal squares on your viewfinder and place your subject at one of the intersecting points. This will create a more balanced and visually appealing composition.
Another important element of framing is the background. Make sure to choose a background that complements your subject and doesn’t distract from it. A clean and simple background is usually the best option.
Utilizing Natural Lighting
Natural lighting is the best option for wildlife photography, as it creates a more natural look and feel. The best times to shoot are during the early morning or late afternoon when the sun is low in the sky. This creates a warm and soft light that can enhance your shots.
When shooting in bright sunlight, it’s important to use a polarizing filter to reduce glare and reflections. This will help to bring out the natural colors and details of your subject.
Using Shadows and Reflections
Shadows and reflections can add depth and interest to your shots. Look for opportunities to use these elements in your composition. For example, you can use shadows to create a sense of mystery or drama, or reflections to create a symmetrical and balanced composition.
When using shadows and reflections, it’s important to pay attention to the direction of light. The angle of the light can create different effects, so experiment with different angles to see what works best for your subject.
| Tip | Description |
|---|---|
| Use the rule of thirds | Place your subject at one of the intersecting points of a grid of nine equal squares to create a balanced composition |
| Choose a simple background | A clean and simple background will complement your subject and not distract from it |
| Shoot during the early morning or late afternoon | Natural lighting during these times creates a warm and soft light that enhances your shots |
| Use a polarizing filter | Reduce glare and reflections when shooting in bright sunlight to bring out natural colors and details |
| Look for opportunities to use shadows and reflections | These elements can add depth and interest to your shots |
Editing Your Photos
After capturing your wildlife photographs, the next step is to edit and enhance them to make them look even better. Here are some tips for editing your photos:
Selecting the Best Photos
The first step in editing your photos is to select the best ones. Go through your photos and choose the ones that are in focus, have good composition, and capture the essence of the wildlife you were photographing. You can use software like Adobe Lightroom or Photoshop to organize your photos and make the selection process easier.
Adjusting Exposure and Contrast
Exposure and contrast are two important factors that can make or break a wildlife photograph. Adjusting the exposure can help you brighten up a dark image or tone down an overexposed one. Similarly, adjusting the contrast can help you bring out the details in your photos. Use the histogram tool in your editing software to adjust the exposure and contrast.
Cropping and Straightening
Cropping can help you remove any distractions from your photo and focus on the main subject. It can also help you improve the composition of your photo. Straightening your photo can also make a big difference. A slightly tilted photo can make the subject look off-balance. Use the crop and straighten tools in your editing software to make these adjustments.
Removing Unwanted Objects
Before finalizing your photo, make sure to remove any unwanted objects or distractions. This can include stray branches, litter, or other animals that may have wandered into the frame. Use the clone or healing brush tool in your editing software to remove these objects seamlessly.
By following these tips, you can enhance your wildlife photographs and make them stand out. Remember to always keep the natural habitat of the animals in mind and avoid over-editing your photos.
Enhancing Your Photos
After capturing your wildlife photography, the next step is to enhance your images. Here are some ways to enhance your photos:
Sharpening and Detailing
Sharpening and detailing can make your wildlife photos look crisper and clearer. Use the sharpening tool in your editing software to adjust the sharpness of your image. You can also adjust the clarity or structure to bring out more details in your photo.
Adjusting Colors and Saturation
Adjusting the colors and saturation of your wildlife photos can make them more vibrant and eye-catching. Use the color adjustment tool to adjust the brightness, contrast, and saturation of your image. You can also adjust the white balance to correct any color casts in your image.
Applying Filters and Effects
Filters and effects can add a unique touch to your wildlife photos. Experiment with different filters and effects to find the perfect look for your image. You can also apply vignettes or blurs to draw attention to your subject.
Keep in mind that while enhancing your photos can make them look better, it’s important not to overdo it. Be careful not to make your photos look too artificial or unrealistic. Remember, the goal is to enhance your photos while still maintaining the natural beauty of your wildlife subjects.
By applying these simple techniques, you can take your wildlife photography to the next level and create stunning images that capture the beauty of animals in their natural habitat.
Conclusion
Editing and enhancing wildlife photography is a crucial step in creating stunning and impactful images that tell a story and convey a message. By following the tips and techniques outlined in this article, you can take your wildlife photography to the next level and capture animals in their natural habitat with greater detail, clarity, and beauty.
Remember the basics
Before diving into advanced editing techniques, it’s important to remember the basics of wildlife photography. This includes understanding animal behavior, choosing the right equipment, and practicing patience and persistence in the field. By mastering these fundamentals, you can capture compelling images that are worth editing and enhancing.
Experiment with different editing tools
There are numerous editing tools and software available that can help you enhance your wildlife photography. From basic adjustments like exposure and color correction to more advanced techniques like cloning and compositing, it’s important to experiment with different tools and find the ones that work best for your style and vision.
Stay true to the natural environment
While editing and enhancing can help bring out the beauty and detail in your wildlife photography, it’s important to stay true to the natural environment and avoid over-editing. This means being mindful of the colors, lighting, and overall atmosphere of the scene, and avoiding excessive manipulation that can distort the reality of the moment.
Share your work and continue learning
Finally, don’t forget to share your work with others and continue learning and growing as a wildlife photographer. By joining online communities, attending workshops and events, and seeking feedback from peers and professionals, you can improve your skills and build a portfolio that showcases your unique perspective and style.
| Remember: | Master the basics of wildlife photography, experiment with different editing tools, stay true to the natural environment, and continue learning and growing as a photographer. |