
How to Edit and Enhance Black and White Portraits: Creating Timeless and Dramatic Images
Black and white portraits have a timeless and dramatic quality that is hard to replicate in color photography. They are an excellent way to capture the essence of a person, emphasizing their features and expressions without the distraction of color. However, creating a striking black and white portrait requires more than just converting a color image to grayscale. It requires careful editing and enhancement to bring out the best in the image.
In this article, we will guide you through the process of editing and enhancing black and white portraits. We will cover everything from choosing the right image to editing techniques that will make your portraits stand out. Whether you are a professional photographer or a hobbyist, this guide will give you the tools and knowledge to create stunning black and white portraits.
What You Will Learn
- How to choose the right image for black and white conversion
- Techniques for enhancing contrast and tonality
- How to use dodging and burning to create depth and dimension
- Ways to add texture and grain for a vintage look
- Tips for finalizing your image for print or web
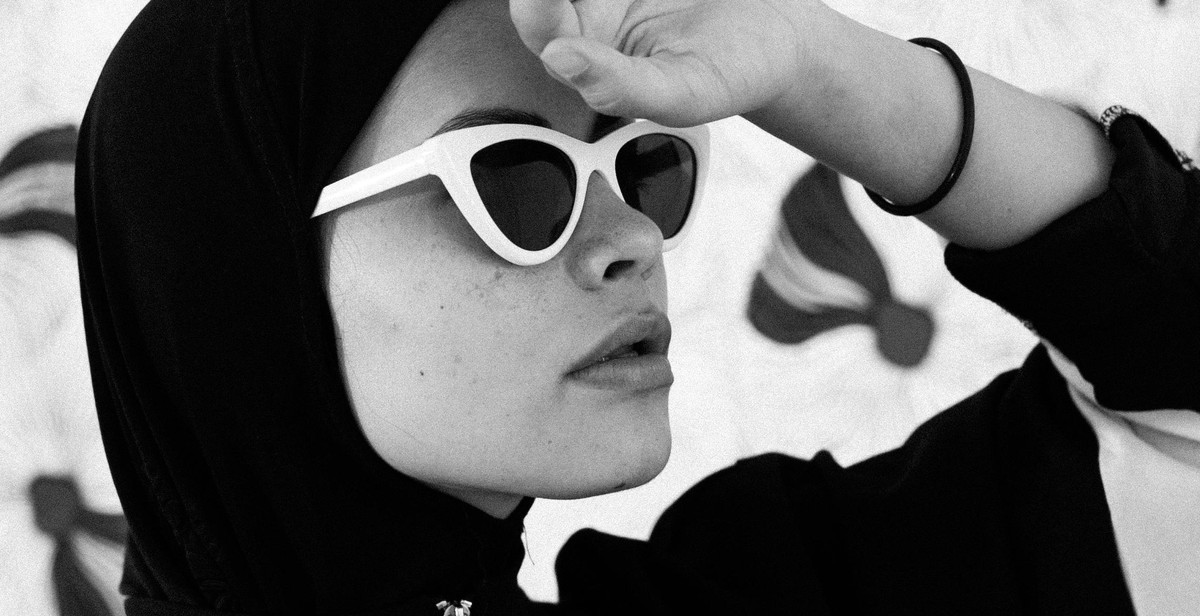
Why Black and White Portraits are Timeless
Black and white portraits have been around since the early days of photography and have stood the test of time. They are classic, elegant, and evoke a sense of nostalgia that is hard to replicate in color photography. By eliminating the distraction of color, black and white portraits focus on the subject’s features, expressions, and emotions. They are a powerful way to capture the essence of a person and can be used to create striking and memorable images.
Understanding Black and White Photography
Black and white photography is a timeless art that has been used for centuries. It is a technique that involves capturing images in monochrome, without the use of color. This type of photography is often used to create dramatic and emotional images that stand the test of time. Understanding the importance of contrast, shadows, and highlights is crucial in creating impactful black and white photographs.
The Importance of Contrast
Contrast is the difference between the lightest and darkest parts of a photograph. In black and white photography, contrast is essential in creating a dramatic effect. High contrast images have a bold and striking appearance, while low contrast images are softer and more subtle. To achieve high contrast, photographers can adjust the exposure, use lighting to create shadows, and enhance the contrast in post-processing.
The Role of Shadows and Highlights
Shadows and highlights play a crucial role in black and white photography. Shadows are the areas of the photograph where there is little or no light, while highlights are the areas where there is a lot of light. These areas create depth and dimension in the photograph. By adjusting the shadows and highlights, photographers can create a more dynamic and impactful image. For example, increasing the shadows can create a moody and mysterious feel, while increasing the highlights can create a bright and airy effect.
Understanding the importance of contrast, shadows, and highlights is essential in creating impactful black and white photographs. By mastering these techniques, photographers can create timeless and dramatic images that stand the test of time.
Preparing the Image for Editing
Before starting to edit and enhance black and white portraits, it is essential to prepare the image correctly. In this section, we will cover the essential steps for preparing the image for editing, including choosing the right image, cropping and straightening, and adjusting exposure and contrast.
Choosing the Right Image
The first step in preparing the image for editing is to choose the right image. When selecting an image, look for one that has good lighting and contrast. Images with strong shadows and highlights will provide more detail and depth when converted to black and white. Additionally, selecting an image with good composition will make editing and enhancing the image much easier.
Cropping and Straightening
Once you have chosen the right image, the next step is to crop and straighten it. Cropping the image will help to remove any distracting elements and focus the viewer’s attention on the subject. Straightening the image will ensure that the subject is level and not tilted, which can be distracting to the viewer.
Most photo editing software has a crop and straighten tool that is easy to use. Simply select the tool, and then drag the edges of the image to crop it. To straighten the image, use the straighten tool and adjust the angle until the subject is level.
Adjusting Exposure and Contrast
After cropping and straightening the image, the next step is to adjust the exposure and contrast. Adjusting the exposure will help to brighten or darken the image, while adjusting the contrast will help to increase the difference between the light and dark areas of the image.
Most photo editing software has an exposure and contrast tool that is easy to use. Simply select the tool, and then adjust the sliders until you achieve the desired effect. Be careful not to overdo it, as this can result in an image that looks unnatural.
By following these essential steps for preparing the image for editing, you will be able to create timeless and dramatic black and white portraits that are sure to impress.

Editing Techniques
Using Curves to Adjust Contrast
One of the most important aspects of editing black and white portraits is adjusting the contrast. This can be done using the Curves tool in Photoshop or other photo editing software. By manipulating the curves, you can brighten the highlights and darken the shadows, creating a more dramatic and dynamic image. To do this, simply select the Curves tool and adjust the line to create an S-curve. This will enhance the contrast and bring out more detail in the image.
Dodging and Burning to Enhance Details
Dodging and burning is a technique used to selectively lighten or darken specific areas of an image. This can be used to enhance details in a black and white portrait, such as adding more depth to the eyes or bringing out the texture in the skin. To do this, create a new layer and set the blending mode to Overlay. Then, use a soft brush to paint over the areas you want to lighten (dodge) or darken (burn). This will create a more dynamic and dramatic image.
Adding Depth with Split Toning
Split toning is a technique used to add color to a black and white image. This can be used to create a more artistic and unique look, or to add depth and dimension to the image. To do this, select the Split Toning tool and choose the colors you want to use. Then, adjust the balance and saturation to create the desired effect. This can be used to add warmth to the highlights or coolness to the shadows, creating a more dynamic and visually appealing image.
 |
 |
 |
Enhancing the Portrait
After you have converted your black and white portrait to a timeless and dramatic image, it’s time to enhance it further. The following are some tips on how to enhance your portrait:
Removing Blemishes and Imperfections
It is important to remove any blemishes or imperfections on the subject’s face to create a polished and flawless image. Use the healing brush tool or the clone stamp tool to remove blemishes, scars, and other imperfections. Be careful not to overdo it as this can make the image look unnatural.
Adding Texture and Grain
Adding texture and grain to your portrait can give it a vintage and film-like feel. You can achieve this by adding a texture layer or a grain layer to your image. To add a texture layer, go to Layer > New Fill Layer > Pattern and choose a texture that complements your image. To add a grain layer, go to Filter > Noise > Add Noise and adjust the settings to your liking.
Creating a Vignette Effect
A vignette effect can draw the viewer’s attention to the subject’s face and create a dramatic effect. To create a vignette effect, go to Layer > New Adjustment Layer > Curves and create an S-curve. Then, go to Layer > New Fill Layer > Solid Color and choose black. Drag the black layer below the curves layer and use the elliptical marquee tool to create a circular selection around the subject’s face. Finally, go to Layer > Layer Mask > Reveal Selection to create a vignette effect.
By following these tips, you can enhance your black and white portrait and create a timeless and dramatic image.
Conclusion
Editing and enhancing black and white portraits can be a challenging task, but with the right tools and techniques, you can create timeless and dramatic images that capture the essence of your subject. Whether you’re a professional photographer or an amateur enthusiast, the key is to experiment with different editing software and techniques until you find what works best for you.
Tips for Editing and Enhancing Black and White Portraits
- Start with a strong composition and lighting
- Use a variety of editing techniques to enhance the contrast, texture, and tonality of your images
- Experiment with different black and white conversion methods to find the one that best suits your style
- Pay attention to the details, such as skin tones and facial features, to ensure that your edits are natural and subtle
- Don’t be afraid to try new things and push the boundaries of traditional editing techniques