How to Do Basic Bike Maintenance: Essential Skills for Keeping Your Bicycle in Top Shape
As a professional article writer and content creator with years of experience, I have come to learn that basic bike maintenance is essential for keeping your bicycle in top shape. Whether you use your bike for commuting, exercise, or leisure, regular maintenance is important for ensuring it runs smoothly and lasts for years to come.
In this article, I will share my personal experience and expertise on how to do basic bike maintenance. We will cover essential skills such as cleaning your bike, checking tire pressure, lubricating the chain, adjusting brakes, and more.
Why is Basic Bike Maintenance Important?
Regular bike maintenance helps prevent breakdowns and costly repairs. It also ensures that your bike is safe to ride, which is especially important if you use it for commuting or long-distance rides. By performing basic maintenance tasks yourself, you can save money and develop a deeper understanding of how your bike works.
What You Will Need
- A clean, dry workspace
- Bike cleaning supplies (soap, water, sponge, brush)
- A tire pressure gauge
- Bike lubricant
- Allen keys or wrenches for adjusting brakes and gears
Now that you know why basic bike maintenance is important and what you will need, let’s dive into the essential skills for keeping your bicycle in top shape.
Why Basic Bike Maintenance is Important
As an experienced cyclist, I cannot stress enough the importance of basic bike maintenance. Not only does it ensure your safety while riding, but it also prolongs the longevity of your bike.
Safety
Keeping your bike in top shape is crucial for your safety while riding. Regular maintenance checks can help identify any potential issues such as loose bolts, worn-out brake pads, or a loose chain. These issues can cause accidents and put your life in danger. By performing basic maintenance regularly, you can prevent these issues from arising and avoid accidents while riding.
Longevity of Bike
Basic bike maintenance is also essential for the longevity of your bike. Neglecting to maintain your bike can cause damage to the components, leading to costly repairs or even the need for a new bike. Regular maintenance checks such as cleaning, lubricating, and adjusting the gears and brakes can help prevent wear and tear on the bike’s components and prolong the life of your bike.
Additionally, keeping your bike in good condition can also increase its resale value. A well-maintained bike will be more attractive to potential buyers, and you can get a better price for it if you decide to sell it in the future.
Overall, basic bike maintenance is crucial for your safety while riding and the longevity of your bike. By performing regular maintenance checks, you can prevent accidents, avoid costly repairs, and prolong the life of your bike.
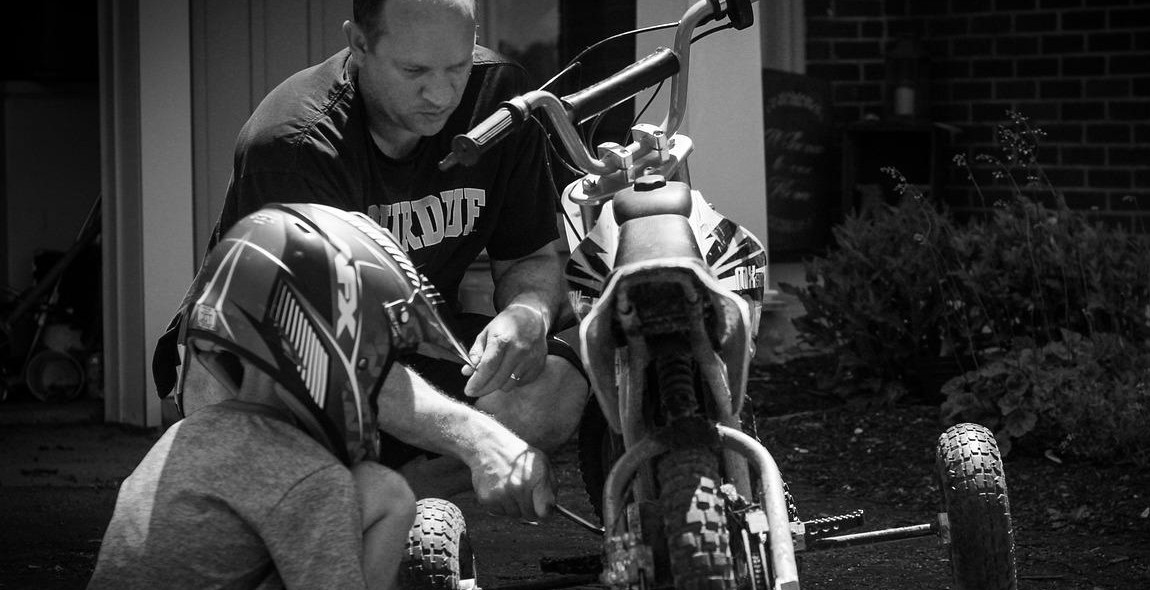
Tools Required for Basic Bike Maintenance
Keeping your bike in top shape requires regular maintenance. To perform basic bike maintenance, you need some essential tools. Here are the tools you need to maintain your bike:
Essential Tools
These tools are essential for basic bike maintenance:
| 1. | Bike pump |
| 2. | Adjustable wrench |
| 3. | Screwdrivers |
| 4. | Tire levers |
| 5. | Chain lubricant |
| 6. | Clean rags |
These tools are necessary for basic bike maintenance. You can use them to perform tasks such as inflating tires, adjusting brakes, and tightening bolts.
Optional Tools
These tools are not essential but can make your bike maintenance tasks easier:
- Chain tool
- Cable cutters
- Torque wrench
- Bike stand
A chain tool can be handy if you need to replace a broken chain. Cable cutters can help you cut cables to the right length. A torque wrench can help you apply the correct amount of torque to bolts. A bike stand can make it easier to work on your bike.
Having the right tools can make bike maintenance tasks easier and more efficient. With these tools, you can keep your bike in top shape and enjoy a smooth, safe ride.
Cleaning Your Bike
Regular cleaning of your bike is essential to keep it in top shape. Dirt and grime can cause damage to the components and reduce the performance of your bike. Here are the basic steps to follow when cleaning your bike:
Preparation
- Choose a well-ventilated area with a flat surface to clean your bike.
- Assemble all the necessary cleaning tools and materials, including a bucket, sponge, bike cleaner, degreaser, chain lubricant, and a hose or a bucket of water.
- Remove any accessories or components that may get damaged during the cleaning process, such as lights, saddlebags, and water bottles.
- Secure your bike on a bike stand or a wall-mounted hanger to make it easier to clean.
Cleaning Process
Follow these steps to clean your bike:
- Start by rinsing your bike with a hose or a bucket of water to remove any loose dirt and debris. Be careful not to spray water directly into the bearings or the electrical components of your bike.
- Apply a bike cleaner to the frame, wheels, and other components of your bike. Use a sponge or a soft brush to scrub off any dirt and grime. Pay special attention to hard-to-reach areas such as the chain, cassette, and derailleur.
- Rinse off the bike cleaner with a hose or a bucket of water. Make sure to remove all the cleaner from the bike to prevent any damage to the paint or the components.
- Apply a degreaser to the chain, cassette, and derailleur. Use a brush to scrub off any dirt and grime. Rinse off the degreaser with water.
- Dry your bike with a clean towel or a soft cloth. Make sure to dry all the components thoroughly to prevent any rust or corrosion.
- Lubricate the chain with a chain lubricant. Apply a small amount of lubricant to each link of the chain and wipe off any excess with a clean cloth.
| Product | Description |
|---|---|
| Bike cleaner | A non-toxic and biodegradable cleaner that removes dirt and grime without damaging the paint or the components. |
| Degreaser | A solvent-based cleaner that removes grease and oil from the chain, cassette, and derailleur. |
| Chain lubricant | A lubricant that reduces friction and wear on the chain, cassette, and derailleur. |
Checking and Adjusting Brakes
Brakes are an essential part of your bicycle, and it is crucial to keep them in good condition. Checking and adjusting your brakes regularly will ensure that they work efficiently and safely when you need them the most. In this section, we will go through the steps of checking and adjusting your brakes.
Checking Brake Pads
The brake pads are the part of the brake that makes contact with the wheel rim. Over time, they can wear down and become less effective. To check your brake pads:
- Spin the wheel and look at the brake pads.
- If the brake pads are worn down to less than 1/8 inch, they need to be replaced.
- If the brake pads are not worn down, but they are dirty or glazed, use sandpaper or a file to roughen them up.
Adjusting Brake Pads
If your brake pads are not making enough contact with the wheel rim, they may need to be adjusted. To adjust your brake pads:
- Loosen the brake pad fixing bolt.
- Align the brake pads with the rim.
- Tighten the brake pad fixing bolt.
Checking Brake Cables
The brake cables are the part of the brake that connects the brake lever to the brake caliper. Over time, they can become stretched or frayed. To check your brake cables:
- Squeeze the brake lever and observe the movement of the brake caliper.
- If the brake caliper does not move or moves too slowly, the cable may be stretched and need to be tightened.
- If the brake cable is frayed or damaged, it needs to be replaced.
Adjusting Brake Cables
If your brake cables are stretched, they may need to be adjusted. To adjust your brake cables:
| Brake Type | Adjustment Method |
|---|---|
| Caliper Brakes | Use the barrel adjuster on the brake lever or the brake caliper to tighten or loosen the cable. |
| Disc Brakes | Use the barrel adjuster on the brake lever or the brake caliper to tighten or loosen the cable. Some disc brakes also have a pad adjustment knob. |
Regularly checking and adjusting your brakes will keep them working efficiently and ensure your safety while riding. If you are unsure about any of these steps, take your bike to a professional mechanic for assistance.
Checking and Adjusting Gears
Keeping your bike’s gears in good working condition is crucial to ensure a smooth and efficient ride. Here are some essential tips on how to check and adjust your bike’s gears.
Checking Gear Shifters
The first step in checking your bike’s gears is to inspect the gear shifters. Make sure they are clean and free from any dirt or debris that could interfere with their operation. Then, shift through all the gears to make sure they are engaging properly.
If you notice any issues with the gear shifters, such as difficulty shifting or skipping gears, it may be time to adjust them.
Adjusting Gear Shifters
To adjust your bike’s gear shifters, start by loosening the cable tension using the barrel adjuster. Shift to the smallest cog on the rear cassette and the smallest chainring on the front derailleur. Then, tighten the cable tension until the chain is running smoothly on the smallest cog and chainring.
Next, shift to the largest cog on the rear cassette and the largest chainring on the front derailleur. If the chain is not running smoothly, adjust the cable tension using the barrel adjuster until it is. Finally, shift through all the gears to make sure they are engaging properly.
Checking Derailleurs
The next step is to check your bike’s derailleurs. Inspect them for any damage or wear, and make sure they are clean and properly lubricated. Then, shift through all the gears to make sure the derailleur is properly aligned with each gear.
If you notice any issues with the derailleur, such as difficulty shifting or skipping gears, it may be time to adjust it.
Adjusting Derailleurs
To adjust your bike’s derailleur, start by shifting to the smallest cog on the rear cassette and the smallest chainring on the front derailleur. Then, loosen the derailleur cable and adjust the high limit screw until the derailleur is properly aligned with the smallest cog.
Next, shift to the largest cog on the rear cassette and the largest chainring on the front derailleur. Loosen the derailleur cable and adjust the low limit screw until the derailleur is properly aligned with the largest cog.
Finally, shift through all the gears to make sure they are engaging properly. If necessary, make any additional adjustments using the barrel adjuster.
| Step | Task |
|---|---|
| 1 | Check gear shifters |
| 2 | Adjust gear shifters |
| 3 | Check derailleurs |
| 4 | Adjust derailleurs |
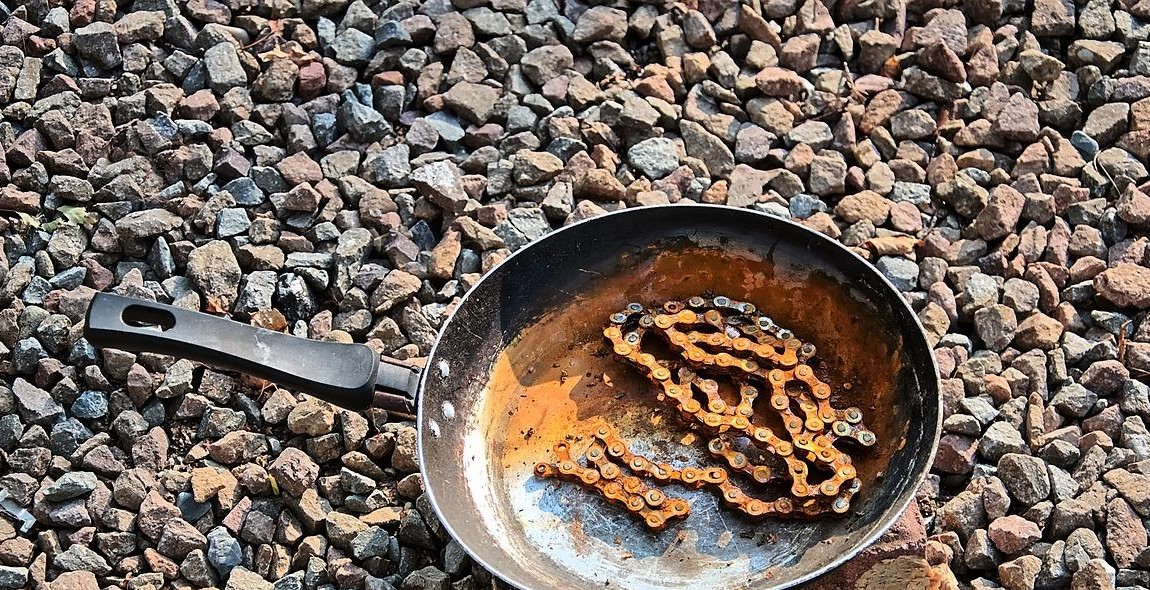
Checking and Lubricating Chain
One of the most important parts of basic bike maintenance is checking and lubricating the chain. A poorly maintained chain can lead to poor shifting, excessive wear on the cassette and chainrings, and even chain failure. Here’s how to properly check and lubricate your bike’s chain:
Checking Chain for Wear
Before lubricating your chain, it’s important to check for wear. A worn chain can cause skipping or slipping when you pedal, and can even damage your bike’s drivetrain. Here’s how to check for chain wear:
- Shift your bike into the smallest chainring and the smallest cog on the cassette.
- Find a ruler or a chain wear indicator tool.
- Place the ruler or tool at the bottom of the chain, with the 0 mark lined up with the center of a chain pin.
- If the 12-inch mark lines up with a pin on the chain, your chain is still in good condition. If the 12-inch mark is past the pin, your chain is worn and needs to be replaced.
Lubricating Chain
Once you’ve determined that your chain is in good condition, it’s time to lubricate it. Lubricating your chain helps to reduce friction and wear, and keeps your bike running smoothly. Here’s how to lubricate your chain:
- Clean the chain: Before lubricating your chain, it’s important to clean it. Use a degreaser and a chain cleaning tool to remove any dirt or grime from the chain.
- Apply lubricant: Apply a small amount of lubricant to each chain link, making sure to cover the entire length of the chain. Be careful not to apply too much, as this can attract dirt and debris.
- Wipe off excess: After applying lubricant, use a clean rag to wipe off any excess. This helps to prevent dirt and debris from sticking to the chain.
- Let it sit: Allow the lubricant to sit on the chain for a few minutes before riding. This gives it time to penetrate the chain and provide maximum protection.
| Lubricant | Pros | Cons |
|---|---|---|
| Dry Lubricant | Doesn’t attract dirt or debris, good for dry conditions | Needs to be reapplied frequently, not good for wet conditions |
| Wet Lubricant | Lasts longer than dry lubricant, good for wet conditions | Attracts dirt and debris, can be messy |
| Ceramic Lubricant | Lasts longer than wet lubricant, reduces friction and wear | Expensive, not widely available |
Checking and Inflating Tires
One of the most essential skills in basic bike maintenance is checking and inflating tires. Properly inflated tires not only provide a smoother ride but also prevent flats and ensure safety while riding.
Checking Tire Pressure
Before inflating your tires, it is important to check the current tire pressure. Overinflated tires can lead to a bumpy and uncomfortable ride, while underinflated tires can cause damage to the rims and increase the risk of a flat tire.
To check the tire pressure, use a tire pressure gauge and locate the recommended pressure range for your bike’s tires. This information is usually printed on the tire sidewall or in the bike owner’s manual.
Press the tire gauge onto the valve stem and read the pressure measurement. If the pressure is within the recommended range, move on to checking the tire tread. If the pressure is low, inflate the tire to the recommended pressure using a bike pump.
Inflating Tires
To inflate your tires, use a bike pump with a pressure gauge. Attach the pump head to the valve stem and secure it in place. Pump air into the tire until it reaches the recommended pressure.
Be sure to check the pressure frequently while inflating to avoid overinflating the tire. Overinflated tires can be dangerous and cause blowouts while riding.
Checking Tire Tread
Proper tire tread is important for grip and control while riding. To check the tire tread, inspect the tire for signs of wear and tear.
Look for any cuts, punctures, or bald spots on the tire surface. If the tread is worn down to the wear indicator bars, it is time to replace the tire.
Regularly checking and maintaining proper tire pressure and tread can prevent flats and ensure a smooth and safe ride.
Conclusion
Basic bike maintenance is an essential skill for any cyclist. By taking care of your bike, you can extend its lifespan, improve its performance, and ensure your safety while riding. While it may seem daunting at first, with practice, you can become proficient in performing basic maintenance tasks.
Remember to always start with a clean bike and use the appropriate tools for each task. Inspect your bike before every ride and address any issues promptly. Regularly lubricate your chain and keep your tires inflated to the recommended pressure. And if you’re not comfortable with a particular task, don’t hesitate to take your bike to a professional mechanic.
By following these basic maintenance tips, you can keep your bike in top shape and enjoy a safe and comfortable ride every time.
Key Takeaways
- Basic bike maintenance includes tasks such as cleaning, lubricating, and inspecting your bike.
- Regular maintenance can extend your bike’s lifespan, improve its performance, and ensure your safety while riding.
- Always use the appropriate tools for each task and take your bike to a professional mechanic if you’re not comfortable with a particular task.
Additional Resources
If you’re interested in learning more about bike maintenance, there are plenty of resources available online. Here are a few to get you started:
- Park Tool Repair Help
- Sheldon Brown’s Bicycle Technical Info
- Bicycling Magazine Repair and Maintenance
 |
 |
 |
