
Introduction
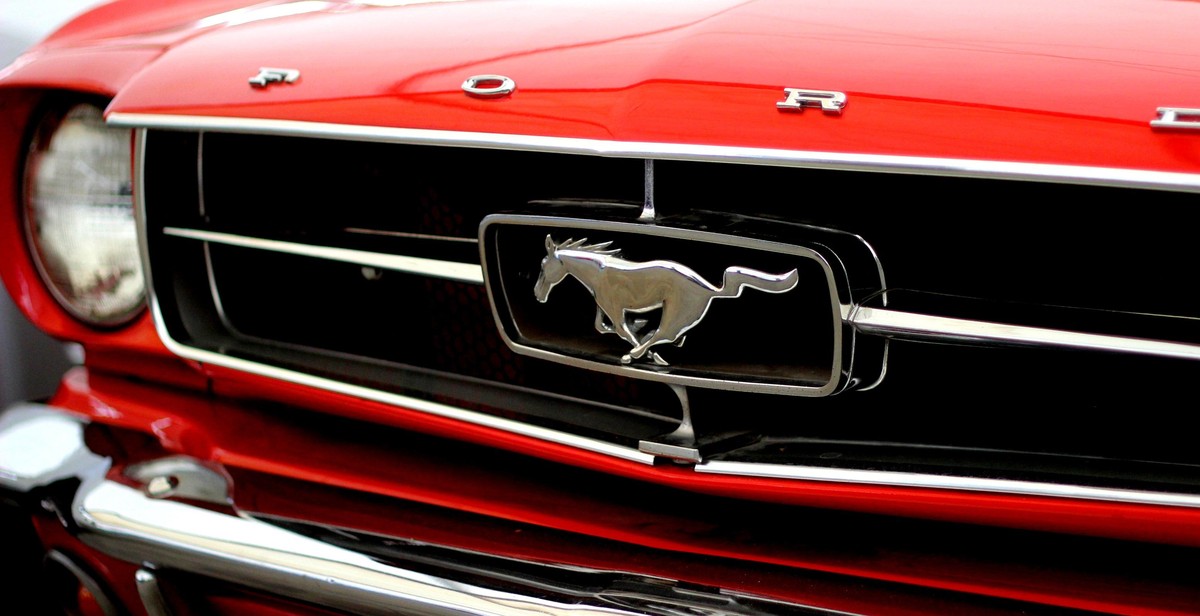
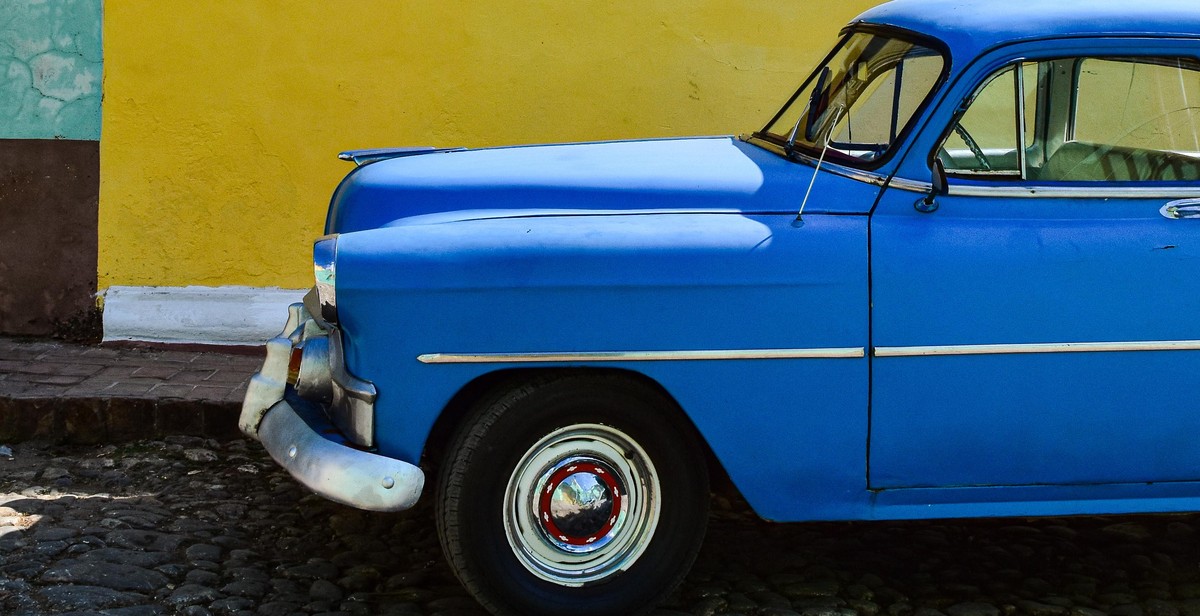
Oldtimer cars, also known as vintage or classic cars, are vehicles that were manufactured between the early 1900s and the late 1980s. These cars are characterized by their unique designs, mechanical features, and historical significance. Many car enthusiasts and collectors consider oldtimer cars as a symbol of beauty, elegance, and sophistication.
Detailing and polishing an oldtimer car is an essential process that helps to preserve its original appearance and value. Over time, oldtimer cars can accumulate dirt, grime, and other contaminants on their exterior surfaces, which can cause them to lose their shine and luster. Detailing and polishing involve cleaning, restoring, and protecting the car’s exterior surfaces, including the paint, chrome, glass, and wheels.
Why Detail and Polish an Oldtimer Car?
Detailing and polishing an oldtimer car offer several benefits, including:
- Preserving the car’s original appearance and value
- Removing stubborn dirt, grime, and contaminants
- Protecting the car’s exterior surfaces from environmental damage
- Enhancing the car’s shine, luster, and overall aesthetic appeal
- Preparing the car for shows, exhibitions, and other events
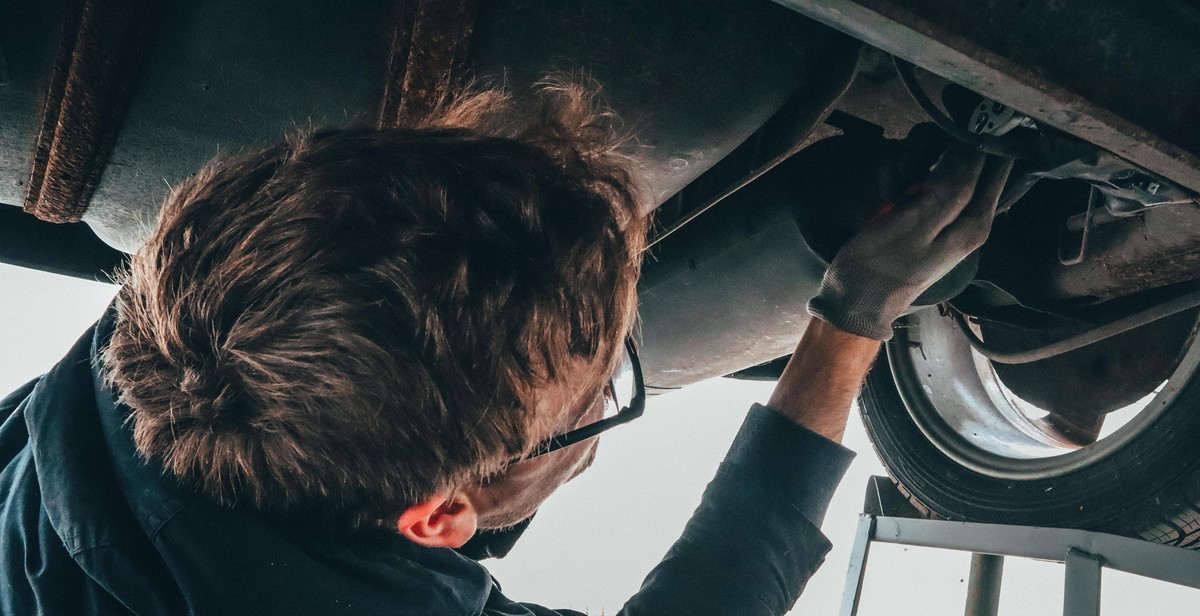
Detailing and polishing an oldtimer car is a meticulous and time-consuming process that requires specialized skills, techniques, and products. In the following sections, we will discuss the step-by-step process of detailing and polishing an oldtimer car and provide tips and recommendations for achieving the best results.
Preparing the Oldtimer Car for Detailing and Polishing
Before you start detailing and polishing your oldtimer car, it is important to prepare it properly. This will ensure that you achieve the best possible results and avoid damaging the car’s paintwork. Here are the steps you should follow:
Washing the Oldtimer Car
The first step in preparing your oldtimer car for detailing and polishing is to wash it thoroughly. This will remove any surface dirt and grime that could scratch the paintwork during the detailing process. Here’s how to wash your oldtimer car:
- Use a high-quality car shampoo and a soft sponge to wash the car from top to bottom.
- Rinse the car thoroughly with a hose or pressure washer.
- Dry the car with a soft, microfiber towel to prevent water spots.
Drying the Oldtimer Car
After washing your oldtimer car, it is important to dry it properly to prevent water spots and streaks. Here’s how to dry your oldtimer car:
- Use a soft, microfiber towel to dry the car from top to bottom.
- Start at the top of the car and work your way down, using a separate towel for the wheels and tires.
- Make sure to dry all the nooks and crannies, including the door jambs and trunk lid.
Claying the Oldtimer Car
Once your oldtimer car is dry, it’s time to clay it. Claying removes any embedded contaminants that washing alone cannot remove. Here’s how to clay your oldtimer car:
- Use a high-quality clay bar and lubricant to clay the car’s surface.
- Work in small sections, using a back-and-forth motion.
- Make sure to keep the surface lubricated to prevent scratching.
- Check the clay bar regularly for contamination and replace it if necessary.
By following these steps, you will have prepared your oldtimer car for detailing and polishing. The next section will cover the actual detailing and polishing process.
Detailing the Oldtimer Car
Detailing an oldtimer car is a delicate process that requires patience and attention to detail. This section will cover the different steps you need to follow to polish, wax, and clean the exterior of your oldtimer car.
Polishing the Oldtimer Car
Polishing your oldtimer car is an important step to remove any imperfections on the paint and restore its shine. Before you start polishing, make sure the surface is clean and dry. You can use a clay bar to remove any contaminants that may be stuck on the surface.
Once the surface is clean, you can start polishing using a machine or by hand. If you are using a machine, make sure to use a foam pad and work in small sections. If you are polishing by hand, use a microfiber towel and apply the polish in circular motions.
Using a Wax or Sealant on the Oldtimer Car
After polishing, you can apply a wax or sealant to protect the paint and give it a glossy finish. Waxes are made of natural ingredients and provide a warm shine, while sealants are synthetic and provide a durable and long-lasting protection.
Apply the wax or sealant using a foam applicator pad and work in small sections. Let it dry for a few minutes and then buff it off using a microfiber towel. Make sure to apply the wax or sealant in a shaded area to prevent it from drying too quickly.
Cleaning the Wheels and Tires of the Oldtimer Car
The wheels and tires of an oldtimer car can accumulate a lot of dirt and brake dust over time. To clean them, you can use a wheel cleaner and a stiff-bristled brush. Spray the wheel cleaner on the wheels and let it sit for a few minutes before scrubbing with the brush. Rinse off the cleaner with water and dry the wheels using a microfiber towel.
For the tires, you can use a tire cleaner and a tire brush to remove any dirt and grime. Spray the tire cleaner on the tires and let it sit for a few minutes before scrubbing with the brush. Rinse off the cleaner with water and let the tires dry.
Cleaning the Chrome and Trim of the Oldtimer Car
The chrome and trim of an oldtimer car can add a lot of character and style to the car. To clean them, you can use a chrome cleaner and a microfiber towel. Apply the cleaner to the chrome and trim and let it sit for a few minutes before wiping it off with the towel. Make sure to use a separate towel for the chrome and trim to avoid scratching them.
Overall, detailing an oldtimer car requires a lot of patience and attention to detail. By following these steps, you can restore the shine and protect the paint of your oldtimer car while keeping it looking its best for years to come.
Tips for Maintaining the Detail and Shine of an Oldtimer Car
Maintaining the detail and shine of an Oldtimer car is essential to keep it in top condition. Here are some tips to help you keep your Oldtimer car looking great:
Regular Washing and Drying
Regular washing and drying of your Oldtimer car is crucial to maintain its shine. Use a mild car shampoo and a soft sponge or microfiber cloth to wash the car. Avoid using harsh detergents or abrasive materials that can damage the paint. After washing, dry the car with a chamois or microfiber towel to avoid water spots.
Using a Detail Spray
Detail sprays are a great way to maintain the shine of your Oldtimer car between washes. They are easy to use and can quickly remove dirt and grime from the surface of the car. Simply spray the detail spray on the surface of the car and wipe it off with a microfiber towel.
Covering the Oldtimer Car
Covering your Oldtimer car when not in use is an excellent way to protect it from the elements. A car cover will help prevent dust, dirt, and other debris from settling on the surface of the car. It will also protect the car from rain, snow, and other weather conditions that can damage the paint.
| Tip | Description |
|---|---|
| Use a Clay Bar | A clay bar can remove contaminants from the surface of the car that regular washing cannot. It is a great way to keep the paint looking smooth and shiny. |
| Wax the Car | Waxing the car will help protect the paint from UV rays and other environmental factors that can damage it. It will also give the car a deep and long-lasting shine. |
By following these tips, you can keep your Oldtimer car looking great and maintain its value for years to come.