
Conclusion
Typography art with hand lettering is a beautiful and unique way to add a personal touch to your designs. By following the steps outlined in this article, you can create stunning typography art that will impress your audience and set your designs apart.
Remember to start with a sketch and choose the right materials for your project. Practice your lettering skills and experiment with different styles and techniques. Don’t be afraid to make mistakes – they can often lead to unexpected and interesting results.
When it comes to typography art, the possibilities are endless. You can use it to create posters, greeting cards, social media graphics, and more. Whether you’re a professional designer or a hobbyist, hand lettering can help you create designs that are truly unique and memorable.
Finally, don’t forget the importance of SEO when creating content. By using relevant keywords and optimizing your article for search engines, you can increase your visibility and reach a wider audience. With these tips and techniques, you can create typography art that not only looks great but also helps you achieve your marketing goals.
- Start with a sketch and choose the right materials
- Practice your lettering skills and experiment with different styles and techniques
- Use typography art to create posters, greeting cards, social media graphics, and more
- Optimize your article for search engines to increase visibility and reach a wider audience
Thank you for reading this article on how to create typography art with hand lettering. We hope that you found it informative and helpful. Happy designing!
How to Create Typography Art with Hand Lettering: Adding a Personal Touch
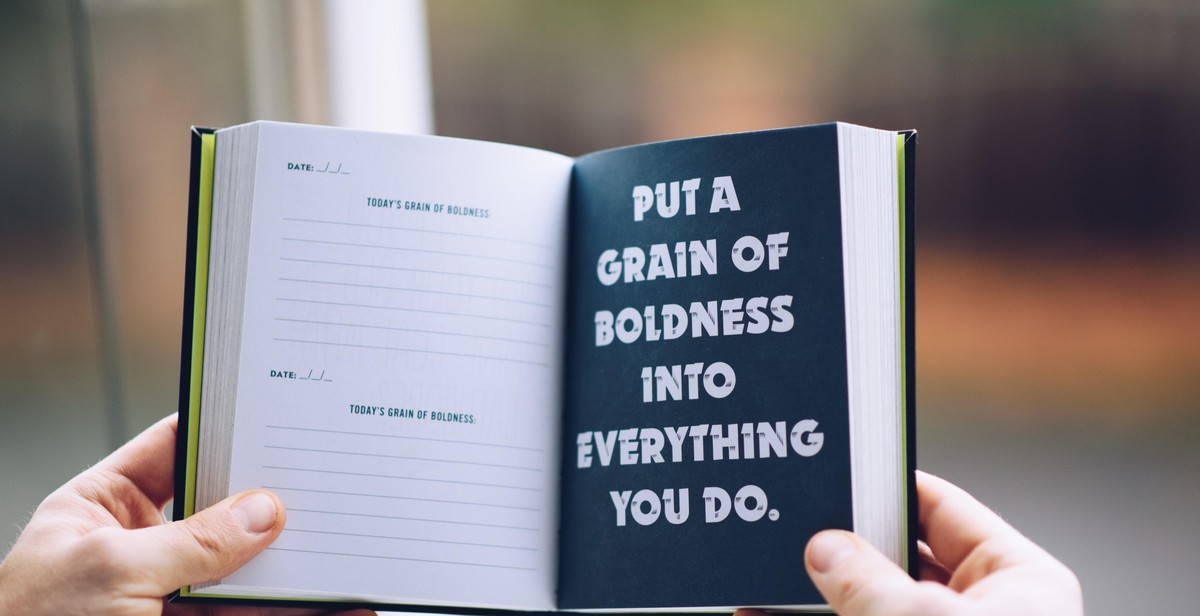
Typography art with hand lettering has become increasingly popular in recent years. It is a form of art that involves creating beautiful and unique designs by hand, using various lettering techniques. This type of art is highly versatile and can be used to create anything from posters and logos to greeting cards and invitations.
What is Typography Art with Hand Lettering?
Typography art with hand lettering is the art of creating beautiful lettering by hand, using various techniques such as calligraphy, brush lettering, and modern lettering. This type of art is highly personal and allows the artist to add their own unique touch to the design.
Typography art with hand lettering can be used in a wide range of applications, including branding and marketing materials, social media graphics, and personal projects such as wedding invitations and greeting cards.
Creating typography art with hand lettering requires a combination of creativity, skill, and practice. With the right tools and techniques, anyone can learn to create beautiful and unique designs that are sure to impress.
Step 1: Gather Your Materials
Before you start creating typography art with hand lettering, you need to gather all the necessary materials. Here’s a list of items you’ll need:
Paper
Choose a paper that is suitable for the type of lettering you want to create. For example, if you plan to use watercolors, choose a paper that can handle the water without warping or bleeding. If you plan to use markers, choose a paper that won’t smudge or bleed.
Pencil and eraser
Use a pencil to sketch out your design before you start lettering. This will help you get a feel for the composition and spacing of your letters. Use an eraser to make corrections as needed.
Pen or marker
Choose a pen or marker that is suitable for the type of lettering you want to create. For example, if you want to create thin, delicate lines, choose a fine-tipped pen. If you want to create bold, dramatic lines, choose a marker with a thick tip.
Ruler
Use a ruler to create straight lines and ensure that your lettering is evenly spaced.
Optional materials
- Watercolors
- Brushes
- Calligraphy pens
- Ink
Having these optional materials can help you add more depth and personality to your typography art.
| Paper | Pencil and eraser | Pen or marker | Ruler |

Step 2: Choose Your Quote or Phrase
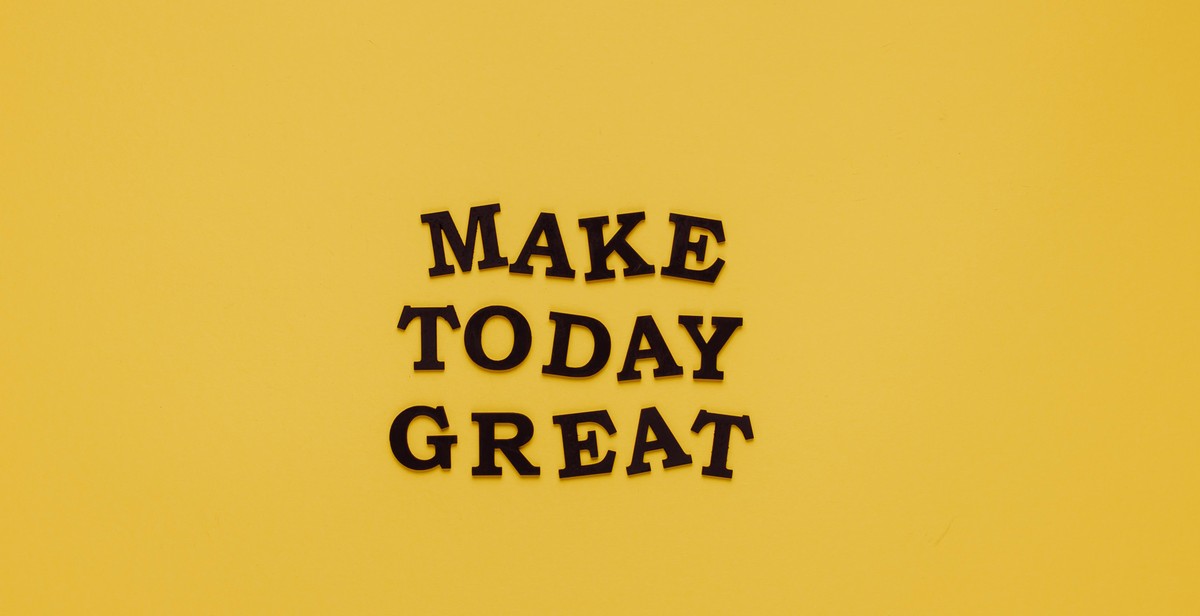
Typography art is all about the message you want to convey. Once you have decided on the theme and style for your artwork, it’s time to choose the right quote or phrase. Here are some tips to help you pick the perfect message:
Selecting the Right Quote
- Choose a quote that resonates with you or your intended audience.
- Look for quotes that are short and sweet, as they are easier to read and remember.
- Avoid using cliches or overused phrases.
- Consider the context in which the artwork will be displayed. For example, if it’s for a wedding, you might choose a romantic quote.
Choosing a Font
The font you choose can greatly impact the overall look and feel of your typography art. Here are some things to keep in mind when selecting a font:
- Stick to one or two fonts to avoid a cluttered look.
- Choose a font that complements the message and style of your artwork.
- Consider the legibility of the font, especially if the artwork will be displayed at a distance.
- Experiment with different font sizes, weights, and styles to create visual interest.
With these tips in mind, you can now move on to the next step of creating your typography art – sketching out your design.
Step 3: Sketch Your Design
Once you have chosen your layout, it’s time to start sketching your design. This is where you can really let your creativity shine and add your personal touch to your typography art.
Choosing a Layout
Before you start sketching, it’s important to choose a layout that will work well with your message and the space you have available. Consider the size and orientation of your canvas, as well as the placement of your text and any accompanying illustrations or graphics.
Some popular layout options include:
- Centered text with a simple border or background
- Text arranged in a circular or spiral pattern
- Text arranged in a grid or mosaic pattern
- Text arranged in a flowing, organic shape
Sketching Your Design
Once you have chosen your layout, it’s time to start sketching your design. Use a pencil and paper to experiment with different arrangements of your text and any accompanying illustrations or graphics. Don’t worry about making mistakes – this is just a rough draft.
As you sketch, consider the following:
- The size and placement of your text
- The style and size of your lettering
- The colors and textures you want to include
- The balance and flow of your design
Once you have a rough sketch that you’re happy with, you can start refining your design and adding more details. Consider using tracing paper to create a cleaner final draft that you can transfer onto your canvas.
Step 4: Ink Your Design
Now that you have your design sketched out, it’s time to start inking. In this step, you’ll be adding the final touches to your typography art. Here’s what you need to know:
Choosing Your Ink
When it comes to choosing your ink, there are a few things to consider. First, think about the type of surface you’ll be working on. If you’re working on paper, you’ll want to use a water-based ink. This will prevent bleeding and smudging. If you’re working on a non-porous surface like glass or plastic, you’ll want to use an oil-based ink.
Next, consider the color of your ink. Black is a classic choice for typography art, but don’t be afraid to experiment with other colors. Just make sure the color you choose complements your design and is easy to read.
Inking Your Design
When it comes to inking your design, take your time and work carefully. Use a light touch and start with the thinnest lines first. This will help you avoid mistakes and make corrections easier. Once you’ve completed the thin lines, move on to the thicker lines and fill in any areas that need to be solid.
Remember, mistakes happen. If you make a mistake, don’t panic. Use a white gel pen or correction fluid to cover it up. Once you’ve finished inking your design, let it dry completely before erasing any pencil lines.
By following these tips, you’ll be able to create beautiful typography art with hand lettering that truly reflects your personal style.
Step 5: Add a Personal Touch
Creating typography art with hand lettering is a fun and creative way to express yourself, and adding a personal touch is what makes it unique. Here are some tips to help you add a personal touch to your typography art:
Adding Flourishes and Accents
One way to add a personal touch to your typography art is by incorporating flourishes and accents. Flourishes are decorative embellishments that can be added to the beginning or end of a word or phrase. They can be simple or intricate, depending on your preference. Accents, on the other hand, are small decorative elements that can be added to the letters themselves. They can be dots, lines, or even small illustrations.
When adding flourishes and accents, it’s important to keep in mind the overall style of your typography art. You want to make sure that the flourishes and accents complement the letters and don’t overpower them. Experiment with different styles and see what works best for you.
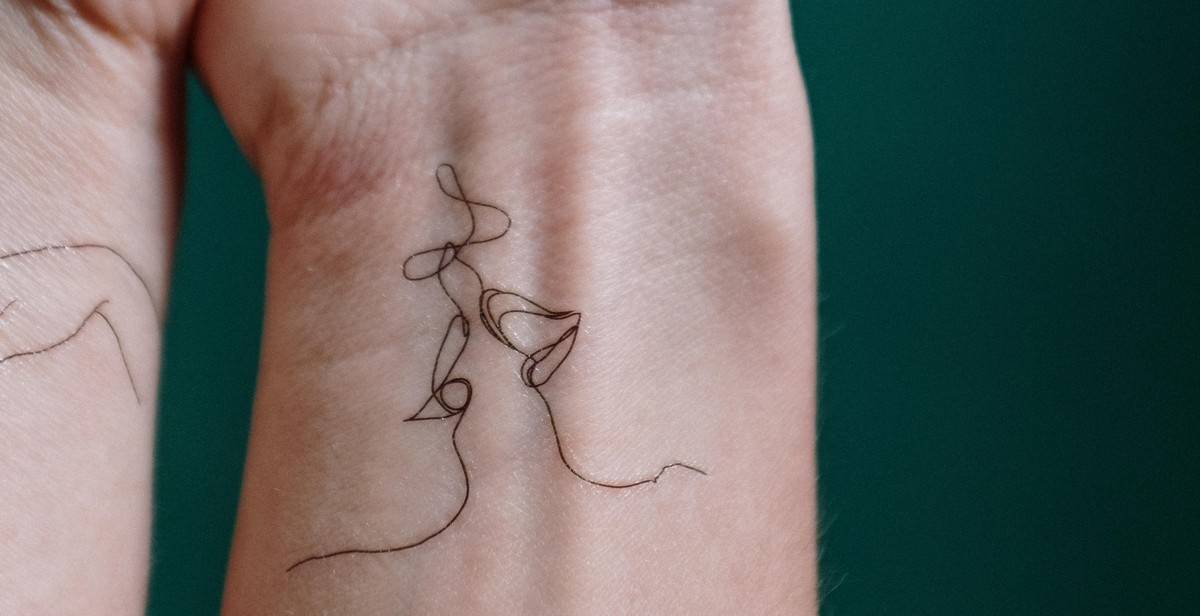
Incorporating Illustrations
Another way to add a personal touch to your typography art is by incorporating illustrations. Illustrations can be anything from small doodles to full-blown drawings. They can be used to emphasize certain words or phrases or to add an extra layer of meaning to your typography art.
When incorporating illustrations, it’s important to keep in mind the overall theme of your typography art. You want to make sure that the illustrations enhance the message you’re trying to convey. Experiment with different styles and see what works best for you.
By adding flourishes, accents, and illustrations, you can add a personal touch to your typography art and make it truly unique.

Step 6: Digitize Your Design
Once you have completed your hand-lettered design, the next step is to digitize it. Digitizing your design allows you to edit and refine it further, and it also makes it easier to share and print your artwork. Here are the steps to follow:
Choosing the Right Software
There are many software options available for digitizing your hand-lettered design. Some popular choices include Adobe Illustrator, Photoshop, Procreate, and Sketch. Each software has its own advantages, so choose the one that best suits your needs and preferences.
When selecting software, consider the following factors:
- The type of design you have created
- Your level of experience with the software
- Your budget
Digitizing Your Design
Once you have chosen your software, it’s time to digitize your design. Here are the steps to follow:
- Scan or photograph your hand-lettered design at a high resolution.
- Import the image into your chosen software.
- Use the software’s tools to refine and edit your design.
- Experiment with different colors, textures, and effects to enhance your design.
- Save your final design as a high-resolution file, such as a JPEG or PNG, for easy sharing and printing.
Digitizing your hand-lettered design allows you to take your artwork to the next level. With the right software and techniques, you can create stunning typography art that truly reflects your personal style and creativity.

Conclusion
Hand lettering is a great way to add a personal touch to your typography art. It allows you to create unique and custom designs that are not possible with digital fonts. With the right tools and techniques, anyone can learn how to create beautiful hand-lettered typography art.
When creating hand lettering, it is important to start with a strong foundation and sketch out your design before finalizing it. You should also experiment with different styles and techniques to find what works best for you. Remember to keep practicing and be patient with yourself as you learn.
Additionally, incorporating hand lettering into your branding and marketing materials can help to differentiate your business and create a more personalized experience for your customers. It can also help to build brand recognition and establish a unique visual identity.
Overall, hand lettering is a valuable skill for any designer or artist to have. It offers endless creative possibilities and can help to elevate your typography art to the next level.
- Start with a strong foundation and sketch out your design before finalizing it
- Experiment with different styles and techniques to find what works best for you
- Incorporate hand lettering into your branding and marketing materials to create a personalized experience for your customers
- Hand lettering is a valuable skill for any designer or artist to have
With these tips and techniques in mind, you can start creating beautiful hand lettering typography art today.