
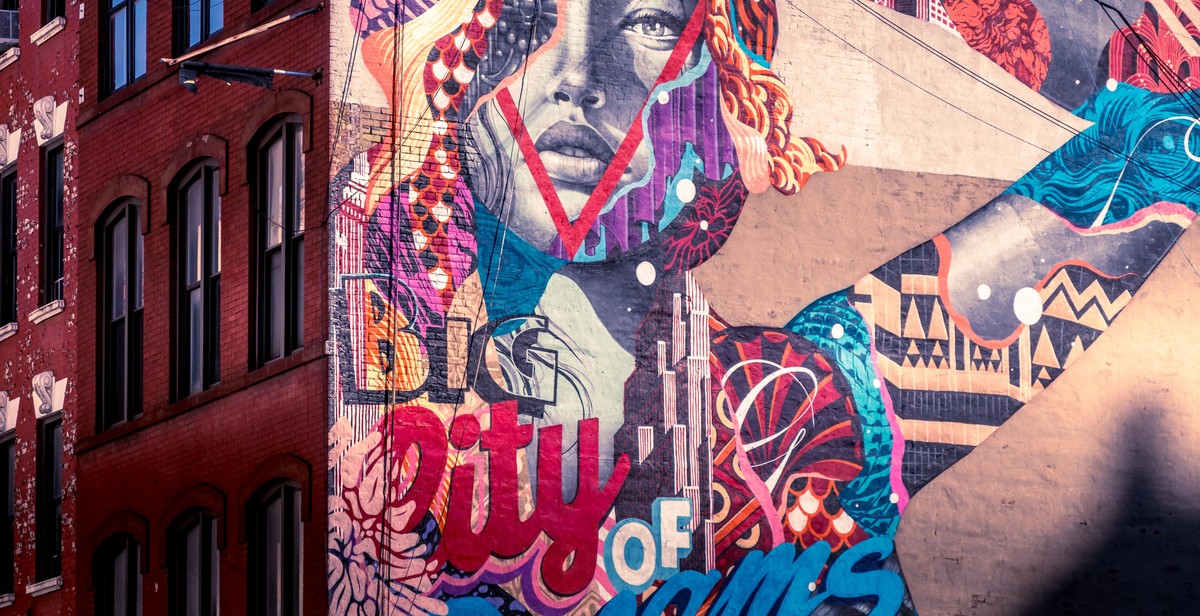
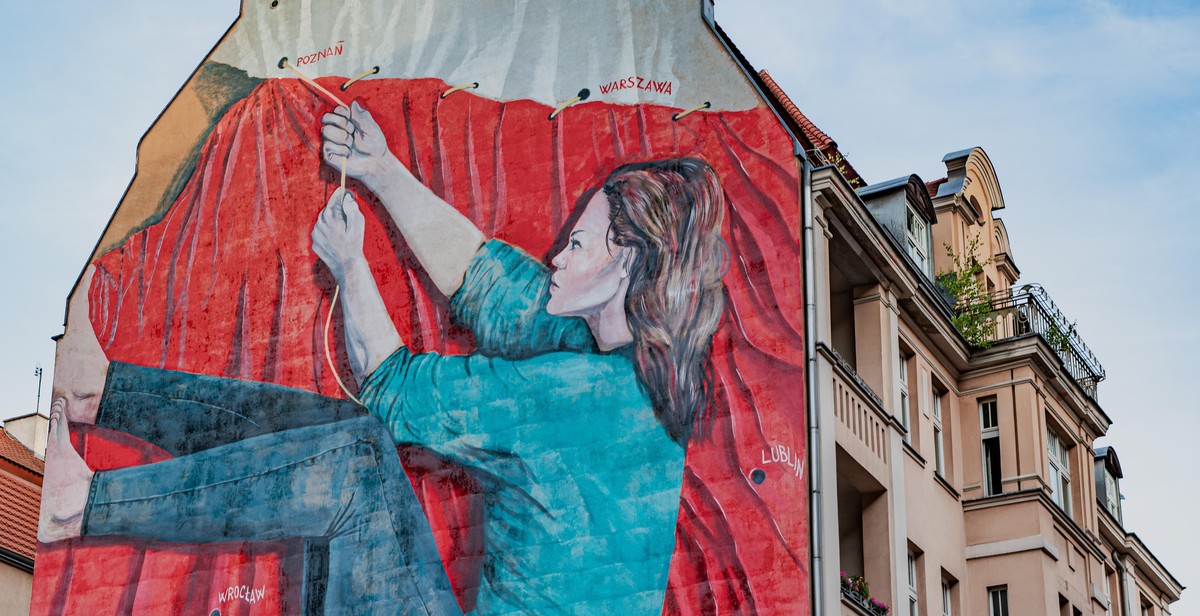
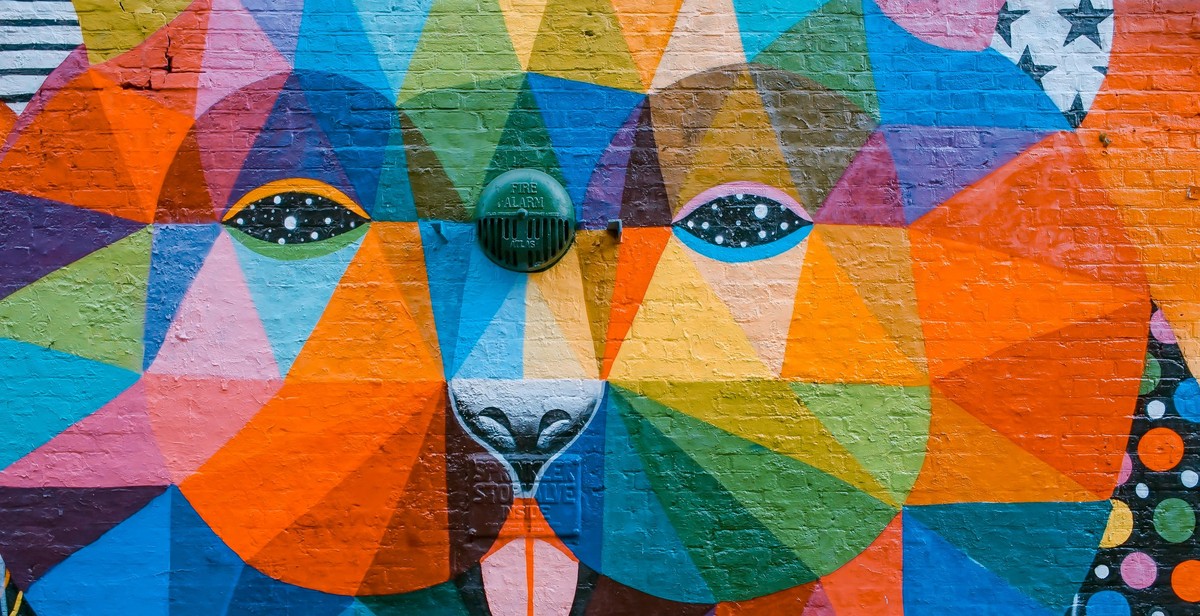
How to Create a Colorful Mural: Step-by-Step Guide to Large-scale Wall Art
If you’re looking to add some vibrancy and character to a large blank wall, then creating a colorful mural could be the perfect solution. Murals are a great way to express creativity, add a personal touch to your space, and create a focal point that is sure to impress your guests.
Creating a mural may seem daunting, but with the right planning and approach, it can be a fun and rewarding project. In this step-by-step guide, we’ll take you through the process of creating your own colorful mural, from brainstorming ideas to the finishing touches.
Why Create a Colorful Mural?
There are many reasons why you might choose to create a mural. Perhaps you want to add some personality to a bland office space, or you want to create a striking feature wall in your home. Maybe you’re an artist looking for a large canvas to showcase your skills, or you simply want to add some color and creativity to your environment.
Choosing Your Design
The first step in creating your mural is to choose a design. This could be anything from a simple pattern or abstract design to a more intricate scene or landscape. You may want to consider the style and colors of your existing decor when choosing your design, or you may want to create a completely new and unique look.
Gathering Your Materials
Once you have your design in mind, it’s time to gather your materials. Depending on the size and complexity of your mural, you may need a range of materials, including paint, brushes, stencils, masking tape, and more.
With these basics in mind, let’s dive into the step-by-step process of creating your own colorful mural.
Step 1: Planning the Mural
Before you start creating your colorful mural, it’s essential to plan it out carefully. Planning is crucial to ensure that your mural turns out just the way you want it. Here are the key factors to consider when planning your mural:
Choosing a Location
The first step in planning your mural is to choose the location where you want to paint it. You want to select a wall that is clean and free of any obstructions. It’s best to choose a wall that has a smooth surface and is not too rough or textured. The wall should also be in a location that is visible and accessible to the public, so you can showcase your artwork.
Determining the Size of the Mural
Next, you need to determine the size of your mural. The size of the wall will dictate the size of the mural, but you also want to consider the scope of your design. You want to create a design that is large enough to be seen from a distance and that fits the scale of the wall.
| Wall Size | Ideal Mural Size |
|---|---|
| Small Wall (8ft x 8ft) | 6ft x 6ft |
| Medium Wall (12ft x 12ft) | 10ft x 10ft |
| Large Wall (20ft x 20ft) | 18ft x 18ft |
Selecting the Color Scheme
The color scheme is an essential part of your mural’s design. You want to choose colors that complement each other and that fit the theme of your design. You can use a color wheel to help you choose colors that work well together. You can also use color theory to create a mood or atmosphere with your color choices.
- Complementary colors (colors opposite each other on the color wheel) create a vibrant and energetic look.
- Analogous colors (colors next to each other on the color wheel) create a harmonious and peaceful look.
- Monochromatic colors (different shades of the same color) create a sophisticated and elegant look.
By carefully planning the location, size, and color scheme of your mural, you can create a beautiful and impactful piece of wall art that will impress everyone who sees it.
Step 2: Preparing the Wall
Before painting your mural, it is important to prepare the wall properly. This will ensure that the paint adheres well and the mural lasts for a long time. Here are three important steps to follow:
Cleaning the Wall
The first step in preparing the wall is to clean it thoroughly. Use a soft-bristled brush or a cloth to remove any dust, dirt, or cobwebs from the surface. If the wall is particularly dirty, you may need to use a mild detergent and water to clean it. Rinse the wall with clean water and allow it to dry completely before proceeding to the next step.
Filling in Any Cracks or Holes
If there are any cracks, holes, or other imperfections in the wall, you will need to fill them in before painting your mural. Use a spackle or putty knife to apply a small amount of spackle or joint compound to the area. Smooth it out with the knife and allow it to dry completely. Sand the area with fine-grit sandpaper until it is smooth and level with the rest of the wall.
Applying a Base Coat
Applying a base coat to the wall will help the paint adhere better and will also help to cover up any imperfections in the wall. Choose a base coat color that complements the colors you will be using in your mural. Use a roller or brush to apply the base coat evenly to the entire wall. Allow it to dry completely before starting to paint your mural.
By following these three steps, you will ensure that your mural looks great and lasts for a long time.
Step 3: Sketching the Design
Once you have your mockup ready, it’s time to start sketching the design onto the wall. This is a crucial step as it will determine the final outcome of your mural.
Materials Needed
Before you start sketching, make sure you have the following materials:
- Pencil
- Eraser
- Chalk
- Straight edge or ruler
- Step ladder
Sketching Techniques
There are different techniques you can use to sketch your design onto the wall. Here are some tips:
- Start by lightly sketching the outline of your design with a pencil. Use a straight edge or ruler to ensure straight lines.
- Use chalk to fill in larger areas of the design. This will help you visualize the colors and make adjustments before you start painting.
- Step back periodically to make sure the proportions and perspective of the design are correct.
- Use an eraser to make corrections as you go.
Sketching onto the Wall
When you’re ready to start sketching onto the wall, follow these steps:
- Use a step ladder to reach the top of the wall.
- Start sketching the outline of your design onto the wall using a pencil and straight edge or ruler.
- Use chalk to fill in larger areas of the design.
- Step back periodically to check your progress and make adjustments.
- Continue sketching until the entire design is on the wall.
Tips for Success
Here are some additional tips to help you succeed:
- Take your time and be patient. Sketching the design onto the wall can take several hours or even days, depending on the size and complexity of the design.
- Don’t be afraid to make adjustments as you go. It’s better to make changes now than after you’ve started painting.
- Double-check your proportions and perspective before you start painting. Once you start painting, it’s difficult to make major changes.
| Pros | Cons |
|---|---|
| Allows you to visualize the final product before you start painting | Can be time-consuming |
| Allows you to make adjustments before you start painting | Requires a steady hand and attention to detail |
| Helps ensure the final product is accurate and proportionate | Can be difficult to erase mistakes on certain surfaces |
Step 4: Painting the Mural
Now that you have your design sketched out on the wall, it’s time to start painting! Here are the steps to follow:
Gathering Supplies
Before you begin painting, make sure you have all the necessary supplies. This includes:
- Paint brushes in various sizes
- Paint rollers
- Paint trays
- Drop cloths or plastic sheeting to protect the surrounding area
- Painters tape to create clean lines and edges
- Paint in the colors of your choosing
Painting the Background
Start by painting the background of the mural. This will give you a base to work with and ensure that your colors are bright and vibrant. Use a paint roller for large areas and a paintbrush for smaller details and edges. Make sure to let the paint dry completely before moving on to the next step.
Adding Details
Once the background is dry, it’s time to start adding details to your mural. Use a smaller paintbrush to carefully paint in the details of your design. Take your time and be patient – this is the most time-consuming part of the process, but it’s also where your mural will really start to come to life.
Highlights
Finally, add highlights to your mural to make it pop. Use a lighter shade of the color you’re working with to add depth and dimension to your design. This is especially important for objects that are meant to look three-dimensional, like flowers or animals. Use a small brush and a light touch to add these highlights – less is often more when it comes to this step!
With these steps, you’ll be able to create a beautiful, colorful mural that will brighten up any wall. Have fun and don’t be afraid to experiment with different colors and techniques!
Step 5: Finishing Touches
After completing your colorful mural, it’s time to give it the finishing touches to make it last for a long time. This step involves removing tape and cleaning up the site, as well as sealing the mural to protect it from environmental elements.
Removing Tape and Clean-Up
Start by carefully removing any tape used to create the mural’s edges and lines. Use a sharp blade to cut the tape along the edges of the mural to prevent any damage to the painted surface. Once the tape is removed, inspect the mural for any smudges, drips, or other imperfections that may have occurred during the painting process.
Clean up any unwanted marks and dirt using a damp cloth or sponge. Be gentle while cleaning to avoid damaging the mural’s painted surface. It’s important to note that some paint colors may bleed or run if they come into contact with water, so be careful not to over-wet the surface.
Sealing the Mural
Sealing the mural is crucial to protecting it from environmental elements such as sunlight, moisture, and pollution. It also helps to prevent fading and peeling of the paint over time. Use a clear, matte finish sealant to cover the entire mural surface. Apply the sealant evenly using a roller or brush, and allow it to dry completely before touching the mural.
Once the sealant has dried, step back and admire your colorful mural. You have successfully created a stunning piece of large-scale wall art that will last for years to come!