
How to Construct a Firewood Storage Shed
As the winter months approach, it’s important to have a reliable source of heat to keep your home warm and cozy. For many homeowners, this means using a wood-burning stove or fireplace. However, storing firewood can be a challenge, especially if you don’t have a dedicated space for it.
A firewood storage shed can be a great solution to this problem. Not only does it provide a convenient place to store your firewood, but it can also help protect it from the elements and pests. Building a firewood storage shed can be a fun and rewarding DIY project, and it doesn’t have to be difficult or expensive.
Benefits of a Firewood Storage Shed
- Protects firewood from the elements
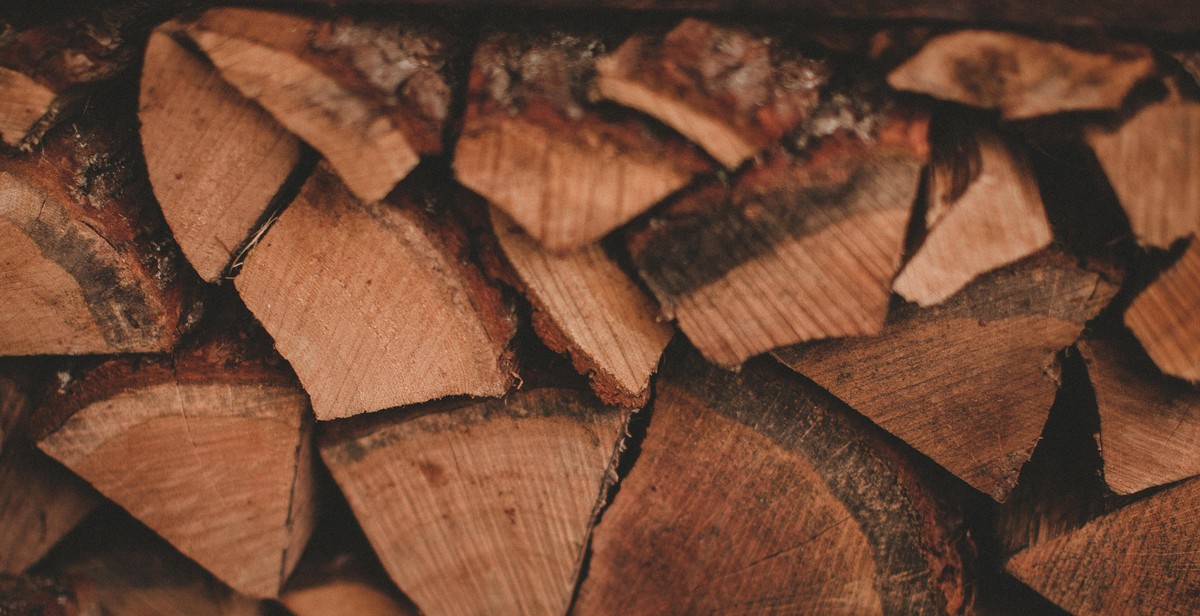
- Keeps firewood dry and ready to use
- Prevents pests from infesting firewood
- Improves the appearance of your yard
- Provides a dedicated space for firewood storage
Materials Needed
Before you start building your firewood storage shed, you’ll need to gather the necessary materials. The following is a list of materials you’ll need:
| 2×4 lumber | 4×4 lumber | 2×6 lumber |
| Roofing material | Screws | Nails |
| Door hinges | Door latch | Concrete blocks |

Step 1: Determine the Size and Location
Before you begin constructing your firewood storage shed, it’s important to determine the appropriate size and location for your needs. Here are some factors to consider:
Choosing the Right Size
The size of your firewood storage shed will depend on how much firewood you need to store. Consider your heating needs for the winter and estimate the amount of firewood you’ll need to keep on hand. A good rule of thumb is to have at least a three-month supply of firewood on hand at any given time. This will help ensure that you have enough firewood to keep your home warm throughout the winter.
When selecting the size of your shed, also consider the amount of space you have available on your property. You don’t want to build a shed that’s too large and takes up too much of your yard.
Selecting the Ideal Location
The location of your firewood storage shed is just as important as its size. Here are some factors to consider when selecting the ideal location:
- Accessibility: Your shed should be easily accessible, so consider placing it near your home or driveway.
- Drainage: Make sure the location you choose has good drainage to prevent water damage to your firewood.
- Shading: Avoid placing your shed in direct sunlight to prevent your firewood from drying out too quickly.
Once you’ve determined the appropriate size and location for your firewood storage shed, you’ll be ready to begin construction.

Step 2: Gather Your Materials and Tools
Before you start building your firewood storage shed, it’s important to gather all the required materials and essential tools. Here’s a list of what you’ll need:
Required Materials
- Pressure-treated lumber (2x4s, 4x4s, and 2x6s)
- Plywood sheets (for the roof and walls)
- Roofing material (shingles or metal panels)
- Concrete blocks or patio stones (for the foundation)
- Wood screws and nails
- Construction adhesive
- Wood stain or paint (optional)
Essential Tools
Here are the tools you’ll need to construct your firewood storage shed:
| Circular saw | Drill/driver | Hammer |
| Tape measure | Square | Level |
| Chalk line | Hand saw | Clamps |
| Safety goggles | Gloves | Ear protection |
Make sure you have all the materials and tools before you start building. This will save you time and frustration in the long run.
Step 3: Build the Foundation
Before you start constructing the firewood storage shed, it’s important to prepare the site and build a strong foundation. This will ensure that your shed stays sturdy and lasts for years to come. Here’s how to build a foundation for your firewood storage shed:
Preparing the Site
The first step is to choose a level spot for your shed. Clear the area of any debris, rocks, or roots that may interfere with the foundation. It’s also important to make sure that the site is free from any standing water or drainage issues.
Constructing the Foundation
There are several options for building a foundation for your firewood storage shed, including concrete slabs, wooden skids, or cinder blocks. Each has its own advantages and disadvantages, so it’s important to choose the right one for your specific needs.
- Concrete Slabs: This is the most durable option, but also the most expensive and time-consuming. You’ll need to pour a concrete slab that’s level and slightly larger than the dimensions of your shed.
- Wooden Skids: This is a more affordable option that’s easy to construct. Simply lay pressure-treated 4x4s or 4x6s on the ground, spaced about 4 feet apart, and level them using a long level. Then, attach floor joists to the skids and build your shed on top.
- Cinder Blocks: This is a budget-friendly option that’s also easy to construct. Simply lay cinder blocks in a level grid pattern, spaced about 4 feet apart, and then build your shed on top.
Once you’ve chosen your foundation type, it’s important to make sure it’s level and secure before moving on to the next step.

Step 4: Frame the Walls and Roof
Now that the foundation is complete, it’s time to build the frame of the firewood storage shed. This is where the shed will start to take shape and become recognizable as a structure.
Building the Frame
The first step is to frame the walls. This involves measuring and cutting the lumber to the appropriate size and then nailing the pieces together. It’s important to ensure that the walls are level and square, as this will impact the stability of the shed.
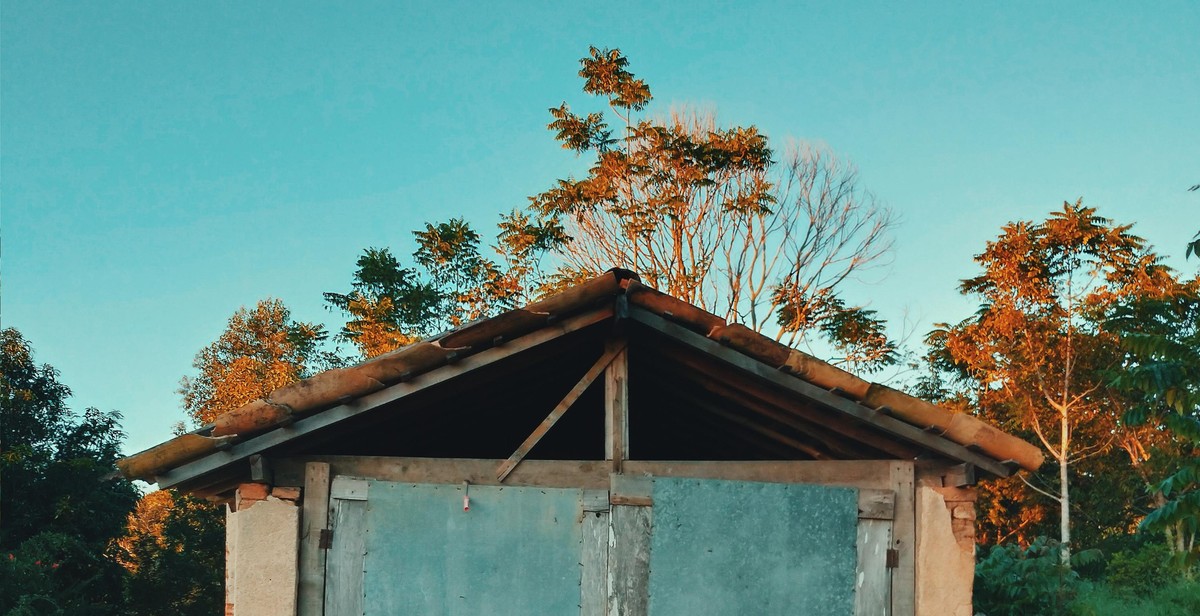
Once the walls are framed, it’s time to add the roof. This involves building a frame for the roof and then attaching it to the top of the walls. The roof frame should be angled to allow for water runoff and to prevent snow from accumulating on top of the shed.
Adding the Roof
Once the roof frame is in place, it’s time to add the actual roofing material. This can be done using shingles or metal roofing panels, depending on personal preference and budget.
It’s important to ensure that the roofing material is properly installed and sealed to prevent leaks. Additionally, it’s a good idea to add insulation to the roof to help regulate the temperature inside the shed.
With the walls and roof in place, the firewood storage shed is starting to take shape. The next step is to add doors and windows to complete the structure.

Step 5: Install the Siding and Door
After constructing the frame and roof, it’s time to install the siding and door. This step will give your firewood storage shed a finished look and protect it from the elements.
Choosing the Right Siding
There are several options for siding materials, including wood, vinyl, metal, and cement fiber. Each has its own advantages and disadvantages. Wood is a popular choice for its natural look, but it requires regular maintenance to prevent rot and insect damage. Vinyl is low maintenance and comes in a variety of colors and styles, but it may not be as durable as other materials. Metal is strong and long-lasting, but it can be noisy during rain or hailstorms. Cement fiber siding is a newer option that is resistant to fire, insects, and rot, but it can be more expensive than other materials.
Consider the climate and weather conditions in your area when choosing the right siding for your firewood storage shed.
Installing the Door
The door is an essential part of your firewood storage shed. It should be sturdy, secure, and weather-resistant. You can purchase a pre-made door or build one yourself. If you choose to build your own door, make sure it fits the opening of your shed and is properly sealed to prevent moisture from entering.
When installing the door, make sure it is level and plumb. Use shims if necessary to ensure a tight fit. Install weatherstripping around the edges to prevent drafts and keep out moisture.
Finally, install any necessary hardware, such as hinges and a lock, to secure the door.
With the siding and door installed, your firewood storage shed is now complete and ready to use!
Step 6: Finish and Stain
Once your firewood storage shed is fully constructed, it’s time to apply the finishing touches. This includes applying a finish and staining the shed to protect it from the elements and give it a polished look.
Applying the Finish
The first step in finishing your firewood storage shed is to apply a protective finish. This will help protect the wood from moisture, UV rays, and other factors that can cause damage over time. There are several types of finishes you can use, including clear sealers, varnishes, and paints.
- Clear sealers: These are a great option if you want to maintain the natural look of the wood. They provide a clear, protective layer that allows the wood grain to show through.
- Varnishes: Varnishes provide a thicker, more durable layer of protection than clear sealers. They come in a range of finishes, from glossy to matte, and can be tinted to add color to the wood.
- Paints: If you want to add color to your firewood storage shed, paint is the way to go. Choose a high-quality exterior paint that is designed to withstand the elements.
Staining the Shed
Once you’ve applied the finish, you can move on to staining the shed. Stain not only adds color to the wood, but it also helps protect it from the elements. There are several types of stain you can use, including oil-based and water-based stains.
- Oil-based stains: These are a popular choice because they penetrate deep into the wood and provide long-lasting protection. They come in a range of colors and finishes.
- Water-based stains: These are a more eco-friendly option than oil-based stains. They dry quickly and are easy to clean up with soap and water. They also come in a range of colors and finishes.
Before applying the stain, make sure the wood is clean and dry. Use a brush or roller to apply the stain evenly, and follow the manufacturer’s instructions for drying time and reapplication.
Conclusion
Constructing a firewood storage shed is a great way to keep your firewood dry and organized. With the right tools and materials, building a shed can be a fun and rewarding project. It is important to plan and prepare before beginning the construction process to ensure that you have all the necessary materials and tools.
Tips for Building a Firewood Storage Shed
- Choose a level and dry location for your shed.
- Use pressure-treated lumber for the foundation and floor to prevent rot and decay.
- Consider using a roof with a steep pitch to prevent snow and rain from accumulating on top of the shed.
- Install vents to allow for proper air circulation to prevent mold and mildew.
- Use a waterproof sealant on the exterior of the shed to protect it from the elements.
By following these tips, you can build a firewood storage shed that will last for years to come. Properly storing your firewood will not only keep it dry and ready to use, but it can also prevent pests and rodents from making a home in your woodpile.
Remember to Enjoy the Process
Building a firewood storage shed can be a great way to spend time outdoors and get some exercise. Whether you are an experienced builder or a novice, take your time and enjoy the process. With a little patience and effort, you can create a functional and attractive shed that will enhance the look of your property.
| Materials: | Pressure-treated lumber, roofing materials, screws, nails, sealant |
| Tools: | Saw, drill, hammer, level, tape measure, square |