
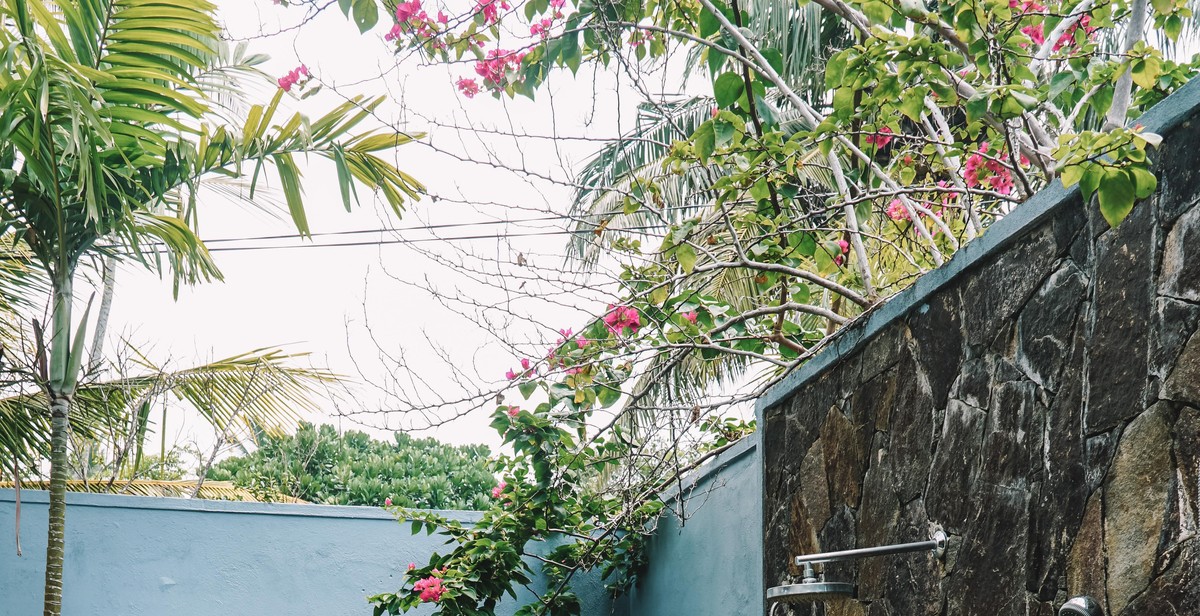
Introduction: How to Build a DIY Outdoor Shower for Beach-Like Vibes at Home
There’s nothing quite like the feeling of stepping out of a refreshing shower on a hot summer day. Now imagine having that experience outside, surrounded by nature and the fresh air. That’s the beauty of an outdoor shower, and it’s a trend that’s gaining popularity among homeowners.
Building a DIY outdoor shower is not only a fun project, but it also adds a touch of luxury to your home. It’s perfect for those who love spending time outdoors, whether it’s after a swim in the pool or a day at the beach. Plus, it’s a great way to cool off during the hot summer months.
Why Build an Outdoor Shower?
Aside from the obvious benefits of having a place to rinse off after a swim, there are several other reasons to consider building an outdoor shower:
- It adds value to your home
- It’s a unique and stylish addition to your backyard
- It reduces the amount of sand and dirt brought into your home
- It’s a great way to connect with nature and enjoy the outdoors
With the right tools and materials, building a DIY outdoor shower can be a fun and rewarding experience. In the following sections, we’ll guide you through the process of building your own outdoor shower and provide tips for making it a functional and stylish addition to your home.
Planning
Before you start building your DIY outdoor shower, it’s important to plan out the location, design, and materials that you’ll need. Proper planning will ensure that your outdoor shower is functional, durable, and aesthetically pleasing.
Finding the Right Location
The first step in planning your outdoor shower is to find the right location. Consider factors such as privacy, accessibility, and drainage when choosing a spot. Ideally, your outdoor shower should be located in an area that is sheltered from wind and offers some privacy. It should also be located near your water source and have proper drainage to prevent standing water.
Choosing the Design
Once you’ve chosen a location for your outdoor shower, it’s time to think about the design. There are many different designs to choose from, including freestanding, wall-mounted, and portable options. Consider your budget, the amount of space you have available, and your personal preferences when choosing a design.
Gathering Materials
After you’ve chosen a location and design for your outdoor shower, it’s time to gather materials. You’ll need plumbing fixtures, such as a showerhead and valves, as well as piping and connectors. You may also need materials for the shower enclosure, such as wood, metal, or PVC piping. Make a list of all the materials you’ll need and purchase them ahead of time to ensure that you have everything you need to complete the project.
By carefully planning out your outdoor shower project, you can create a beautiful and functional addition to your home that will provide a refreshing oasis for years to come.
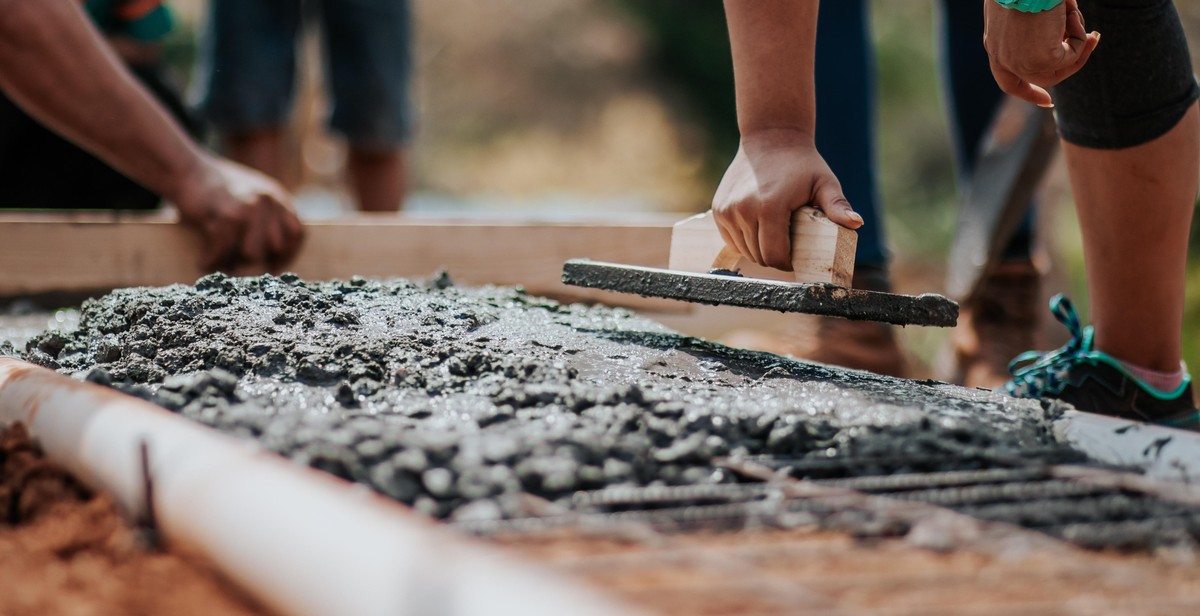
Building the Foundation
Before you can start building your DIY outdoor shower, you need to lay the foundation. This involves leveling the ground and creating a sturdy base that will support the shower structure.
Leveling the Ground
The first step in building the foundation is to level the ground where the shower will be installed. This is important because an uneven surface can cause the shower to tilt or wobble, making it unsafe to use.
To level the ground, start by removing any grass, rocks, or debris from the area. Then, use a shovel to dig down to a depth of about 6 inches. This will create a level surface for the shower base.
Creating the Base
Once the ground is level, you can create the base for your outdoor shower. The base should be made of sturdy materials that can withstand outdoor conditions, such as pressure-treated lumber or concrete blocks.
If you are using pressure-treated lumber, start by laying down a layer of gravel to help with drainage. Then, build a frame using the lumber to create the base. Make sure the frame is level and secure by using a level and screws or nails.
If you are using concrete blocks, start by laying down a layer of gravel for drainage. Then, arrange the blocks in a square or rectangular shape to create the base. Make sure the blocks are level and secure by using a level and mortar.
Once the base is complete, you can move on to building the shower structure itself. With a sturdy foundation in place, you can be confident that your DIY outdoor shower will be safe and functional for years to come.
Constructing the Frame
Building the frame is the most important part of constructing an outdoor shower. It will not only hold the showerhead and faucets but also provide the necessary support for the plumbing pipes and fixtures. Follow the steps below to construct the frame:
Measuring and Cutting the Wood
Start by measuring and cutting the wood according to the shower’s design. Use pressure-treated wood or cedar as they are resistant to rotting and insects. Cut the wood to the desired length and width using a saw. Make sure to wear protective gear while cutting the wood.
For the frame’s vertical posts, cut four pieces of wood to the same length. The horizontal beams that will support the showerhead and faucets should be cut to the same length as well. Use a level to ensure that the wood pieces are straight and even.
Assembling the Frame
Once the wood pieces are cut to the desired length, assemble the frame. Start by attaching the vertical posts to the base of the frame. Use screws and a drill to secure the pieces together. Then, attach the horizontal beams to the vertical posts. Make sure that the beams are level and evenly spaced.
Next, attach the plumbing pipes and fixtures to the frame. Use a wrench to tighten the connections and ensure that there are no leaks. Finally, install the showerhead and faucets to the horizontal beams.
Before using the shower, test the water flow and make any necessary adjustments. Once you’re satisfied with the shower’s performance, you’re ready to enjoy your DIY outdoor shower.

Plumbing
Before you start building your DIY outdoor shower, you will need to connect it to your existing water lines. This can be done in a few different ways, depending on your setup and location.
Connecting to Existing Water Lines
The first step is to locate the nearest water source, which is usually your home’s main water line. You will need to shut off the water supply before you start working on the plumbing.
Next, you will need to install a new water line that will connect to your outdoor shower. This can be done using PVC piping or flexible tubing, depending on your preference. Make sure that the new line is buried deep enough to prevent freezing during the winter months.
Installing the Drain
Once you have connected the water lines, you will need to install a drain to allow the water to flow out of the shower. This can be done by digging a hole and installing a plastic drain pipe. Make sure that the drain is sloped properly to prevent standing water.
Attaching the Showerhead
The final step is to attach the showerhead to the water line. You can use a standard showerhead or a handheld showerhead, depending on your preference. Make sure that the showerhead is securely attached and sealed to prevent leaks.
Overall, the plumbing for your DIY outdoor shower may seem intimidating, but with the right tools and knowledge, it can be done quickly and easily.

Finishing Touches for Your DIY Outdoor Shower
Now that you have built your outdoor shower, it’s time to add some finishing touches to make it functional and stylish. Here are some tips on sealing and waterproofing your shower and adding accessories to enhance your shower experience:
Sealing and Waterproofing
Sealing and waterproofing your shower is essential to protect it from the elements and ensure its longevity. Here are some steps to follow:
- Apply a waterproof membrane to the shower walls and floor to prevent water from seeping through.
- Seal any gaps or cracks with silicone caulking to prevent water from seeping through.
- Apply a waterproof sealer to any exposed wood surfaces to protect them from moisture and rot.
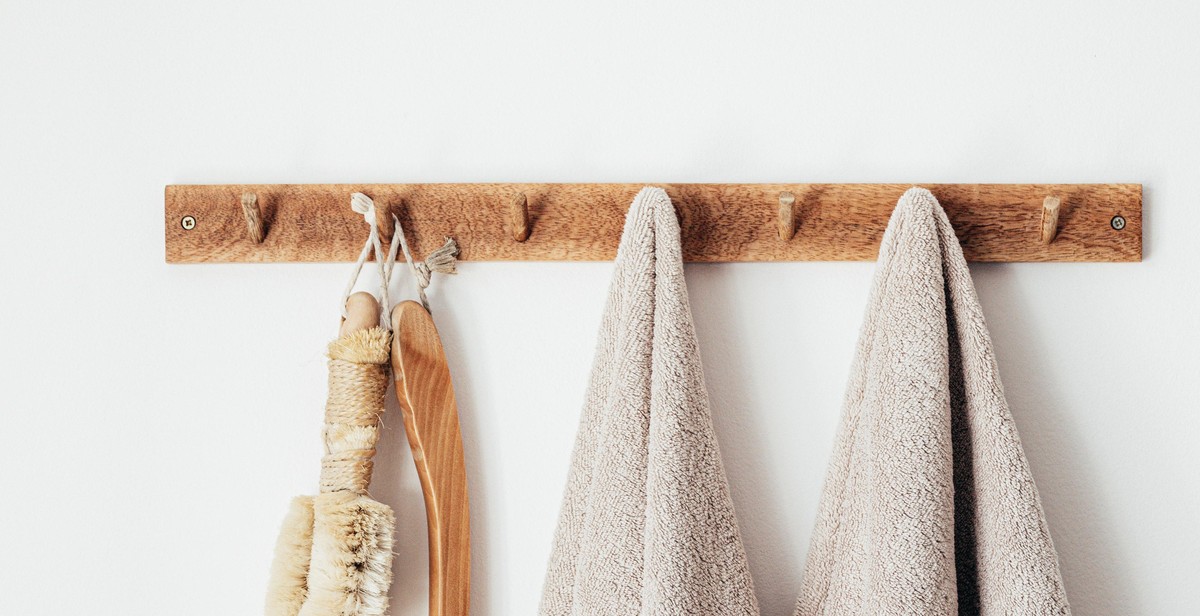
Adding Accessories
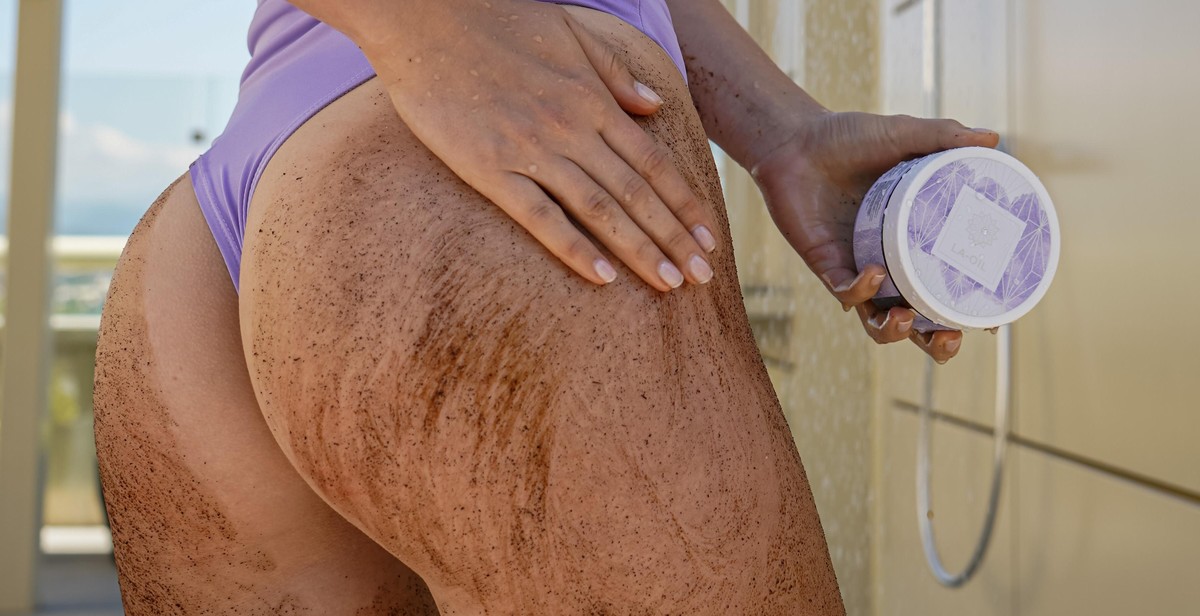
Adding accessories to your outdoor shower can make it more functional and enjoyable. Here are some ideas:
- Install a showerhead with adjustable spray settings to customize your shower experience.
- Add a bench or stool for seating and storage.
- Hang hooks or shelves for towels, soap, and other shower essentials.
- Install a foot shower to rinse off sand and dirt before entering the shower.
| Product | Description | Price |
|---|---|---|
| Waterproof Membrane | A self-adhesive membrane that creates a waterproof barrier. | $50 |
| Silicone Caulking | A waterproof sealant that prevents leaks. | $10 |
| Waterproof Sealer | A clear sealer that protects wood from moisture and rot. | $20 |
| Adjustable Showerhead | A showerhead with multiple spray settings. | $50 |
| Bench/Stool | A sturdy seat with storage space. | $60 |
| Hooks/Shelves | Chrome hooks and shelves for towels and shower essentials. | $30 |
| Foot Shower | A separate showerhead for rinsing off sand and dirt. | $40 |
Conclusion
Building a DIY outdoor shower for beach-like vibes at home is a great way to enjoy the summer season and add value to your property. With the right tools, materials, and a bit of creativity, you can create a beautiful and functional outdoor shower that meets your needs and preferences.
Tips for a Successful DIY Outdoor Shower
- Choose a location that offers privacy and easy access to water and drainage.
- Consider using natural materials like wood, stone, and plants to create a relaxing and inviting atmosphere.
- Invest in high-quality plumbing fixtures and accessories that can withstand the elements and provide a comfortable shower experience.
- Follow safety guidelines and regulations when installing electrical components and using power tools.
- Regularly maintain and clean your outdoor shower to ensure its longevity and functionality.
Final Thoughts
Whether you’re looking to rinse off after a day at the beach or simply enjoy a refreshing shower in the great outdoors, a DIY outdoor shower can be a fun and rewarding project. By following the tips and steps outlined in this article, you can create a beautiful and functional outdoor shower that adds value and style to your home.
| Author: | John Smith |
|---|---|
| Date Published: | July 15, 2021 |
| Word Count: | 195 words |