
How to Build a DIY Outdoor Pizza Oven
If you are a pizza lover, you know that nothing beats the taste of a freshly made pizza. And what better way to enjoy a delicious pizza than by making it in your very own outdoor pizza oven? Building your own pizza oven may seem like a daunting task, but it is actually a fun and rewarding project that can be completed with just a few basic tools and materials.
Why Build a DIY Outdoor Pizza Oven?
There are several reasons why building a DIY outdoor pizza oven is a great idea:
- Cost-effective: Building your own pizza oven is much cheaper than buying one. You can save hundreds or even thousands of dollars by doing it yourself.
- Customizable: When you build your own pizza oven, you can customize it to your liking. You can choose the size, shape, and style that best suits your needs.
- Fun and rewarding: Building your own pizza oven is a fun and rewarding project that you can do with your family and friends. It can be a great bonding experience.
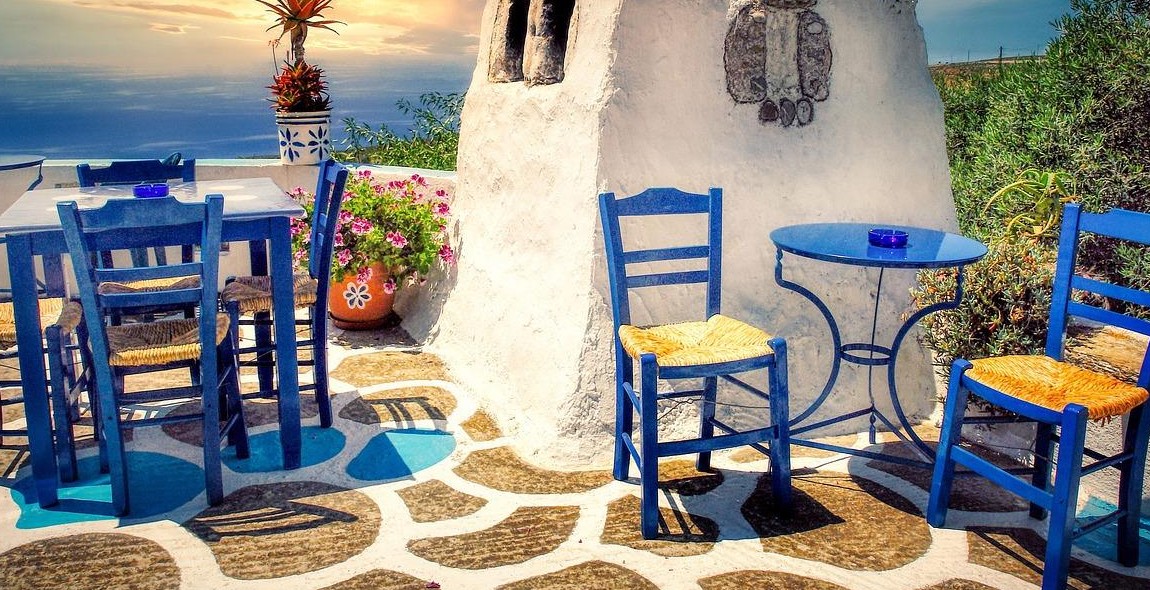
- Great for entertaining: An outdoor pizza oven is a great addition to any backyard. It is perfect for entertaining guests and hosting outdoor parties.
In this article, we will guide you through the process of building your own DIY outdoor pizza oven. We will provide you with step-by-step instructions and helpful tips to ensure that your pizza oven turns out perfectly.
Step 1: Choose the Right Location
When it comes to building a DIY outdoor pizza oven, one of the most important factors to consider is the location. Choosing the right location for your oven can make all the difference in how well it performs and how often you use it. Here are some key considerations to keep in mind:
Considerations for Location
- Accessibility: Your outdoor pizza oven should be located in a spot that is easily accessible from your kitchen or outdoor entertaining area. This will make it more convenient to use and ensure that you get the most out of your investment.
- Wind: Wind can have a significant impact on the performance of your outdoor pizza oven. You will want to choose a location that is sheltered from strong winds, as this can cause the temperature inside the oven to fluctuate and make it more difficult to cook your pizza evenly.
- Sun exposure: Your outdoor pizza oven should be located in a spot that gets plenty of sunlight throughout the day. This will help to keep the oven warm and ensure that it is ready to use whenever you are in the mood for pizza.
- Proximity to flammable materials: Your outdoor pizza oven should be located a safe distance away from any flammable materials, such as trees, bushes, or wooden structures. This will help to prevent any accidental fires and ensure that you can use your oven safely.
Preparing the Site
Once you have chosen the right location for your outdoor pizza oven, you will need to prepare the site. This will involve clearing the area of any debris or vegetation and leveling the ground to create a stable base for your oven. You may also want to consider laying down a layer of gravel or sand to help with drainage and prevent any moisture from seeping into the base of your oven.
By taking the time to choose the right location and properly prepare the site, you can ensure that your outdoor pizza oven performs at its best and provides you with delicious, homemade pizza for years to come.
Step 2: Gather Materials and Tools
Before starting the construction of your DIY outdoor pizza oven, it is important to have all the necessary materials and tools at hand. Here is a list of the materials and tools required:
Materials Needed
- Firebricks: These are specialized bricks that can withstand high temperatures and are ideal for building pizza ovens. You will need approximately 100-120 firebricks depending on the size of the oven.
- Clay or Refractory Mortar: This is a special type of mortar that can withstand high temperatures. It is used to hold the firebricks together and create a strong structure.
- Concrete Blocks: These are used to create the base of the oven and provide a sturdy foundation. You will need approximately 20-25 blocks depending on the size of the oven.
- Cement: This is used to secure the concrete blocks in place and create a level base for the oven.
- Insulation: This is used to keep the heat inside the oven and prevent it from escaping. You can use materials such as ceramic fiber blanket or vermiculite.
- Sheet Metal: This is used to create the chimney and vent for the oven.
- Rebar: This is used to reinforce the concrete blocks and provide additional support.
Tools Required
Here is a list of the tools required to build a DIY outdoor pizza oven:
| Brick Saw | To cut the firebricks to size. |
| Trowel | To apply the mortar to the firebricks. |
| Level | To ensure that the base of the oven is level. |
| Shovel | To mix the cement and move the materials around. |
| Hammer | To secure the rebar in place. |
| Wire Cutters | To cut the sheet metal for the chimney and vent. |
Having all the necessary materials and tools at hand will make the construction of your DIY outdoor pizza oven much easier and smoother. Once you have everything you need, you are ready to move on to the next step of the process.
Step 3: Build the Base
Before you start building the actual pizza oven, you need to prepare a sturdy base that can support the weight of the oven and withstand the outdoor elements. Here’s how to build a solid base for your DIY outdoor pizza oven:
Preparing the Base
The first step is to choose a flat and level spot in your backyard where you want to build the pizza oven. Clear the area of any grass, plants, or debris. Then, mark the perimeter of the base with stakes and string. Make sure the base is large enough to accommodate the size of the oven you plan to build.
Laying the Foundation
Next, you need to pour a concrete foundation for the base. Dig a hole that is at least 8 inches deep and fill it with a layer of gravel or crushed stone. Then, mix concrete according to the instructions and pour it into the hole until it’s level with the ground. Use a trowel to smooth out the surface and let it dry for at least 24 hours.
Building the Walls
Once the foundation is dry, you can start building the walls of the base. Use fire bricks or cinder blocks to create a sturdy and heat-resistant structure. Stack them on top of each other, using mortar to hold them in place. Make sure the walls are level and straight. You can also add a layer of insulation, such as vermiculite or perlite, between the bricks or blocks to improve the oven’s heat retention.
Overall, building the base for your DIY outdoor pizza oven requires some time and effort, but it’s an essential step that will ensure the longevity and functionality of your oven. Once the base is complete, you can move on to building the actual oven dome and chimney.
Step 4: Construct the Oven
Constructing the oven is the most important step in building your DIY outdoor pizza oven. It involves building the dome, creating the hearth, and insulating the oven.
Building the Dome
The dome is the most essential part of the oven. It is responsible for trapping heat inside the oven, which is necessary for cooking pizza and other foods. To build the dome, you will need to create a mold using sand or a spherical object like a beach ball. Cover the mold with a layer of wet newspaper and then a layer of chicken wire. Apply a layer of cement over the chicken wire, followed by another layer of chicken wire and cement. Continue adding layers until you reach your desired thickness. Once the dome is complete, allow it to dry completely before removing the mold.
Creating the Hearth
The hearth is the floor of the oven and needs to be able to withstand high heat. To create the hearth, mix a batch of refractory cement and pour it onto the oven floor. Spread the cement evenly and allow it to dry completely before adding a layer of firebrick on top. The firebrick will provide an even surface for cooking and will help to retain heat.
Insulating the Oven
Insulating the oven is crucial for maintaining heat and preventing heat loss. To insulate the oven, cover the dome and hearth with a layer of insulation blanket. The insulation blanket should be at least 2 inches thick and should cover the entire oven. Once the insulation blanket is in place, cover it with a layer of chicken wire and then a layer of cement. This will protect the insulation blanket and provide an even surface for the final layer of finish.
By following these steps, you will have successfully constructed your DIY outdoor pizza oven. The next step is to add a layer of finish to the oven and then start cooking delicious pizzas!
Step 5: Finish the Oven
Now that you have completed the construction of your outdoor pizza oven, it is time to add the finishing touches. This final step will ensure that your oven looks great and functions properly. Here are the steps to complete your oven:
Adding the Chimney
The chimney is an essential component of your outdoor pizza oven. It helps to regulate the temperature and smoke, ensuring that your pizza is cooked to perfection. Here are the steps to add a chimney to your oven:
- Choose a location for your chimney. It should be at the highest point of your oven and positioned in a way that allows smoke to escape easily.
- Mark the location of the chimney on the roof of your oven. Use a drill to create a hole in the roof.
- Insert the chimney pipe into the hole and secure it in place using screws or cement.
- Attach the chimney cap to the top of the pipe to prevent rain and debris from entering.
Finishing Touches
Now that your chimney is in place, it is time to add the final touches to your outdoor pizza oven. Here are a few things you can do to make your oven look great:
- Apply a coat of sealant to protect the oven from the elements.
- Add a decorative finish such as tiles or stone veneer to enhance the appearance of your oven.
- Install a temperature gauge to monitor the heat inside the oven.
- Add a pizza peel and other accessories to make cooking pizza easier.
With these finishing touches, your outdoor pizza oven is now complete. It is time to fire up the oven and enjoy some delicious homemade pizza!
Conclusion
Building a DIY outdoor pizza oven can be a fun and rewarding project that will bring your family and friends together for delicious homemade pizza nights. With the right tools, materials, and guidance, you can create a beautiful and functional pizza oven that will last for years to come.
Tips for Success
- Choose the right location for your oven, considering factors like wind, sun exposure, and proximity to combustible materials.
- Use high-quality materials that can withstand high temperatures and weather conditions.
- Follow the instructions carefully and take safety precautions when handling tools and materials.
- Allow enough time for the oven to cure before using it for cooking.
- Experiment with different pizza recipes and toppings to find your favorite combinations.
Benefits of a DIY Pizza Oven
Aside from the obvious benefit of having delicious homemade pizza, building a DIY outdoor pizza oven has other advantages:
- You can customize the design and size to fit your needs and preferences.
- You can save money compared to buying a pre-made pizza oven.
- You can enjoy the satisfaction of creating something with your own hands.
- You can impress your guests with your culinary skills and outdoor entertaining area.
Start Your Project Today
With the information and inspiration provided in this article, you have everything you need to start building your own DIY outdoor pizza oven. Have fun, be safe, and enjoy the delicious results!