
How to Build a DIY Bookshelf: Step-by-Step Instructions for Custom Book Storage
Are you tired of cluttered shelves and not enough storage space for your growing book collection? Building your own bookshelf may seem like a daunting task, but with the right tools and instructions, it can be a fun and rewarding DIY project. Not only will you have a custom bookshelf that fits your specific needs and style, but you’ll also save money compared to buying a pre-made one.
Why Build Your Own Bookshelf?
- Customization: When you build your own bookshelf, you have complete control over the design and size. You can tailor it to fit the exact dimensions of your space and choose the materials and finishes that match your decor.
- Cost-effective: Building your own bookshelf can be significantly cheaper than buying one from a store, especially if you have some of the necessary tools already on hand.
- Satisfaction: There’s a sense of pride and accomplishment that comes with building something with your own hands. Plus, you’ll have a one-of-a-kind piece that you can show off to your friends and family.
Whether you’re a seasoned DIYer or just starting out, this step-by-step guide will walk you through the process of building your own bookshelf. From gathering materials to assembling the shelves, we’ll cover everything you need to know to create a custom book storage solution that you’ll love.
Planning Your DIY Bookshelf
Building a DIY bookshelf can be a fun and rewarding project, but it requires careful planning to ensure that your bookshelf is sturdy, functional, and aesthetically pleasing. The planning process involves choosing the right materials, measuring your space, and designing your bookshelf.
Choosing the Right Materials
The materials you choose for your DIY bookshelf will determine its strength, durability, and appearance. Some popular materials for bookshelves include wood, MDF, plywood, metal, and plastic. When selecting your materials, consider the weight of your books, the style of your room, and your budget.
If you’re building a large bookshelf, you’ll want to choose sturdy, solid wood or plywood that can support the weight of your books without sagging or warping. If you’re on a budget, MDF or particleboard can be a more affordable option, but they may not be as durable as solid wood.
Measuring Your Space
Before you start building your bookshelf, you’ll need to measure your space to determine the size and shape of your bookshelf. Measure the height, width, and depth of the area where you want to place your bookshelf, taking into account any obstacles such as doors, windows, or radiators.
Use these measurements to create a plan or diagram for your bookshelf, including the number of shelves, their spacing, and their size. This will help you to determine how much material you need and how to cut it.
Designing Your Bookshelf
Once you have your measurements, you can start designing your bookshelf. Consider the style of your room and choose a design that complements it. Some popular bookshelf designs include ladder shelves, cube shelves, and floating shelves.
You can also add decorative elements such as molding, trim, or paint to customize your bookshelf and make it unique.
| Pros | Cons |
|---|---|
| Wood is strong and durable | Wood can be expensive |
| MDF is affordable | MDF can be less durable than wood |
| Metal is sturdy and modern | Metal can be heavy and difficult to work with |
By choosing the right materials, measuring your space, and designing your bookshelf, you can create a beautiful and functional DIY bookshelf that will showcase your favorite books and add personality to your room.
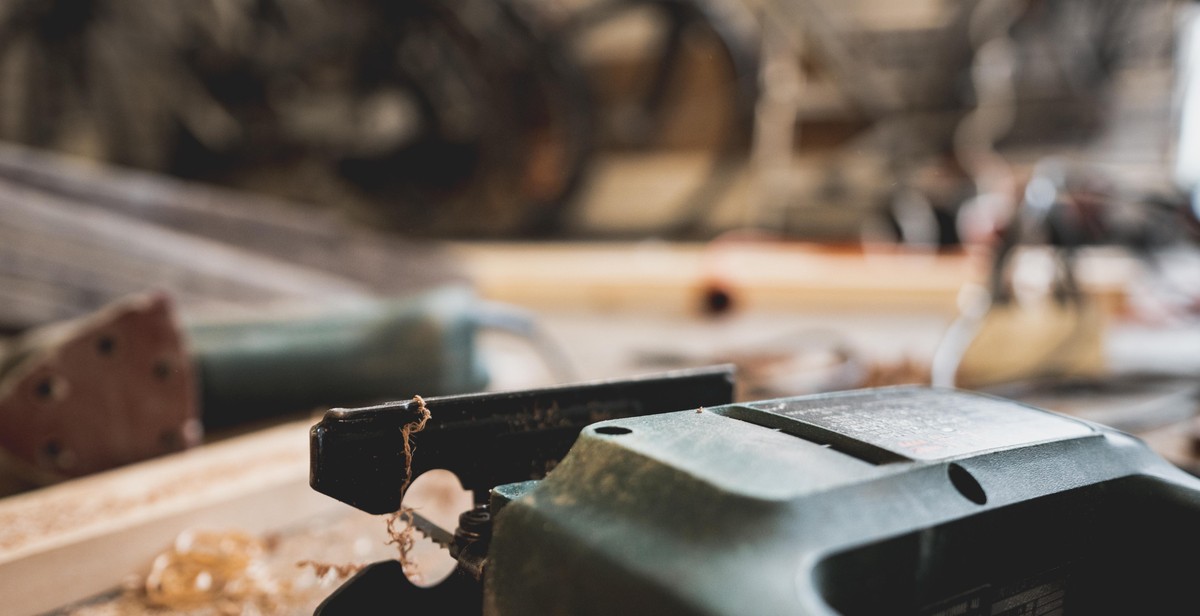
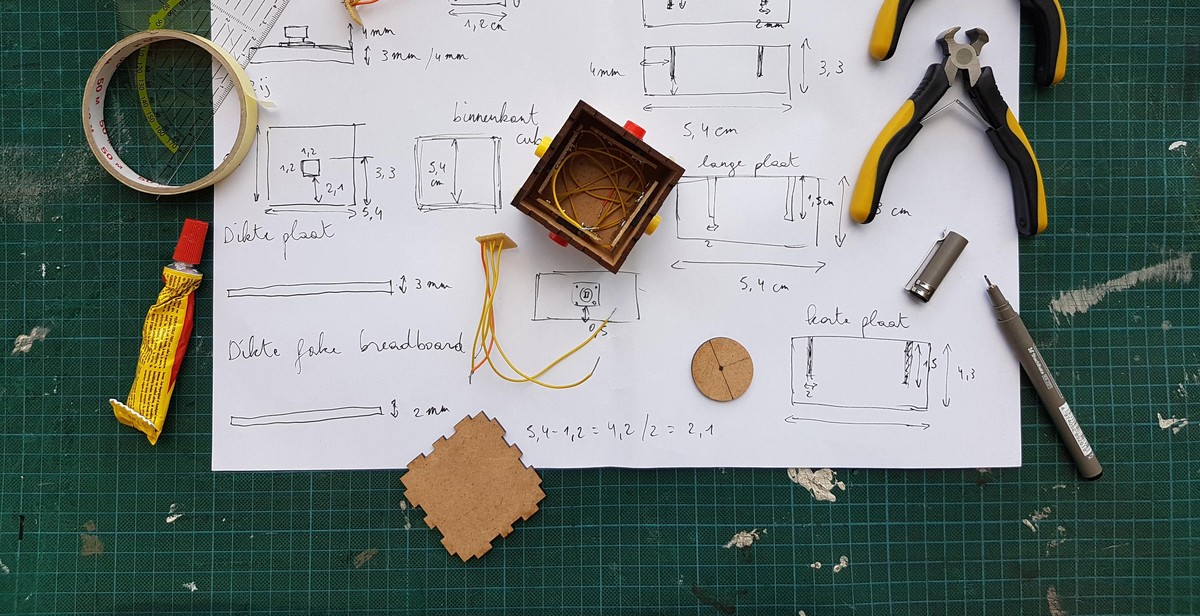
Gathering Your Tools and Materials
Before you begin building your DIY bookshelf, it’s important to gather all the necessary tools and materials. Here’s a list of what you’ll need:
Tools You Will Need:
- Power drill
- Drill bits
- Screwdriver bits
- Tape measure
- Square
- Pencil
- Saw
- Safety glasses
- Gloves
- Sanding block or sandpaper
Materials You Will Need:
Depending on the size and design of your bookshelf, you may need to adjust the quantities of the materials listed below:
| Material | Quantity |
|---|---|
| 1×12 pine boards | 6-8 (depending on the size of the bookshelf) |
| 2×2 pine boards | 4 (for the legs) |
| 1 1/4-inch wood screws | 48-64 |
| Wood glue | 1 bottle |
| Wood filler | 1 small container |
| Paint or stain | 1 quart |
| Paintbrushes | 2-3 (for applying paint or stain) |
Once you have all of your tools and materials, you’re ready to start building your DIY bookshelf. Keep in mind that safety should always be your top priority when working with power tools and sharp objects. Wear safety glasses and gloves, and use caution when operating the saw and drill.
Building Your DIY Bookshelf
Now that you have gathered all the necessary materials and tools, it’s time to start building your DIY bookshelf. Follow these step-by-step instructions to create a custom book storage solution that fits your space and style:
Cutting Your Wood
The first step in building your DIY bookshelf is to cut your wood to the desired size. Use a saw to cut your plywood into the following pieces:
- Two pieces for the sides, measuring 72 inches by 11 1/4 inches
- Five pieces for the shelves, measuring 36 inches by 11 1/4 inches
- One piece for the top, measuring 72 inches by 12 inches
- One piece for the bottom, measuring 72 inches by 12 inches
Assembling Your Bookshelf
After cutting your wood to size, it’s time to assemble your bookshelf. Follow these steps:
- Start by attaching the sides to the top and bottom using wood glue and screws. Make sure the sides are flush with the edges of the top and bottom pieces.
- Attach the shelves to the sides using wood glue and screws. Space the shelves evenly, leaving enough room for your books to fit.
- Once all the shelves are attached, add support pieces to the back of the bookshelf. These pieces should be cut to the same height as the shelves and attached with wood glue and screws.
- Finally, add a back panel to your bookshelf. This can be made from plywood or a thinner material like hardboard. Attach the back panel using wood glue and nails.
Finishing Your Bookshelf
After assembling your bookshelf, it’s time to add the finishing touches. Follow these steps:
- Sand the entire bookshelf to smooth any rough edges or surfaces.
- Apply a coat of wood stain or paint to the bookshelf, following the manufacturer’s instructions.
- Allow the bookshelf to dry completely before adding your books.
Now that you have completed these steps, your DIY bookshelf is ready to use! Place it in your desired location and start organizing your books.
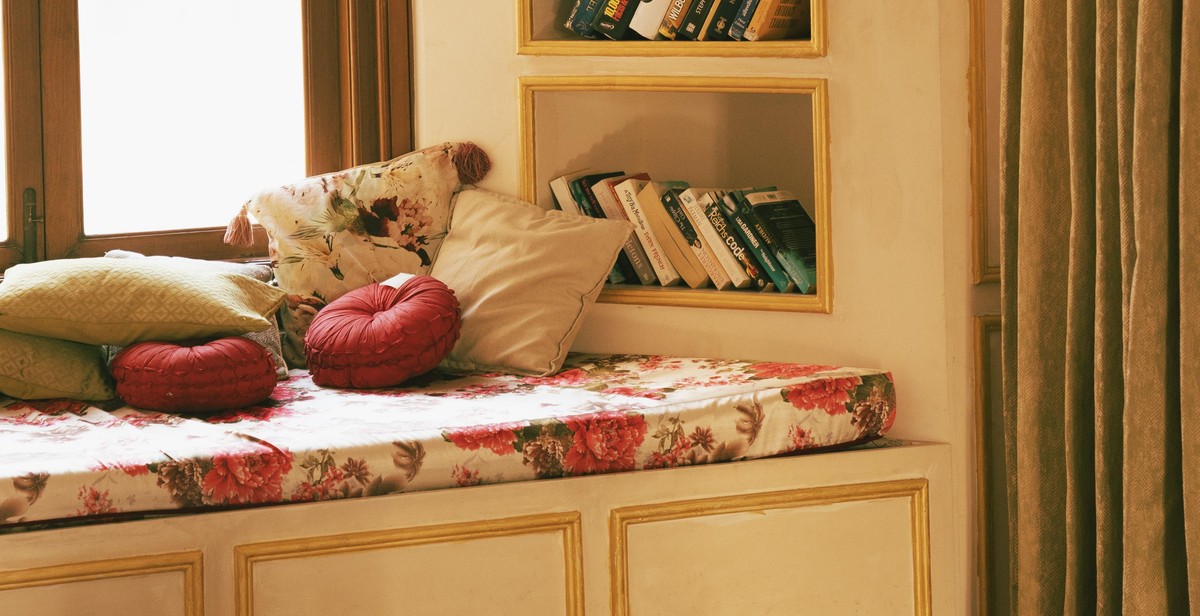
Adding Custom Features
While the basic design of a bookshelf is simple, there are many custom features you can add to make it unique and functional for your specific needs. Here are some ideas to consider:
Decorative Molding
Adding decorative molding to your bookshelf can give it a more polished and sophisticated look. You can choose from a variety of styles, such as crown molding, baseboard molding, or picture rail molding. Molding can be attached with adhesive or nails, and can be painted or stained to match the rest of your bookshelf.
Painting or Staining
Painting or staining your bookshelf can completely transform its look. You can choose a color that complements the room it will be in or use a stain to highlight the natural wood grain. Before painting or staining, make sure to sand the bookshelf to ensure a smooth finish.
Adding Doors or Drawers
If you want to hide some of your books or keep them dust-free, adding doors to your bookshelf is a great option. You can choose from a variety of styles, such as glass doors, solid wood doors, or even sliding doors. If you want to add storage for other items, such as magazines or small items, adding drawers is a great option. You can make drawers out of wood or use pre-made ones that can be easily attached to your bookshelf.
When adding custom features to your bookshelf, make sure to take accurate measurements and plan out your design before starting. This will help ensure that your bookshelf turns out exactly how you want it.

Conclusion
Building a DIY bookshelf can be a fun and rewarding project that saves you money and provides you with custom book storage. By following the step-by-step instructions outlined in this article, you can create a bookshelf that is both functional and aesthetically pleasing.
Enjoying Your New Bookshelf
Once your bookshelf is complete, it’s time to start enjoying it! Arrange your books and other items on the shelves in a way that makes sense to you. You may want to organize them by author, genre, or color. Whatever your preference, your new bookshelf is sure to make a statement in your home.
Remember to keep your bookshelf clean and dust-free by wiping it down regularly with a soft cloth. You may also want to consider adding decorative elements, such as plants or framed photos, to give your bookshelf a personal touch.
Final Thoughts
Building a DIY bookshelf can be a challenging but rewarding experience. By following the instructions in this article, you can create a bookshelf that is customized to your needs and preferences. Whether you’re a book lover or just need some extra storage space, a DIY bookshelf is a great project to tackle.
| Pros | Cons |
|---|---|
| Customizable to your needs | Requires time and effort |
| Saves money compared to buying a pre-made bookshelf | May require some woodworking skills |
| Aesthetically pleasing | May not be as sturdy as a pre-made bookshelf |
Overall, building a DIY bookshelf is a great way to add some personality to your home while also providing functional storage space. With a little patience and effort, you can create a bookshelf that you’ll be proud to show off.