How to Build a Deck Railing with Safety and Style
Deck railings are an essential safety feature for any raised deck. Not only do they prevent falls, but they also add aesthetic value to the deck. Building a deck railing may seem like a daunting task, but with the right tools and materials, it can be a straightforward DIY project.
Design Considerations
Before beginning the build process, it’s important to consider the design of the deck railing. The style and materials should complement the overall look of the deck and home. A few popular options include wood, metal, and glass railings. Each material has its own pros and cons, so it’s important to research and choose the best option for your specific needs.
Materials and Tools
Once the design is chosen, it’s time to gather materials and tools. Some basic materials needed for building a deck railing include balusters, posts, and rails. Tools needed may include a saw, drill, hammer, and measuring tape.
Building Process
The building process typically involves attaching the posts to the deck surface, installing the rails and balusters, and adding finishing touches such as caps and trim. It’s important to follow safety guidelines and local building codes throughout the process.
By following these steps and taking the necessary precautions, building a deck railing can be a rewarding and enjoyable project that adds both safety and style to your outdoor living space.

Step 1: Determine Your Deck Railing Needs
Building a deck railing is not just about enhancing the aesthetic appeal of your outdoor space. Safety is also a top priority. Therefore, before you start building your deck railing, you need to determine your specific needs. Here are some factors to consider:
Consider Your Local Building Codes
Building codes vary from one state to another. Therefore, it is important to familiarize yourself with the building codes in your area before you start building your deck railing. You don’t want to end up with a beautiful deck railing that does not meet the local building codes. The codes typically cover aspects such as the height and spacing of balusters, the strength of the railing, and the materials that can be used.
Choose the Right Material for Your Deck Railing
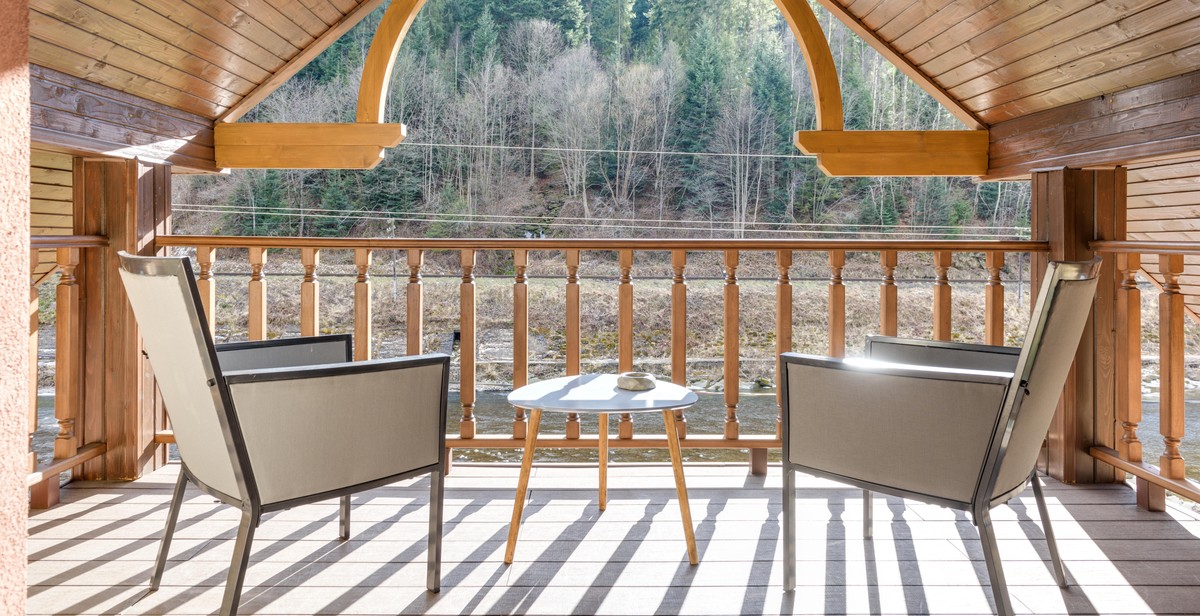
Deck railings can be made from various materials, including wood, metal, glass, and composite materials. Each material has its own pros and cons, and you need to choose the one that best suits your needs and preferences. For example, wood railings are affordable and give a natural look, but they require regular maintenance. On the other hand, metal railings are durable and low-maintenance, but they can be expensive.
Decide on Your Deck Railing Style
Deck railings come in different styles, ranging from traditional to modern. The style you choose should complement the overall design of your home and outdoor space. Some popular styles include cable railing, glass railing, and picket railing. You can also opt for a custom design that reflects your personal taste.
By considering these factors, you can determine your deck railing needs and make informed decisions when building your deck railing.

Step 2: Measure and Plan Your Deck Railing
Before you start building your deck railing, it is important to take accurate measurements and plan your design. This will ensure that your railing fits securely and looks great on your deck. Here are the steps you should follow:
Measure Your Deck
The first step is to measure the length and height of your deck. This will help you determine the amount of materials you will need for your railing. Measure the length of your deck by running a tape measure along the edge of your deck. Then, measure the height of your deck from the top of the decking to the desired height of your railing.
Create a Sketch of Your Deck Railing Design
Once you have measured your deck, it’s time to plan your railing design. Consider the style of your deck and your personal preferences when choosing a design. You can choose from a variety of materials, such as wood, metal, or glass, and a range of styles, such as traditional, modern, or minimalist.
Once you have chosen your design, create a sketch or drawing of your railing. This will help you visualize your design and make any necessary adjustments before you start building. You can use a software program or simply draw your design on paper.
By taking accurate measurements and planning your design, you can ensure that your deck railing is safe, secure, and stylish.

Step 3: Gather Your Tools and Materials
Before you start building your deck railing, it’s important to gather all the necessary tools and materials. This will help you save time and ensure that the project runs smoothly.
Tools You Will Need
Here are the tools you will need to build a deck railing:
- Measuring tape
- Pencil
- Miter saw or circular saw
- Jigsaw
- Drill
- Screwdriver
- Clamps
- Level
- Hammer
- Socket wrench set
- Post hole digger
- Shovel
Materials You Will Need
Here are the materials you will need to build a deck railing:
| Materials | Quantity |
|---|---|
| Pressure-treated 4×4 posts | As needed |
| Pressure-treated 2x4s | As needed |
| Deck screws | As needed |
| Wood glue | As needed |
| Wood stain or paint | As needed |
| Deck balusters | As needed |
| Post caps | As needed |
| Concrete mix | As needed |
Make sure you have all the necessary tools and materials before you start building your deck railing. This will help you avoid delays and ensure that you have everything you need to complete the project.

Step 4: Install Posts and Rails
Now that you have completed the preparation work, it’s time to install the posts and rails for your deck railing. This step is crucial as it will determine the safety and stability of your deck railing. Here’s how to do it:
Install Your Posts
The first step in installing your deck railing is to install the posts. These are the vertical supports that will hold up the rails. Here’s how to do it:
- Measure and mark the location of each post on the deck surface.
- Using a post hole digger, dig a hole for each post that is at least 2 feet deep and wide enough to accommodate the post.
- Place the post in the hole and use a level to ensure that it is plumb. Fill the hole with concrete and allow it to dry according to the manufacturer’s instructions.
- Repeat this process for each post.
Install Your Rails
Once the posts are in place, it’s time to install the rails. These are the horizontal pieces that will run between the posts. Here’s how to do it:
- Measure the distance between each post to determine the length of the rails you will need.
- Cut the rails to the appropriate length using a saw.
- Attach the rails to the posts using rail brackets. These brackets should be screwed into the posts and the rails should be inserted into the brackets.
- Use a level to ensure that the rails are level and secure.
- Repeat this process for each rail.
By following these steps, you can install your deck railing with safety and style. With the posts and rails securely in place, you can enjoy your deck with peace of mind knowing that it is safe and stable.

Step 5: Add Finishing Touches
After completing the installation of your deck railing, it’s time to add the finishing touches to make it look and feel complete. Here are some steps to follow:
Sand and Stain Your Deck Railing
If you want your deck railing to look its best, sanding and staining is a must. Sanding the wood removes any rough patches and prepares it for staining. Once sanded, you can apply a stain that complements the color of your deck and adds a layer of protection against the elements. Make sure to choose a high-quality stain that can withstand foot traffic and exposure to the sun and rain.
Add Decorative Elements
To add some character and style to your deck railing, consider adding some decorative elements. You can opt for ornamental balusters, post caps, or even lighting fixtures. These elements not only enhance the aesthetic appeal of your deck but also improve its safety and functionality. For example, lighting fixtures can help illuminate your deck at night, making it easier to navigate.
When selecting decorative elements, make sure they are compatible with the style and design of your deck railing. You don’t want to add anything that clashes with the overall look of your deck.
Conclusion
By following these steps, you can create a deck railing that is both safe and stylish. Remember to prioritize safety first and foremost, but don’t be afraid to add some personality to your deck railing with some decorative elements. With proper installation and maintenance, your deck railing can last for years to come.

Conclusion
Building a deck railing is an important aspect of deck construction. It not only adds to the overall look and feel of your deck but also serves as a safety measure. With a bit of creativity and the right materials, you can build a deck railing that is both stylish and safe.
Considerations for Building a Deck Railing
- Local building codes and regulations
- The height of your deck
- The style and design of your deck
- The materials you want to use
- Your budget
Tips for Building a Safe and Stylish Deck Railing
- Choose high-quality and durable materials
- Ensure that the railing is at the right height
- Make sure the railing is secure and stable
- Add decorative elements that complement your deck design
- Regularly inspect and maintain your deck railing
Final Thoughts
Building a deck railing requires careful planning and attention to detail. By following local codes and regulations, selecting the right materials, and incorporating stylish design elements, you can create a deck railing that is both safe and visually appealing. Remember to prioritize safety and regularly maintain your deck railing to ensure it remains in good condition for years to come.
