
How to Design and Sew Your Own Clothes: A Beginner’s Guide
Are you tired of buying clothes that don’t fit quite right or don’t match your personal style? Why not try designing and sewing your own clothes? Not only is it a fun and creative hobby, but it also allows you to create one-of-a-kind pieces that perfectly suit your body and taste.
Benefits of Sewing Your Own Clothes
- Custom fit: No more ill-fitting clothes that don’t flatter your body shape. When you sew your own clothes, you can adjust the pattern to fit your unique measurements.
- Personalized style: You can choose the fabrics, colors, and patterns that you love and that reflect your personal style.
- Budget-friendly: While sewing your own clothes may require an initial investment in a sewing machine and supplies, it can ultimately save you money in the long run as you won’t need to constantly buy new clothes.
- Environmental impact: By making your own clothes, you can reduce your carbon footprint by decreasing your reliance on fast fashion and its harmful effects on the environment.
Getting Started
Before you dive into designing and sewing your own clothes, there are a few things you’ll need to get started:
| Sewing machine: | A basic sewing machine is all you need to get started. Look for one that fits your budget and has the features you need, such as adjustable stitch length and width. |
| Supplies: | You’ll need fabric, thread, sewing needles, scissors, pins, and a measuring tape. You may also want to invest in a few sewing patterns to get started. |
| Skills: | While you don’t need to be an expert seamstress to sew your own clothes, it’s helpful to have some basic sewing skills. Consider taking a beginner’s sewing class or watching online tutorials to learn the basics. |
With these basics in place, you’re ready to start designing and sewing your own clothes. In the next sections, we’ll cover the steps you need to take to create your own patterns, choose fabrics, and sew your own clothes.
Step 1: Choose a Pattern
Designing and sewing your own clothes can be a fun and fulfilling hobby. However, before you can start sewing, you need to choose a pattern that suits your skill level and desired garment. Here are some tips for selecting and purchasing a pattern:
Selecting a Pattern
When selecting a pattern, consider the following:
- Your skill level: If you are new to sewing, it is best to start with a simple pattern that has fewer pieces and less complicated construction. As you gain experience, you can move on to more complex patterns.
- Your body type: Choose a pattern that is designed for your body type. Most patterns come in multiple sizes, so make sure to choose the size that corresponds to your measurements.
- Your personal style: Choose a pattern that reflects your personal style and the garment you want to create. If you prefer classic styles, choose a pattern that reflects that. If you prefer more trendy styles, choose a pattern that reflects that.
Purchasing a Pattern
Once you have selected a pattern, you can purchase it either online or in a fabric store. When purchasing a pattern, make sure to:
- Check the size chart: Make sure to choose the size that corresponds to your measurements.
- Read the instructions: Make sure to read the instructions before purchasing to ensure that the pattern is suitable for your skill level.
- Check the fabric requirements: Make sure to check the fabric requirements to ensure that you purchase enough fabric for your garment.
| Type | Description |
|---|---|
| Commercial Patterns | These patterns are produced by companies and sold in fabric stores and online. They come in a variety of styles and sizes. |
| Indie Patterns | These patterns are produced by independent designers and sold online. They often have unique designs and may come with more detailed instructions. |
By following these tips for selecting and purchasing a pattern, you can ensure that you choose the right pattern for your skill level, body type, and personal style.
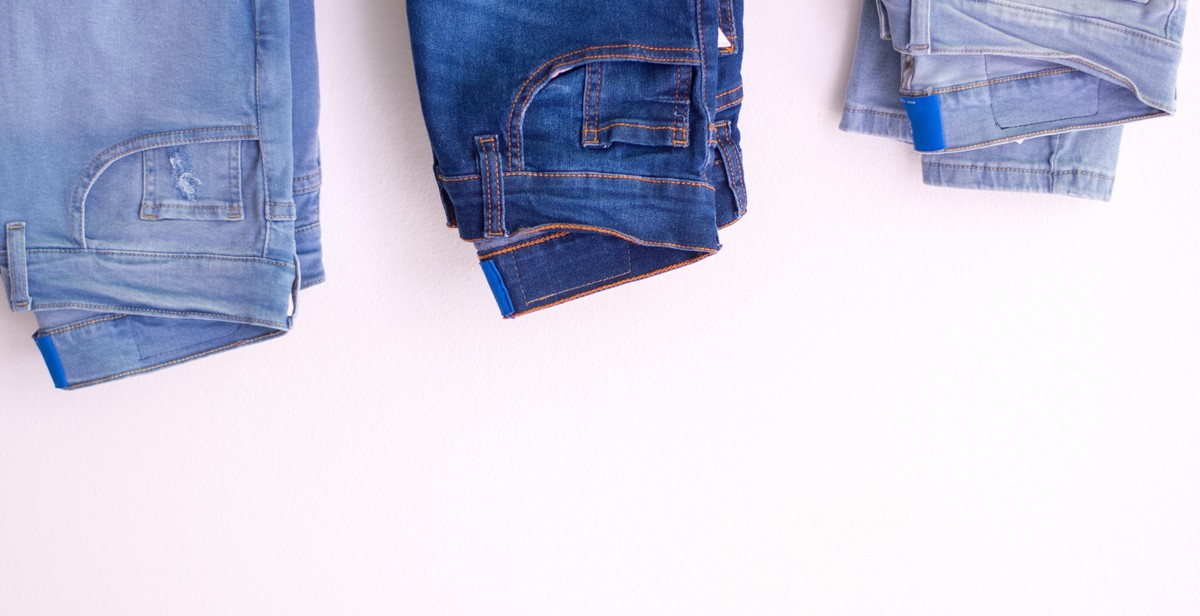
Step 2: Choose Your Fabric
Choosing the right fabric is crucial when it comes to designing and sewing your own clothes. The fabric you choose can affect the drape, fit, and overall look of the garment. Here are some factors to consider when selecting your fabric:
Selecting Fabric Type and Texture
Consider the garment you want to create and the function it will serve. Will it be a formal dress or a casual top? Will it be worn in the summer or winter? These factors will help you determine the type of fabric you need.
For example, if you are making a summer dress, you may want to choose a light and breathable fabric such as cotton or linen. If you are making a winter coat, a heavier fabric such as wool or tweed would be ideal.
Texture is also important to consider. Do you want a fabric with a smooth or textured surface? A fabric with a texture can add interest and depth to your garment.
Choosing the Right Color and Print
The color and print of your fabric can greatly impact the final look of your garment. When choosing a color, consider your skin tone and what colors look best on you. You can also consider the occasion and the season. For example, bright colors may be more appropriate for summer while darker colors are better for fall and winter.
If you decide to use a print, make sure it complements the style and design of your garment. A bold print may be overwhelming on a fitted dress, but it could work well on a flowy skirt. Consider the scale of the print as well. A large print may be too busy on a small garment, while a small print may be lost on a larger garment.
| Type of Fabric | Texture | Best for |
|---|---|---|
| Cotton | Smooth | Summer dresses, blouses, and shirts |
| Linen | Textured | Summer dresses, pants, and jackets |
| Wool | Textured | Winter coats, blazers, and skirts |
| Tweed | Textured | Winter coats, blazers, and skirts |
By considering these factors, you can choose the perfect fabric for your garment and ensure that it looks and feels great when you wear it.
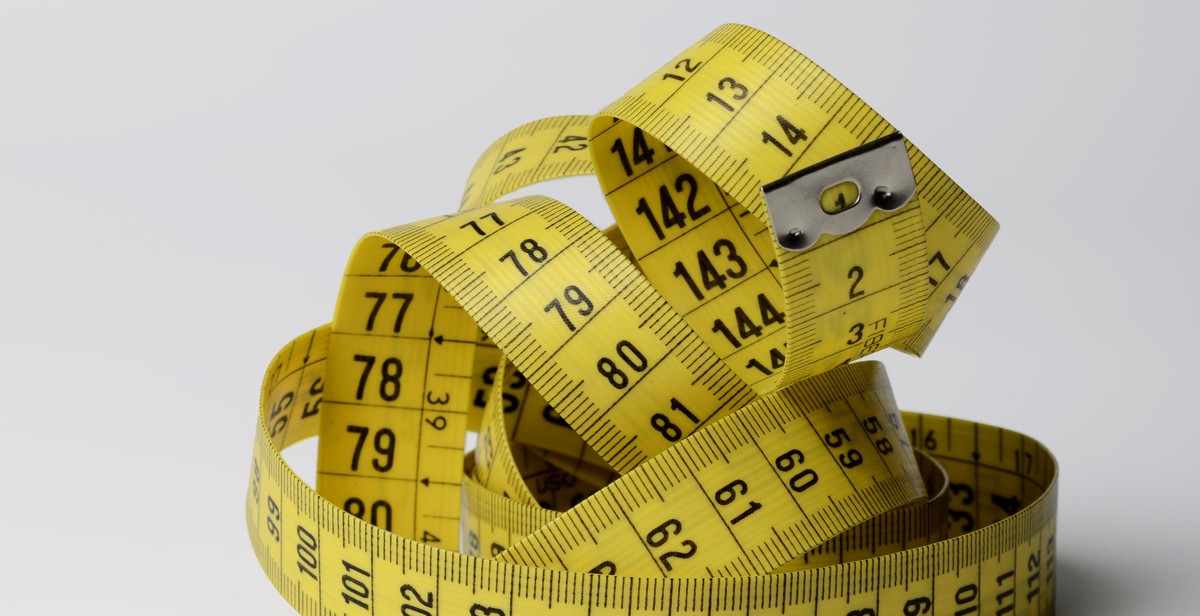
Step 3: Take Your Measurements
Before you start designing and sewing your own clothes, it’s important to take accurate measurements of your body. This will ensure that your clothes fit you perfectly and look great. Here’s how to take your measurements:
Measuring Your Body
When taking your measurements, it’s important to wear form-fitting clothes or just your undergarments. This will give you the most accurate measurements. Use a flexible measuring tape and stand in front of a mirror to ensure that you are measuring correctly.
Here are the measurements you’ll need to take:
- Bust: Measure around the fullest part of your bust.
- Waist: Measure around the narrowest part of your waist.
- Hips: Measure around the fullest part of your hips.
- Inseam: Measure from the top of your inner thigh down to the floor.
- Length: Measure from the base of your neck to your waist, and from your waist to your desired length.
- Sleeve length: Measure from the top of your shoulder to your wrist.
Adjusting the Pattern
Once you have your measurements, you’ll need to adjust the pattern to fit your body. If you’re using a commercial pattern, it’s important to choose the size that corresponds to your largest measurement and then adjust the other areas as needed. You can do this by grading the pattern up or down, or by making alterations to specific areas.
If you’re designing your own pattern, you’ll need to use your measurements to create a custom pattern. This can be done using pattern-making software or by drawing the pattern by hand. Make sure to add seam allowances and any other necessary details to your pattern before cutting out your fabric.
| Measurement | Size | Adjustment |
|---|---|---|
| Bust | 14 | Graded up to a 16 at the waist and hips |
| Waist | 12 | Graded up to a 14 at the bust and hips |
| Hips | 16 | Graded up to an 18 at the waist and bust |
By taking accurate measurements and adjusting the pattern accordingly, you’ll be able to create clothes that fit you perfectly and look great.
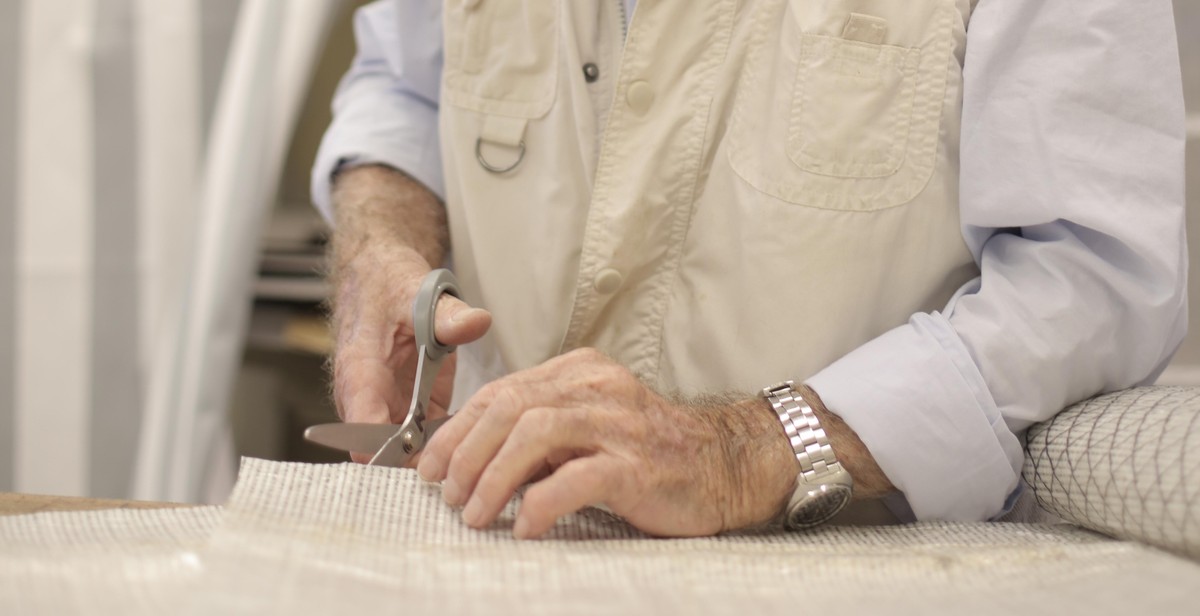
Step 4: Cut Out the Pattern
Now that you have your fabric ready, it’s time to cut out the pattern pieces. This is where you bring your design to life!
Preparing Your Fabric
Before cutting out your pattern pieces, you need to prepare your fabric. Make sure it is clean and pressed. If you are using a fabric that frays easily, you may want to finish the edges with a zigzag stitch or a serger to prevent fraying.
Laying Out the Pattern
When laying out your pattern, it’s important to pay attention to the grainline. The grainline is the direction of the threads in the fabric and it’s important to follow it to ensure that your garment hangs correctly. Most patterns will have an arrow indicating the direction of the grainline.
You should also pay attention to the pattern layout. Make sure that you are cutting out the correct size and that you have enough fabric for all the pieces. If you are using a pattern with a directional print, make sure that all the pieces are facing the same way.
Cutting the Fabric
When cutting out your pattern pieces, it’s important to use sharp scissors or a rotary cutter. Make sure that you are cutting on a flat surface and that your fabric is not shifting or moving.
If you are using a pattern with a lot of pieces, it can be helpful to label each piece with a sticky note or a piece of tape to keep track of what you are cutting.
After cutting out your pieces, double-check that you have all the pieces you need and that they are all cut to the correct size.
| Term | Definition |
|---|---|
| Selvage | The finished edge of the fabric that runs parallel to the grainline. |
| Notch | A small cut in the edge of the fabric that helps you align the pieces correctly. |
| Dart | A triangular fold in the fabric that creates shape in a garment. |
Cutting out your pattern pieces can be time-consuming, but it’s an important step in creating a well-fitting and professional-looking garment. Take your time and enjoy the process!

Step 5: Sew the Garment
After cutting the fabric pieces and preparing them for sewing, it is time to sew the garment together. This step involves sewing the seams and adding finishing touches to the garment.
Sewing the Seams
The first step in sewing the garment is to sew the seams. This involves joining the pieces of fabric together to create the structure of the garment. The type of seam used will depend on the design of the garment and the fabric being used.
There are several types of seams that can be used:
- Straight seam
- Zigzag seam
- French seam
- Flat-felled seam
It is important to sew the seams accurately and consistently to ensure that the garment fits well and looks professional. Use a good quality thread and a suitable needle for the fabric being used.
Adding Finishing Touches
Once the seams have been sewn, it is time to add the finishing touches to the garment. This includes hemming the edges, adding buttons and zippers, and attaching any embellishments.
Hemming the edges involves folding the fabric under and sewing it in place to create a neat finish. Buttons and zippers can be attached using a sewing machine or by hand. Embellishments such as lace, sequins, or beads can be sewn on using a needle and thread.
It is important to take your time when adding the finishing touches to the garment. This will ensure that the garment looks professional and is comfortable to wear.
| Tips: |
|---|
| Always use a good quality thread and needle when sewing. |
| Take your time and sew accurately to ensure a professional finish. |
| Experiment with different types of seams and finishes to create unique designs. |
Conclusion
Designing and sewing your own clothes can be a fun and rewarding experience. Not only do you get to express your creativity, but you also get to wear something that is unique and tailored to your body.
Before starting any project, it is important to have a clear plan and understanding of the process. This includes selecting the right fabric, taking accurate measurements, and choosing the appropriate pattern.
When it comes to sewing, practice makes perfect. Start with simple projects and work your way up to more complex ones. Be patient with yourself and don’t be afraid to ask for help when needed.
Remember to take breaks and step away from your project if you start to feel frustrated or overwhelmed. Sewing should be enjoyable, not stressful.
Lastly, don’t be afraid to experiment and try new things. Whether it’s adding embellishments or altering a pattern, the possibilities are endless when it comes to designing and sewing your own clothes.
Benefits of Designing and Sewing Your Own Clothes
- Unique and personalized clothing
- Ability to tailor clothing to your body
- Cost-effective in the long run
- Creative expression
- Satisfaction of completing a project
Final Thoughts
By following the steps outlined in this guide and utilizing your own creativity, you can design and sew your own clothes with confidence. Whether it’s a simple skirt or a complex dress, the satisfaction of wearing something you made yourself is unmatched.
| Tip: | Invest in high-quality tools and equipment to ensure the best results. |