
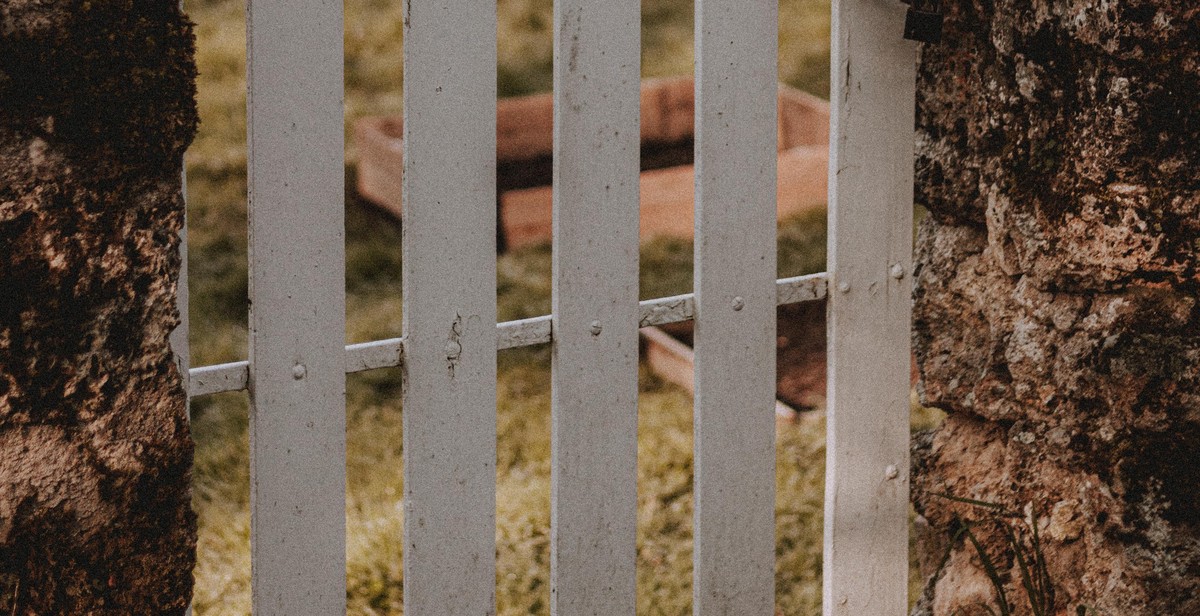
How to Install a Garden Fence for Plant Protection and Privacy
Gardening is a great way to beautify your outdoor space and provide fresh produce for your family. However, it can be frustrating when animals, pests, or even people damage your plants. Installing a garden fence can help protect your plants from these threats and also provide privacy for your outdoor space.
Why Install a Garden Fence?
There are several reasons why you should consider installing a garden fence:
- Protection from animals and pests: A fence can keep out rabbits, deer, squirrels, and other animals that may damage your plants.
- Privacy: A fence can create a private space for you to enjoy your garden without worrying about prying eyes.
- Aesthetics: A garden fence can enhance the look of your outdoor space and add to the overall beauty of your property.
What to Consider Before Installing a Garden Fence
Before installing a garden fence, there are a few things you need to consider:
- Local regulations: Check with your local government to see if there are any regulations or permits required for installing a fence in your area.
- Materials: Choose the right materials for your fence based on your budget, desired level of security, and aesthetic preferences.
- Height: Determine the appropriate height for your fence based on the type of plants you are growing and the animals you are trying to keep out.
- Installation: Decide whether you want to install the fence yourself or hire a professional.
With these considerations in mind, you can install a garden fence that will protect your plants and provide privacy for your outdoor space.
Materials Needed
Installing a garden fence for plant protection and privacy requires a few essential materials. Here are the materials you will need:
Fence Panels
The fence panels are the primary component of your garden fence and come in various sizes, styles, and materials. Choose the one that suits your preference and garden design. You may consider wooden, vinyl, or metal fence panels.
Posts
The posts are the vertical supports that hold the fence panels in place. They come in various sizes, including 4×4 and 6×6 inches. You may choose wooden or metal posts, depending on your preference and budget.
Concrete
You will need concrete to secure the fence posts in the ground. Use concrete mix to create a stable base for the fence posts to prevent them from leaning or falling over.
Gravel
Gravel is necessary for drainage and to prevent the fence posts from rotting. Place a layer of gravel at the bottom of the fence post hole before pouring in the concrete mix.
Nails or Screws
You will need nails or screws to attach the fence panels to the posts. Choose the appropriate size and type of nails or screws depending on the fence panel and post material.
Gate and Hardware
If you want to include a gate in your garden fence, you will need a gate and hardware, including hinges, latches, and locks.
Tools Needed
To install a garden fence, you will need the following tools:
- Post hole digger
- Level
- Tape measure
- Hammer
- Drill
- Saw
- Screwdriver
- Wrench
- Shovel
By gathering these materials and tools, you can successfully install a garden fence for plant protection and privacy.
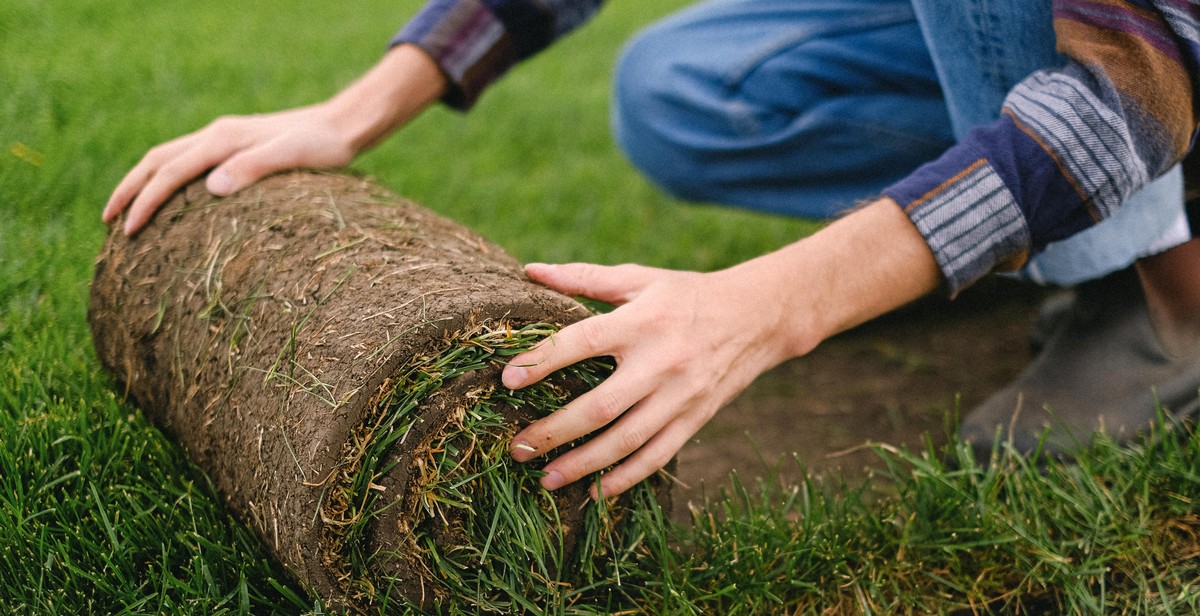
Preparing the Ground
Before installing a garden fence, it is important to prepare the ground properly. This will ensure that the fence is strong, stable, and long-lasting. The preparation process involves measuring and marking the area, clearing the ground, digging post holes, and adding gravel and concrete.
Measuring and Marking
The first step in preparing the ground for a garden fence is to measure and mark the area where the fence will be installed. This will help to determine the amount of materials needed for the project. Use a measuring tape to measure the length and width of the area. Then use stakes and string to mark the corners of the fence line.
Clearing the Area
Once the area has been measured and marked, clear the ground of any obstacles such as rocks, roots, and vegetation. This can be done using a shovel, rake, or hoe. It is important to ensure that the ground is level and free of debris before moving on to the next step.
Digging the Post Holes
After clearing the area, it’s time to dig the post holes. The depth and size of the holes will depend on the height and type of fence being installed. As a general rule, the holes should be at least 1/3 the height of the fence and 10 inches in diameter. Use a post hole digger or auger to dig the holes. Make sure that the holes are evenly spaced and aligned with the fence line.
Adding Gravel and Concrete
Once the post holes have been dug, it’s time to add gravel and concrete to secure the fence posts. Start by adding a few inches of gravel to the bottom of each hole. This will help with drainage and prevent the posts from rotting. Then mix the concrete according to the manufacturer’s instructions and pour it into the holes. Use a level to ensure that the posts are straight and plumb. Allow the concrete to dry completely before attaching the fence panels.
- Measure and mark the area where the fence will be installed
- Clear the ground of any obstacles such as rocks, roots, and vegetation
- Dig the post holes to the appropriate depth and size
- Add gravel to the bottom of each hole for drainage
- Pour concrete into the holes and allow it to dry completely
Installing the Fence Panels
After setting up the posts, the next step is to install the fence panels. Follow these steps to attach and level the panels:
Attaching Fence Panels to Posts
- First, measure the distance between the posts to ensure that the panels fit perfectly.
- Place the first panel against the first two posts and ensure that it is level. Use a spirit level to check if it is straight.
- Once you are satisfied with the placement, attach the panel to the posts using screws or nails. Ensure that the panel is securely attached to the posts.
- Repeat the process for the remaining panels, ensuring that they are level and securely attached to the posts.
Trimming and Leveling the Panels
- After attaching the panels to the posts, trim any excess material using a saw or cutting tool. This will give the fence a neat and tidy appearance.
- Use a spirit level to ensure that the panels are level. If the panels are not level, adjust the posts accordingly.
- Use a hammer or mallet to tap the posts gently until the panels are level.
Finishing the Fence
After installing and leveling the panels, the final step is to finish the fence. Follow these steps:
- Check the fence panels to ensure that they are secure and level.
- Apply a coat of wood preservative or paint to protect the fence from weather damage.
- Install any additional features such as gates or latches.
- Finally, clean up the area around the fence and dispose of any excess materials.
By following these steps, you can install a garden fence for plant protection and privacy.
Installing the Gate
Once the fence posts are in place, it’s time to install the gate. Here’s how:
Attaching the Gate to the Posts
- Measure the distance between the gate posts to determine the width of the gate.
- Cut the gate frame to the width of the gate opening, leaving an additional 1/4 inch on each side for clearance.
- Attach the hinges to the gate frame using screws and a drill.
- Hold the gate in place between the posts and mark the location of the hinges on the posts.
- Attach the hinges to the posts using screws and a drill.
- Check that the gate swings freely and is level. Adjust the hinges if necessary.
Adding Gate Hardware
Once the gate is attached to the posts, it’s time to add the gate hardware. Here’s how:
- Attach a latch to the gate frame and the adjacent fence post.
- Install a gate stop to prevent the gate from swinging too far.
- Attach a handle to the gate for easy opening and closing.
Make sure all gate hardware is securely attached and functioning properly before using the gate.
| Tool | Quantity |
|---|---|
| Drill | 1 |
| Screws | As needed |
| Hinges | 2 |
| Latch | 1 |
| Gate stop | 1 |
| Handle | 1 |
Maintenance and Upkeep
Installing a garden fence is just the first step towards ensuring the safety and privacy of your plants. Proper maintenance and upkeep of the fence are essential to ensure its longevity. Here are some tips for maintaining and keeping your garden fence in top condition:
Cleaning and Painting the Fence
To keep your fence looking new and prevent it from deteriorating, regular cleaning is necessary. Use a pressure washer to remove any dirt, debris, or algae that may have accumulated on the fence. After cleaning, allow the fence to dry completely before painting or staining it. Painting or staining the fence not only enhances its appearance but also protects it from the elements.
Replacing Damaged Panels or Posts
If you notice any damage to the fence panels or posts, it is essential to replace them as soon as possible. Leaving damaged panels or posts can compromise the integrity of the fence, making it less effective in protecting your plants. If you are unsure of how to replace damaged panels or posts, seek the help of a professional.
Winterizing the Fence
During the winter months, it is essential to protect your fence from harsh weather conditions such as snow and ice. Make sure to remove any snow that may have accumulated on the fence to prevent it from collapsing under the weight. Applying a coat of sealant to the fence before winter sets in can help protect it from the elements.
| Tip | Description |
|---|---|
| Cleaning | Regular cleaning with a pressure washer is necessary to remove dirt and debris. |
| Painting or staining | Enhances the appearance of the fence and protects it from the elements. |
| Replacing damaged panels or posts | Ensures the integrity of the fence and its effectiveness in protecting your plants. |
| Winterizing | Protects the fence from harsh winter weather conditions such as snow and ice. |