
The Importance of Smartphone Photography
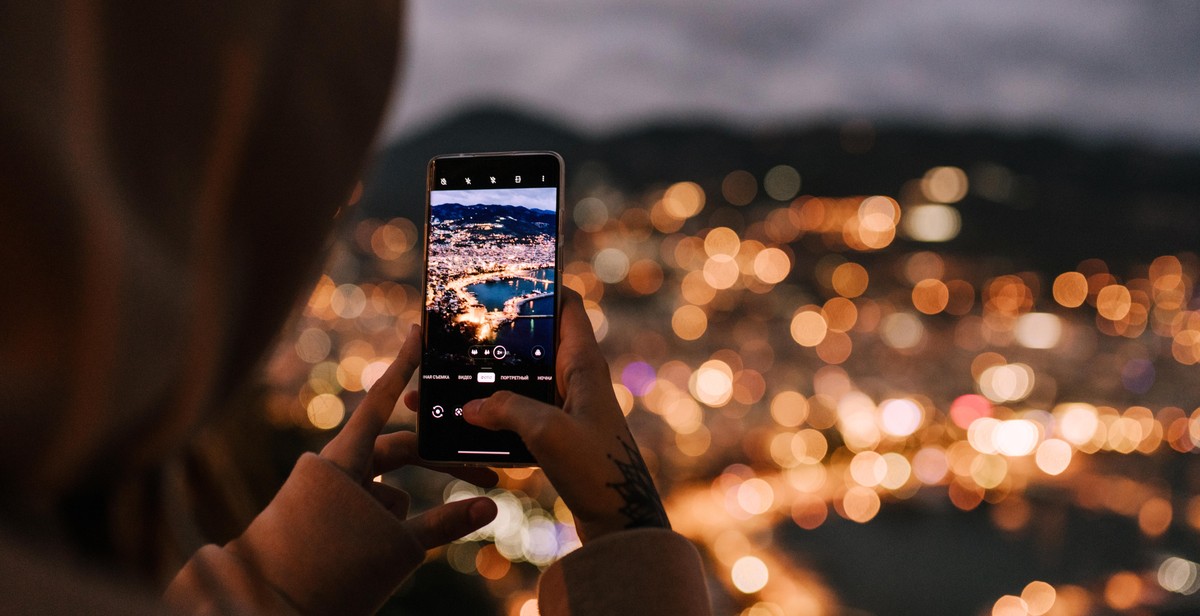
Smartphones have revolutionized the way we take photos. With the latest advancements in technology, smartphones can now produce high-quality images that rival those taken with professional cameras. As a result, smartphone photography has become increasingly popular, and more and more people are using their phones as their primary camera.
One of the main advantages of smartphone photography is convenience. Unlike traditional cameras, which can be bulky and difficult to carry around, smartphones are compact and easy to use. This means that you can capture the perfect shot anytime, anywhere, without having to carry around a separate camera.
Another advantage of smartphone photography is accessibility. Almost everyone has a smartphone these days, and most smartphones come with a built-in camera. This means that anyone can take photos and share them with the world, regardless of their level of experience or expertise.
However, taking stunning photos with your smartphone requires more than just pointing and shooting. To get the best results, you need to understand the principles of photography and how to apply them to your smartphone. In this article, we will provide you with tips and tricks to help you take stunning photos with your smartphone.

Understanding Your Smartphone Camera
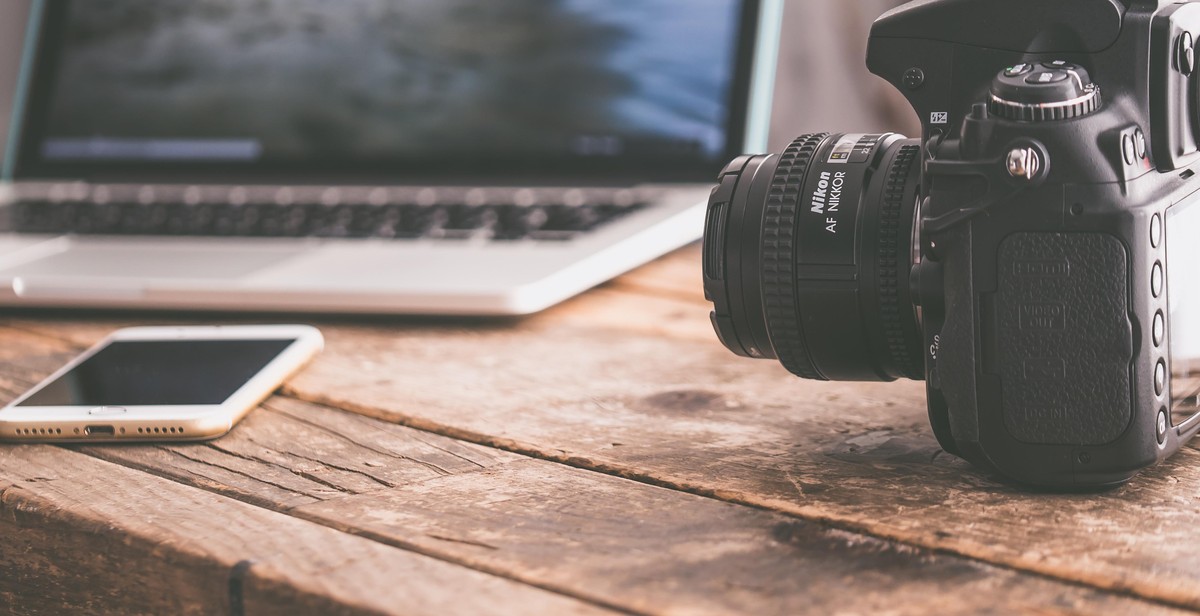
Smartphone cameras have come a long way in recent years. With advancements in technology, they can now rival the image quality of some standalone cameras. But to take stunning photos with your smartphone, you need to understand its camera settings and features, as well as framing and composition.
Camera Settings and Features
Most smartphones have a range of camera settings and features that allow you to take control of your photos. Here are some of the most important ones:
- Exposure: This setting allows you to adjust the brightness of your photos. If your photo is too bright or too dark, you can adjust the exposure to get the perfect balance.
- ISO: This setting controls the sensitivity of your camera’s sensor to light. A higher ISO is useful in low-light situations, but it can also introduce noise to your photos.
- White balance: This setting adjusts the color temperature of your photos. If your photo appears too warm or too cool, you can adjust the white balance to get the colors just right.
- Focus: This setting allows you to choose where to focus in your photo. You can tap on the screen to focus on a specific object or area.
- HDR: This feature takes multiple photos at different exposures and combines them to create a single photo with a wider range of colors and details.
Framing and Composition
Once you understand your smartphone camera’s settings and features, you can start thinking about framing and composition. Here are some tips:
- Rule of thirds: Imagine your photo is divided into a grid of nine equal parts. The rule of thirds suggests placing your subject at the intersection of these lines to create a more visually appealing photo.
- Leading lines: Use natural lines in your photo, such as roads or buildings, to draw the viewer’s eye to your subject.
- Foreground and background: Consider the foreground and background of your photo to add depth and interest.
- Angles: Experiment with different angles, such as shooting from above or below, to add a unique perspective to your photos.
| Before | After |
|---|---|
 |
 |
By understanding your smartphone camera’s settings and features, as well as framing and composition, you can take stunning photos that rival those taken with a standalone camera. So go ahead and experiment with your smartphone camera to see what amazing photos you can create!
Lighting and Exposure
Lighting is one of the most essential factors in photography. It can make or break a photo, even when you’re using a smartphone. There are two main types of lighting: natural and artificial. Understanding how to use both can help you take stunning photos with your smartphone.
Natural Lighting vs. Artificial Lighting
Natural lighting is the most flattering type of lighting for photography. It is soft, diffused, and creates a natural ambiance. The best time to take photos in natural lighting is during the golden hour, which is the hour after sunrise or before sunset. This is when the sun is low in the sky, casting a warm, orange glow that can make your photos look stunning.
On the other hand, artificial lighting can be harsh and unflattering, but it can also be used creatively to produce stunning results. If you’re taking photos indoors or in low-light conditions, you can use artificial lighting to your advantage. You can use lamps, candles, or even a flashlight to create interesting shadows and highlights in your photos.
Controlling Exposure and Brightness
Exposure and brightness are two critical factors in photography that can make or break your photos. Exposure refers to the amount of light that enters the camera, while brightness refers to the level of lightness or darkness in a photo. Most smartphones have exposure and brightness controls that you can use to adjust these factors.
To control exposure, you can tap on the screen where you want to focus, and the camera will adjust the exposure accordingly. You can also use the exposure slider to manually adjust the exposure. To control brightness, you can use the brightness slider to adjust the level of brightness in your photos.
Another way to control exposure and brightness is to use the HDR (High Dynamic Range) mode on your smartphone. This mode takes several photos at different exposures and combines them into one photo, resulting in a well-exposed and balanced image.
Conclusion
Understanding how to use natural and artificial lighting and how to control exposure and brightness can help you take stunning photos with your smartphone. Experiment with different lighting conditions and settings to find what works best for you and your style of photography.

Editing Your Photos
Editing your photos can make a world of difference in the final product. Here are some popular editing apps and basic editing techniques:
Popular Editing Apps
There are a plethora of editing apps available for both iOS and Android devices. Some of the most popular include:
- Adobe Lightroom: This app is free to download and offers a wide range of editing tools, including exposure, color, and detail adjustments.
- VSCO: VSCO offers a variety of preset filters and editing tools, making it a popular choice for both beginners and professionals.
- Snapseed: This app offers a range of editing tools, including selective adjustments and a healing tool for removing unwanted objects.
- Facetune: While primarily used for portrait editing, Facetune offers a range of tools for smoothing skin, whitening teeth, and removing blemishes.
Basic Editing Techniques
While the tools and options may vary depending on the app, there are some basic editing techniques that can be applied to almost any photo:
- Crop and Straighten: Use the crop tool to remove any unwanted elements and straighten the photo if necessary.
- Brightness and Contrast: Adjust the brightness and contrast to bring out details and create a more visually appealing image.
- Color Adjustments: Adjust the saturation, temperature, and tint to create a more vibrant or muted color palette.
- Sharpening: Use the sharpening tool to enhance details and create a crisper image.
- Noise Reduction: Use the noise reduction tool to remove any grain or noise from the image.
Experiment with different editing techniques and find what works best for your style and the specific photo you are editing. Remember to not overdo it and keep the final product looking natural and visually appealing.
Tips and Tricks for Better Smartphone Photography
Smartphone photography has come a long way and with the right techniques, you can capture stunning photos that rival those taken with a professional camera. Here are some tips and tricks to help you take better smartphone photos:
Using the Rule of Thirds
The rule of thirds is a basic principle of composition that involves dividing the image into thirds both horizontally and vertically. The idea is to place the subject at one of the intersection points to create a more visually appealing image. Most smartphones have a grid option that can be turned on in the camera settings to help you apply this technique.
Experimenting with Angles and Perspectives
Changing the angle or perspective of your shot can add depth and interest to your photos. Try shooting from a low angle or a high angle to capture a different perspective. You can also experiment with different angles by tilting your phone or using a tripod to stabilize your shots.
Capturing Action and Movement
Smartphone cameras are great for capturing action and movement, but it can be challenging to get a clear shot. To freeze the action, use burst mode or increase your shutter speed. Alternatively, you can create a sense of motion by intentionally blurring the moving subject.
Playing with Focus and Depth of Field
Most smartphone cameras have a feature that allows you to adjust the focus and depth of field of your photos. You can create a shallow depth of field by focusing on the subject and blurring the background, or you can keep everything in focus for a more detailed image. Experimenting with these settings can help you create more dynamic photos.
By using these tips and tricks, you can take your smartphone photography to the next level and capture stunning photos that you’ll be proud to share.