How to Take Better Photos with Your Smartphone: Tips for Smartphone Photography
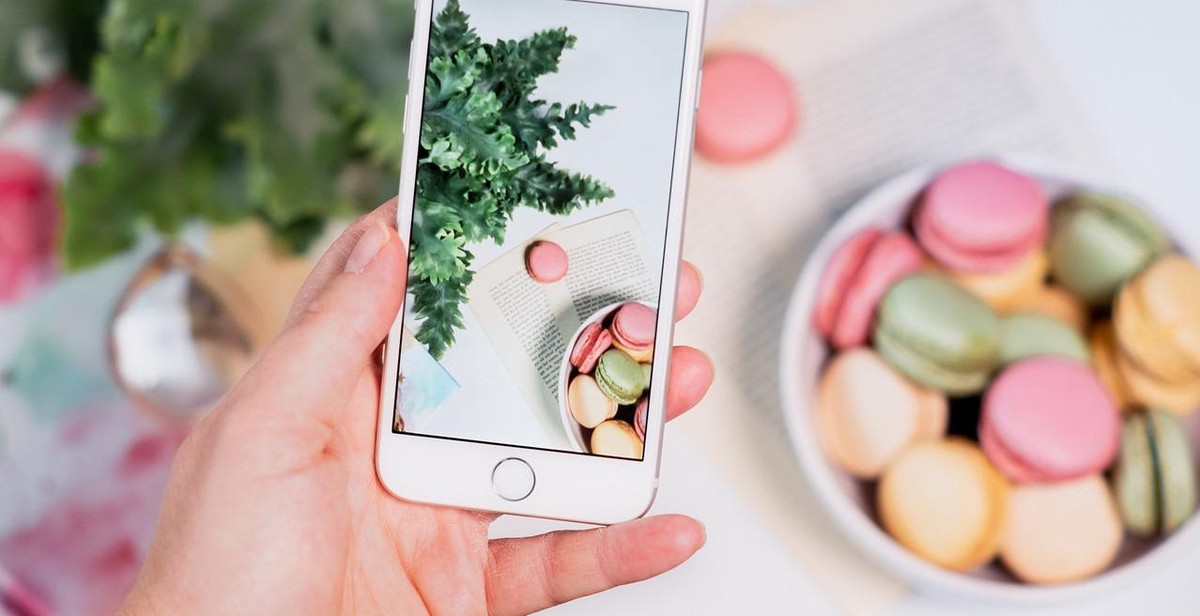
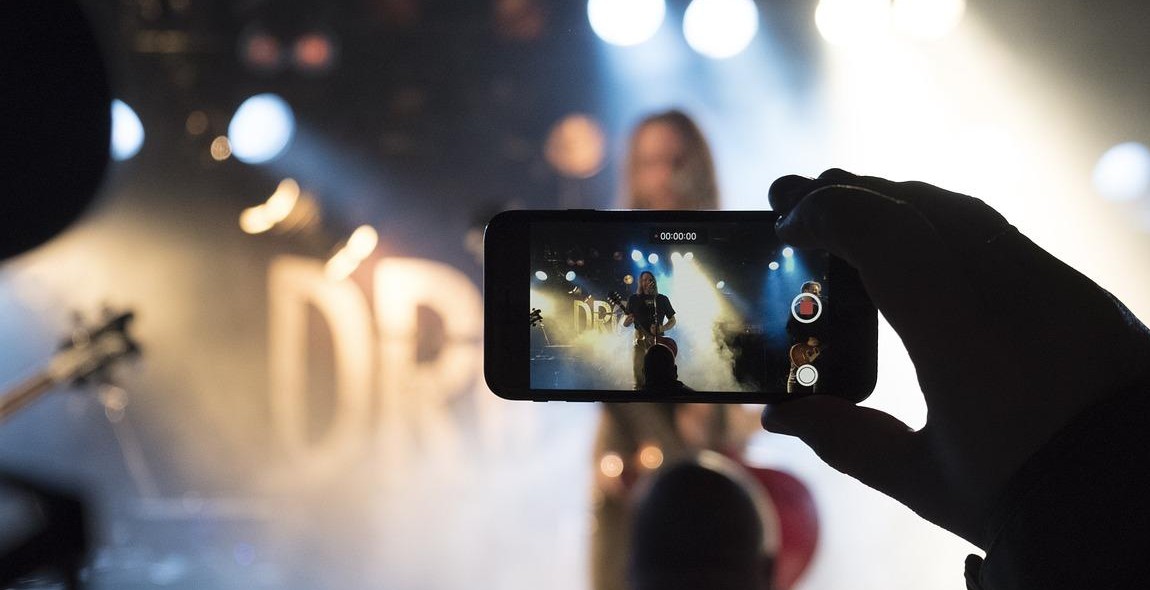
In today’s world, smartphones have become the go-to device for capturing photos and memories. With the rise of social media and the increasing demand for visual content, smartphone photography has become more important than ever. The convenience of having a high-quality camera in your pocket has made it easier for people to capture and share their experiences with others. But, with so many people taking photos with their smartphones, it’s important to stand out from the crowd.
Why Smartphone Photography?
Smartphone photography has come a long way over the years. With advancements in technology, the cameras on smartphones have become more powerful and feature-packed. Many smartphones now have multiple lenses, advanced software, and the ability to shoot in RAW format. This has made it possible for anyone to take professional-quality photos with just their smartphone.
Additionally, smartphones offer a level of convenience and accessibility that traditional cameras cannot match. You always have your phone with you, which means you can capture spontaneous moments and unexpected events without having to carry around a bulky camera. Plus, editing and sharing photos is easier than ever thanks to the countless photo editing apps available on smartphones.
- In this article, we’ll provide you with tips and tricks to help you take better photos with your smartphone.
- Whether you’re an amateur photographer looking to improve your skills or a social media influencer looking to up your content game, these tips will help you take your smartphone photography to the next level.

Understanding Your Smartphone Camera
Smartphone cameras have come a long way in recent years and can now produce high-quality images that rival those of professional cameras. However, to take great photos with your smartphone, you need to understand its settings and features. Here are some key elements to consider when using your smartphone camera:
Camera Settings
Most smartphone cameras come with a range of settings that allow you to adjust various aspects of your photos. Some of the most common settings include:
- Resolution: This setting determines the size and quality of your photos. Higher resolutions result in larger file sizes, but also clearer and more detailed images.
- Flash: The flash can be useful in low-light situations, but it can also create harsh lighting and unflattering shadows. Consider using natural light or a diffuser instead.
- ISO: This setting controls the camera’s sensitivity to light. Higher ISOs can produce brighter photos in low light, but can also result in grainy or noisy images.
Focus and Exposure
One of the most important aspects of photography is getting the right focus and exposure. Many smartphone cameras allow you to tap on the screen to select the area you want to focus on, and some also offer exposure compensation to adjust the brightness of your photos.
It’s important to experiment with these settings to find the right balance for your photos. For example, if you’re taking a portrait, you may want to focus on the subject’s face and adjust the exposure to avoid overexposure or underexposure.
HDR Mode
High Dynamic Range (HDR) mode is a feature that can help you capture more detail in photos with high contrast. When you take a photo in HDR mode, your smartphone camera takes multiple shots at different exposures and combines them to create a single image with a wider range of colors and tones.
While HDR mode can be useful in certain situations, such as landscape photography or indoor shots with bright windows, it’s not always necessary. It can also result in images that appear overprocessed or unnatural, so it’s important to use it selectively.
| Tip: | Experiment with different camera settings and modes to find the ones that work best for your style and subject matter. |
|---|

Composition Techniques for Smartphone Photography
Composition plays a crucial role in photography, and it is no different when it comes to smartphone photography. By applying some simple composition techniques, you can take your smartphone photography to the next level.
Rule of Thirds
The rule of thirds is a fundamental composition technique, and it involves dividing an image into thirds both horizontally and vertically. The intersection points of these lines are where you should place your subject. This technique makes the image more balanced and visually appealing. Most smartphones have a grid feature that can help you apply this technique.
Leading Lines
Leading lines are lines in an image that lead the viewer’s eye towards the subject. They can be straight or curved, and they can be found in various places, such as roads, bridges, or buildings. By using leading lines, you can create a sense of depth and add interest to the image.
Symmetry and Patterns
Symmetry and patterns can add a sense of harmony and balance to an image. They can be found in various places, such as buildings, nature, or even in everyday objects. By centering the subject or aligning it with the symmetry or pattern, you can create a visually pleasing image.
Framing
Framing involves using elements in the foreground to frame the subject. This technique can add depth and context to the image. You can use various objects, such as trees, arches, or windows, to frame the subject and create a more interesting image.
| Composition Techniques | Description |
|---|---|
| Rule of Thirds | Dividing an image into thirds both horizontally and vertically to place the subject at the intersection points. |
| Leading Lines | Using lines in the image to lead the viewer’s eye towards the subject. |
| Symmetry and Patterns | Using symmetry and patterns to create a sense of harmony and balance in the image. |
| Framing | Using objects in the foreground to frame the subject and add depth and context to the image. |
By applying these simple composition techniques, you can take better photos with your smartphone and create visually appealing images. Experiment with these techniques and see how they can enhance your photography skills.

Lighting Tips
Lighting is one of the most important factors to consider when taking photos with your smartphone. Here are some lighting tips to help you take better photos:
Natural Light
Natural light is the best type of light for photography. It’s free, it’s abundant, and it’s easy to work with. When taking photos outdoors, try to shoot during the golden hour, which is the hour after sunrise and the hour before sunset. During this time, the light is soft and warm, and it can create beautiful, dramatic effects.
If you’re shooting indoors, try to position your subject near a window. The natural light will create a soft, flattering glow that will make your photos look more natural and professional. Avoid shooting in direct sunlight, as this can create harsh shadows and make your subjects squint.
Artificial Light
If you’re shooting indoors or in low-light conditions, you’ll need to use artificial light. The built-in flash on your smartphone can be useful, but it can also create harsh shadows and wash out your subjects. Instead, try to use a lamp or another light source to illuminate your subject. You can also invest in a smartphone ring light, which will provide even, diffused light for your photos.
When using artificial light, be mindful of the color temperature. Different light sources have different color temperatures, which can affect the overall look of your photos. For example, incandescent bulbs have a warm, yellowish tone, while fluorescent bulbs have a cool, bluish tone. Try to match the color temperature of your light source to the environment you’re shooting in for the most natural-looking photos.
Avoiding Harsh Shadows
Harsh shadows can be a problem when shooting in direct sunlight or with artificial light. To avoid harsh shadows, try to position your subject in a shaded area or use a diffuser to soften the light. You can also try bouncing the light off a white surface, like a wall or a piece of paper, to create a softer, more diffused light.
Another way to avoid harsh shadows is to use the HDR (High Dynamic Range) mode on your smartphone. HDR mode takes multiple photos at different exposures and combines them into one photo, which can help to balance out the light and shadows in your photos.
| Natural Light | Artificial Light | Avoiding Harsh Shadows |
|---|---|---|
| Shoot during golden hour | Use a lamp or ring light | Position subject in a shaded area |
| Position subject near a window | Match color temperature | Use a diffuser |
| Avoid shooting in direct sunlight | Use HDR mode | Bounce light off a white surface |
Editing Your Photos
Once you’ve captured your photos, it’s time to edit them to make them look their best. Luckily, most smartphones come with basic editing tools that allow you to adjust brightness, contrast, saturation, and more. Here are some tips for using these tools:
Basic Editing Tools
The basic editing tools on your smartphone can help you make quick adjustments to your photos. Here are some of the most common tools:
- Brightness: Adjust the overall brightness of your photo.
- Contrast: Adjust the difference between light and dark areas of your photo.
- Saturation: Adjust the intensity of the colors in your photo.
- Sharpness: Adjust the clarity of your photo.
Using Filters
In addition to basic editing tools, many smartphones come with a variety of filters that you can apply to your photos. Filters can give your photos a different look and feel, and can be a great way to enhance the mood of your photos. Some popular filters include black and white, sepia, and vintage. When using filters, it’s important to remember that less is often more. Try to use filters sparingly so that your photos don’t look over-edited.
Cropping and Straightening
Cropping and straightening can help you improve the composition of your photos. Cropping allows you to remove unwanted elements from your photos, while straightening can help you fix photos that are crooked. When cropping, make sure to keep the rule of thirds in mind. This means that you should try to place the subject of your photo off-center, rather than in the center of the frame. When straightening, use the horizon or other straight lines in your photo as a guide.
| Tip | Description |
|---|---|
| Basic Editing Tools | Adjust brightness, contrast, saturation, and sharpness. |
| Using Filters | Apply filters to enhance the mood of your photos. |
| Cropping and Straightening | Improve composition by removing unwanted elements and straightening crooked photos. |
Conclusion
As a professional photographer, I can confidently say that smartphone photography has come a long way and can produce stunning results when done right. With the right techniques and tools, you can take your smartphone photography to the next level.
Firstly, always clean your lens and use natural lighting whenever possible to ensure the best quality photos. Secondly, don’t be afraid to experiment with different angles, compositions, and editing apps to create unique and visually appealing images.
Thirdly, invest in accessories such as a tripod, external lenses, and a remote shutter to expand your creative possibilities and capture better shots. Additionally, take advantage of the various camera settings on your smartphone, such as adjusting exposure and focus, to enhance your photos even further.
Lastly, practice makes perfect. Keep practicing and experimenting with your smartphone camera, and you’ll be surprised at how quickly you’ll improve.
- Clean your lens and use natural lighting
- Experiment with angles, compositions, and editing apps
- Invest in accessories such as a tripod, external lenses, and a remote shutter
- Take advantage of different camera settings on your smartphone
- Practice, practice, practice
With these tips and tricks, you’ll be well on your way to taking better photos with your smartphone. Remember, the best camera is the one you have with you, so make the most of it!
