
How to Sew a Custom-fit Dress: Beginner’s Guide to Dressmaking
Are you tired of never finding the perfect dress that fits you just right? Do you want to create a unique and personalized wardrobe? Learning how to sew a custom-fit dress is the perfect solution for you. Not only will you be able to create a dress that fits you like a glove, but you will also have the freedom to choose your own fabric, design, and style.
Why Sew a Custom-fit Dress?
When you sew your own dress, you have complete control over the fit. You can adjust the length, waist, bust, and hips to fit your body perfectly. No more settling for clothes that don’t fit quite right or having to pay for expensive alterations. Additionally, you can choose the fabric and design that you love, making your dress truly unique.
What You’ll Need
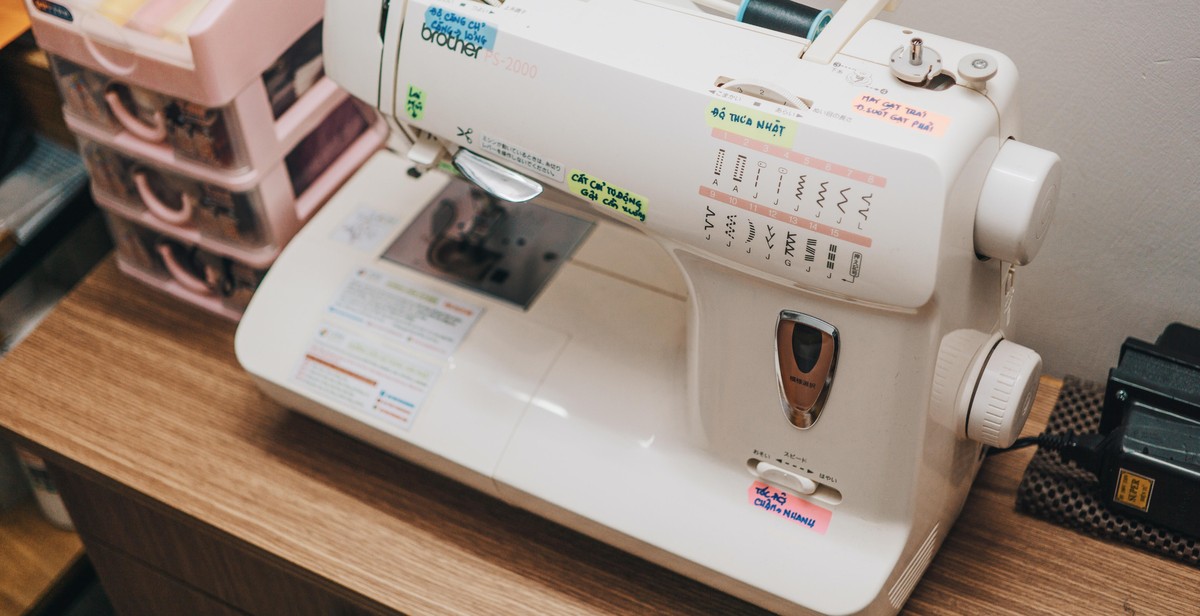
Before you start sewing, you will need a few essential items. First, you’ll need a sewing machine and basic sewing tools, such as scissors, pins, and a measuring tape. You’ll also need a pattern for your dress, which you can either purchase or create yourself. Finally, you’ll need fabric and any additional materials, such as zippers or buttons, depending on your design.
Now that you know why sewing a custom-fit dress is beneficial and what you’ll need to get started, it’s time to dive into the steps of dressmaking. Follow this beginner’s guide to create a dress that fits you perfectly.
Getting Started: Beginner’s Guide to Dressmaking
Learning how to sew a custom-fit dress can be a fun and rewarding experience. Whether you’re a beginner or have some sewing experience, this guide will help you create a dress that fits your body perfectly. To get started, you’ll need to choose a pattern and take accurate measurements.
Choosing a Pattern
The first step in creating a custom-fit dress is choosing a pattern. There are many patterns available online and in sewing stores, so it’s important to choose one that fits your style and skill level. If you’re a beginner, look for a pattern labeled “easy” or “beginner.” These patterns typically have simple designs and easy-to-follow instructions. If you’re more experienced, you can choose a more complex pattern with more design options.
When choosing a pattern, consider the fabric you’ll be using. Some patterns are designed for specific fabrics, such as cotton or silk, so make sure to choose a pattern that works well with your chosen fabric.
Taking Accurate Measurements
To create a custom-fit dress, you’ll need to take accurate measurements of your body. This will ensure that the dress fits you perfectly and is comfortable to wear. Here are the measurements you’ll need to take:
- Bust: Measure around the fullest part of your bust.
- Waist: Measure around the narrowest part of your waist.
- Hips: Measure around the widest part of your hips.
- Back length: Measure from the base of your neck to your waist.
- Bodice length: Measure from the base of your neck to your waist, but this time with the measuring tape going over your bust.
- Skirt length: Measure from your waist to where you want the hem of the skirt to fall.
Make sure to use a flexible measuring tape and keep it level as you take your measurements. Write down your measurements and refer to them when choosing the size of your pattern and cutting out your fabric.
Now that you’ve chosen a pattern and taken your measurements, you’re ready to start creating your custom-fit dress. Follow the instructions carefully and take your time to ensure a perfect fit. Happy sewing!
Cutting and Preparing the Fabric
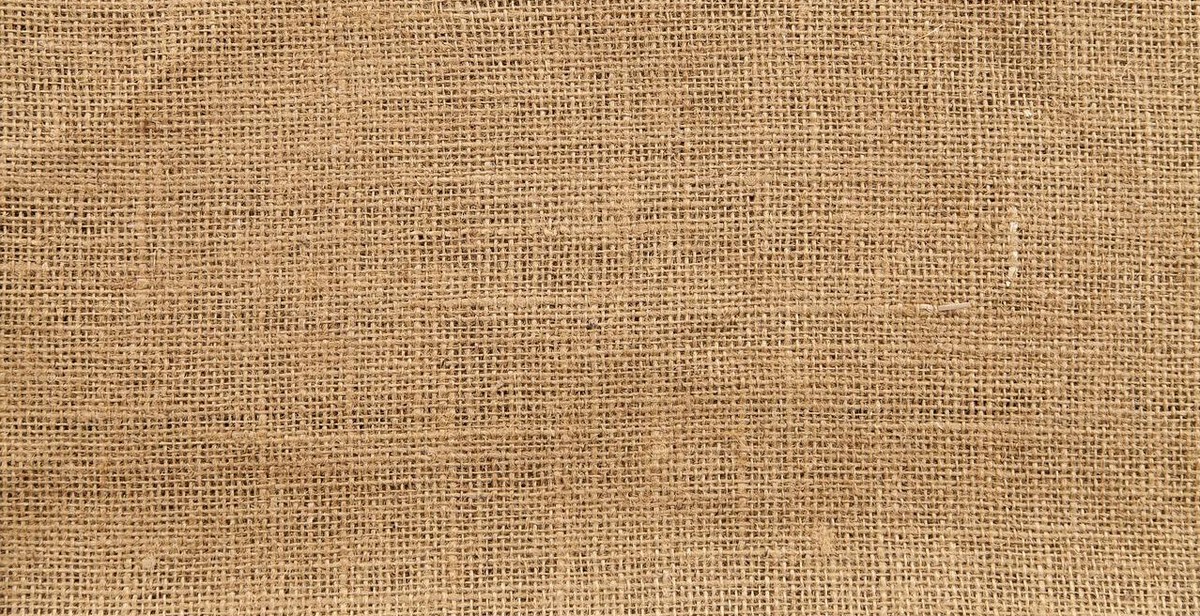
Before cutting the fabric, ensure that you have prepared the pattern correctly. The pattern should be pinned or taped to the fabric and should be aligned with the grainline of the fabric. The grainline is the direction of the threads running parallel to the selvage edge of the fabric. It is important to align the pattern with the grainline to ensure that the dress hangs correctly and does not twist or pull.
Preparing the Pattern
Preparing the pattern involves tracing the pattern pieces onto tracing paper or interfacing material. This step is important because it allows you to make adjustments to the pattern without damaging the original. It also ensures that the pattern pieces are the correct size and shape.
Once you have traced the pattern pieces, cut them out and pin or tape them to the fabric. You can use weights to hold the pattern pieces in place instead of pins if you prefer. Make sure that the pattern pieces are aligned with the grainline of the fabric before cutting.
Cutting the Fabric
When cutting the fabric, use sharp fabric scissors and cut carefully along the edges of the pattern pieces. It is important to cut accurately to ensure that the dress fits correctly. Cut one piece at a time and avoid cutting through multiple layers of fabric as this can result in uneven edges.
If your fabric has a nap or a directional print, make sure that all the pieces are cut in the same direction. This will ensure that the nap or print is consistent throughout the dress.
After cutting the fabric, mark any notches, darts, or other pattern markings on the fabric using tailor’s chalk or a fabric marker. These markings will help you to sew the pieces together accurately later on.
Once you have cut all the pieces, organize them in a logical order and label them if necessary. This will make it easier to sew the dress together later on.
In summary, preparing the pattern and cutting the fabric accurately are crucial steps in dressmaking. Take your time and be meticulous to ensure that the dress fits well and looks great.
Sewing the Dress
Sewing the Bodice
The bodice is the top part of the dress that covers the chest and upper back. It is important to take accurate measurements to ensure a perfect fit. Using a pattern, cut out the pieces of the bodice from the fabric. Pin the pieces together, right sides facing each other. Sew the seams together using a sewing machine or by hand. Press the seams open. Try on the bodice and make any necessary adjustments before moving on.
Adding the Skirt
The skirt is the bottom part of the dress that falls from the waist to the hemline. Cut out the pieces of the skirt from the fabric according to the pattern. Pin the skirt to the bodice, right sides facing each other. Sew the waistline together. Press the seam upwards. Hem the bottom of the skirt to the desired length. Try on the dress and make any necessary adjustments before moving on.
Finishing Touches
Once the dress is sewn together, it is time to add the finishing touches. This includes adding a zipper or buttons to the back of the dress for easy wear. You can also add embellishments such as lace, sequins or beads to make the dress unique. Lastly, give the dress a final press with an iron to smooth out any wrinkles and give it a polished look.
- Attach a zipper or buttons to the back of the dress for easy wear
- Add embellishments such as lace, sequins or beads to make the dress unique
- Give the dress a final press with an iron to smooth out any wrinkles and give it a polished look
With these steps, you can sew a custom-fit dress that fits perfectly and looks great. Take your time and enjoy the process of creating something beautiful with your own hands.

Final Thoughts
Congratulations! You have successfully completed your first custom-fit dress. Dressmaking is a challenging but rewarding craft that takes time and patience. In this guide, we have covered the basics of dressmaking, from choosing the right fabric to creating a custom-fit pattern.
Troubleshooting
If you encountered any issues during the dressmaking process, don’t worry. Dressmaking requires practice and patience, and it’s common to make mistakes along the way. If you made a mistake, try to fix it as soon as possible. Don’t be afraid to unpick stitches and start over if necessary.
- If your dress is too tight, try letting out the seams or adding a gusset.
- If your dress is too loose, take in the seams or add darts.
- If your hemline is uneven, measure and trim it to the desired length.
Customizing Your Dress
Now that you have mastered the basics of dressmaking, it’s time to get creative. Experiment with different fabrics, colors, and patterns to create a dress that reflects your personal style. You can also add embellishments, such as lace or embroidery, to make your dress even more unique.
Remember, dressmaking is a skill that takes time and practice to master. Don’t be discouraged if your first dress doesn’t turn out perfectly. Keep practicing, and soon you’ll be creating beautiful custom-fit dresses that you can be proud of.
| Tip: |
Keep a record of your dressmaking projects, including the fabric you used, the pattern, and any adjustments you made. This will help you to learn from your mistakes and improve your skills over time. |