
Introduction: DIY Hammock Stand
Are you tired of constantly searching for the perfect hammock stand? Look no further! Building your own hammock stand is a great way to save money and create a sturdy and personalized stand that fits your specific needs.
As a professional article writer and content creator, I have personally built multiple hammock stands and have gained extensive experience in the process. In this article, I will provide step-by-step instructions on how to make your own hammock stand using easily accessible materials and tools.
Why Build Your Own Hammock Stand?
- Customization: You can create a stand that perfectly fits the size and style of your hammock.
- Cost-effective: Building your own stand can save you money compared to purchasing a pre-made one.
- Durability: With proper construction and materials, a DIY hammock stand can be just as sturdy and long-lasting as a store-bought one.
- Satisfaction: There’s nothing quite like the feeling of using something you built with your own two hands.
In the following sections, I will provide a list of necessary materials and tools, as well as detailed instructions on how to construct your own hammock stand. Let’s get started!

Step 1: Gather Your Materials
Before you begin building your own hammock stand, it’s important to gather all the necessary materials. The two main materials you will need are lumber and hardware.
Lumber
The type and amount of lumber you will need will depend on the size and design of your hammock stand. Here is a general list of the lumber you will need:
- 4×4 posts for the legs
- 2×4 or 2×6 boards for the frame and braces
- 2×2 boards for the hammock hanging points
Make sure to choose high-quality lumber that is straight and free of knots or cracks. Pressure-treated lumber is a good option for outdoor use as it is resistant to rot and decay.
Hardware
The hardware you will need includes screws, bolts, nuts, and washers. Here is a list of the hardware you will need:
| Hardware | Quantity |
|---|---|
| 3/8-inch carriage bolts | 8 |
| 3/8-inch nuts | 16 |
| 3/8-inch washers | 16 |
| 2.5-inch wood screws | 32 |
| 3.5-inch wood screws | 16 |
Make sure to choose hardware that is strong enough to support the weight of the hammock and the person using it. Stainless steel hardware is a good option for outdoor use as it is resistant to rust and corrosion.
Once you have all the necessary materials, you’re ready to move on to the next step.
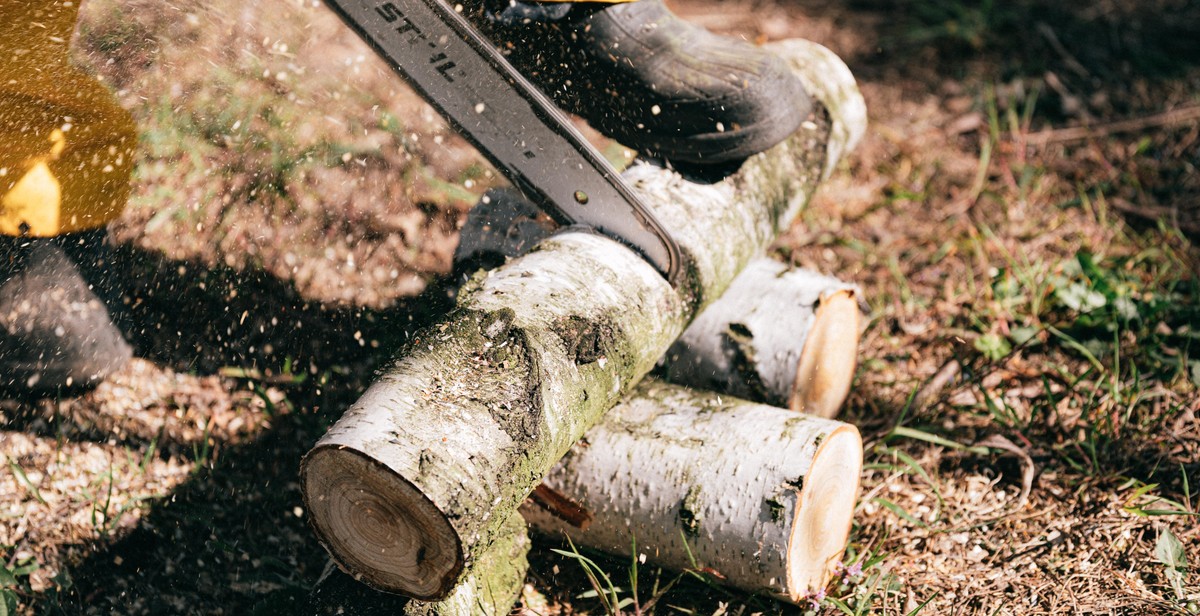
Step 2: Cut the Lumber
Now that you have your lumber, it’s time to cut it to size. This step is crucial, as it will determine the stability and strength of your hammock stand. Make sure to measure twice and cut once!
Measuring
Before you start cutting, you’ll need to measure out the pieces of lumber according to the instructions. Use a measuring tape and a pencil to mark where you need to cut. It’s important to be precise, so take your time and double-check your measurements.
Pro tip: If you’re using a circular saw, make sure the blade is set to the correct depth. This will prevent you from cutting too deep and damaging the wood.
Cutting
Once you have your measurements marked, it’s time to start cutting. You can use either a circular saw or a handsaw for this step. If you’re using a circular saw, use clamps to secure the wood to a workbench or sawhorses. This will prevent the wood from moving while you cut.
Pro tip: Wear safety goggles and ear protection while cutting. This will protect your eyes and ears from sawdust and noise.
After you’ve cut all the pieces, use sandpaper to smooth out any rough edges. This will prevent splinters and make the wood easier to work with in the next steps.
Now that you’ve cut your lumber to size, you’re ready to move on to the next step: drilling the holes.

Step 3: Drill the Holes
Now that you have marked the holes for the stand, it’s time to drill. Follow these steps to ensure your holes are drilled accurately and safely.
Marking the Holes
Firstly, double-check your measurements and markings before drilling. Use a measuring tape and a square to ensure the holes are in the correct position. If necessary, adjust your markings before drilling.
Next, use a center punch to create a small indentation in the center of each marked hole. This will help guide the drill bit and prevent it from wandering off-center.
Drilling
When drilling the holes, start with a small drill bit and gradually increase the size until you reach the desired diameter. Use a drill bit that is slightly smaller than the diameter of the bolts you will be using to ensure a tight fit.
It’s important to keep the drill bit perpendicular to the surface of the wood to ensure the holes are straight. If the holes are not straight, the bolts may not fit properly, and the stand may be unstable.
Be sure to wear safety glasses and a dust mask when drilling. The sawdust can be harmful if inhaled, and the drill bit can break if not handled properly.
Once all the holes are drilled, use a vacuum or brush to clean up any sawdust or debris around the holes.
Congratulations! You have successfully drilled the holes for your hammock stand. The next step is to assemble the stand.

Step 4: Assemble the Stand
Now that you have cut and sanded all of the pieces, it’s time to assemble the stand. Follow the steps below to join the pieces and add support:
Joining the Pieces
- Start by laying out the two base pieces parallel to each other, with the notches facing up.
- Place the two upright pieces in the notches at each end of the base pieces.
- Use wood screws to attach the upright pieces to the base pieces. Make sure they are secured tightly.
- Next, attach the two crossbars to the upright pieces. These will provide additional support and stability for the stand.
- Use wood screws to attach the crossbars to the upright pieces. Again, make sure they are secured tightly.
Adding Support
Once you have joined all of the pieces together, it’s time to add some additional support to the stand. Follow these steps:
- Measure and cut four pieces of wood to fit diagonally between the base pieces and the upright pieces. These will act as braces to keep the stand from wobbling.
- Attach the braces to the base pieces and the upright pieces using wood screws. Make sure they are secured tightly.
- Finally, add some additional support to the crossbars by attaching metal brackets to the inside of each upright piece. These brackets will prevent the crossbars from shifting or twisting.
Once you have completed these steps, your hammock stand should be sturdy and secure. Give it a test to make sure it can hold your weight before using it with your hammock.

Step 5: Finish the Stand
After all the hard work of building the stand, it’s time to give it a final touch. The final step is to sand, stain, or paint the stand to protect it from the elements and give it a polished look. Here’s how:
Sanding
Before staining or painting the stand, it’s essential to sand it down to get rid of any rough edges, splinters, or imperfections. You can use a sanding block or an electric sander to make the job easier and faster. Start with a coarse grit sandpaper, and then move to a finer grit to smooth out the surface. Be sure to sand thoroughly, including all the hard-to-reach areas.
Staining or Painting
Once the stand is sanded, it’s time to apply a finish. You can choose to stain or paint the stand, depending on your preference. Staining the stand will bring out the natural beauty of the wood and protect it from the sun and rain. On the other hand, painting the stand will give it a colorful and vibrant look.
When applying the stain or paint, be sure to follow the manufacturer’s instructions carefully. Apply the finish in thin coats, allowing each coat to dry completely before applying the next one. If you’re staining the stand, use a brush or a cloth to apply the stain, and wipe off any excess with a clean cloth. If you’re painting the stand, use a paintbrush or a roller to apply the paint evenly.
Once the finish is dry, your hammock stand is ready to use. Congrats on building your very own sturdy and reliable hammock stand!

Conclusion
Building your own hammock stand can be a fun and rewarding DIY project that allows you to customize the stand to fit your specific needs and style. With the right tools, materials, and instructions, you can create a sturdy and durable stand that will provide years of relaxation and enjoyment.
Benefits of Making Your Own Hammock Stand
One of the biggest benefits of making your own hammock stand is the cost savings. Purchasing a pre-made stand can be expensive, but building your own can be done for a fraction of the cost. Additionally, you have the ability to customize the stand to fit your exact needs and style preferences.
Another benefit is the sense of accomplishment that comes with completing a DIY project. Building your own hammock stand can be a challenging but rewarding task that allows you to learn new skills and gain confidence in your abilities.
Final Thoughts
Building a hammock stand is a great project for anyone who enjoys DIY projects and wants to create a customized and functional piece of furniture. By following these instructions and using quality materials, you can create a stand that will provide years of relaxation and enjoyment.
Remember to always prioritize safety when working with tools and materials, and to take your time to ensure that each step is completed correctly. With patience and persistence, you can create a beautiful and functional hammock stand that will be the envy of all your friends and family.