How to Edit and Enhance Travel Photography: Showcasing Your Adventures
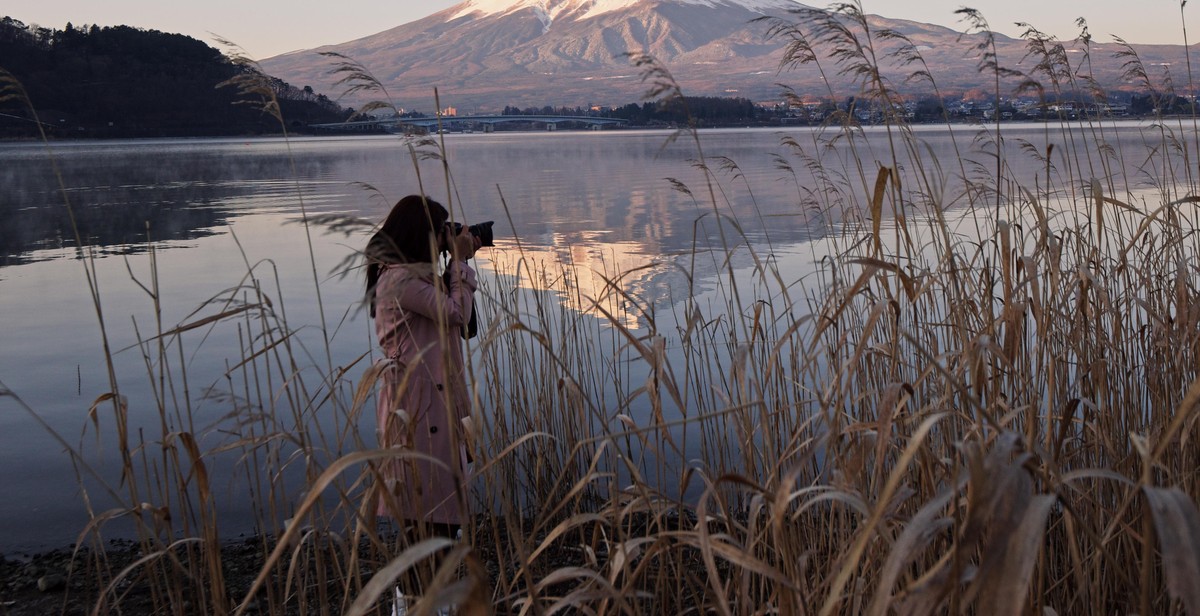
Travel photography is a unique and exciting genre that allows photographers to capture the beauty and diversity of the world around them. However, capturing stunning travel photos is just the first step in the process. To truly showcase your adventures and make your photos stand out, you need to know how to edit and enhance your images.
In this article, we will explore the key steps involved in editing and enhancing travel photography. From selecting the right software to adjusting color and contrast, we will provide you with a comprehensive guide to taking your travel photos to the next level.
Why Edit and Enhance Your Travel Photography?
Editing and enhancing your travel photos can help you to create stunning images that truly capture the essence of your adventures. By adjusting elements such as color, contrast, and exposure, you can transform dull or mediocre photos into vibrant and eye-catching images that tell a story.
Additionally, editing your travel photos can help you to create a more cohesive and professional-looking portfolio. Whether you are a professional travel photographer or simply looking to showcase your adventures on social media, editing and enhancing your photos can help you to stand out from the crowd.
Choosing the Right Software
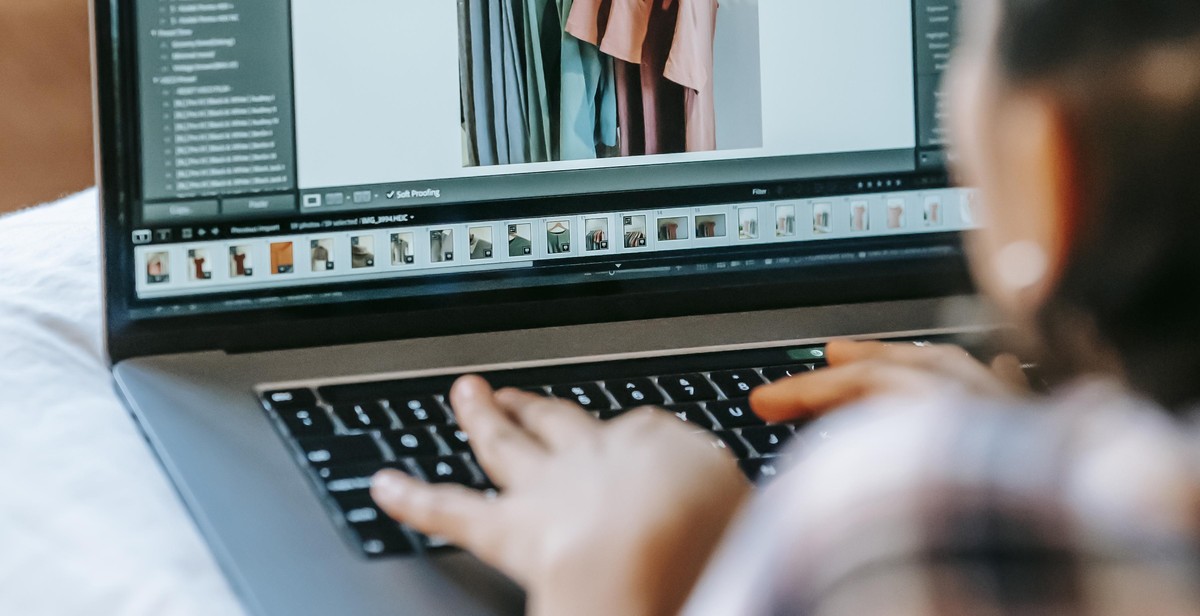
Before you begin editing your travel photos, it is important to choose the right software for the job. There are many different photo editing programs available, ranging from simple smartphone apps to complex professional software.
- Smartphone apps: If you are looking for a quick and easy way to edit your travel photos on the go, smartphone apps such as VSCO, Snapseed, and Lightroom Mobile are great options.
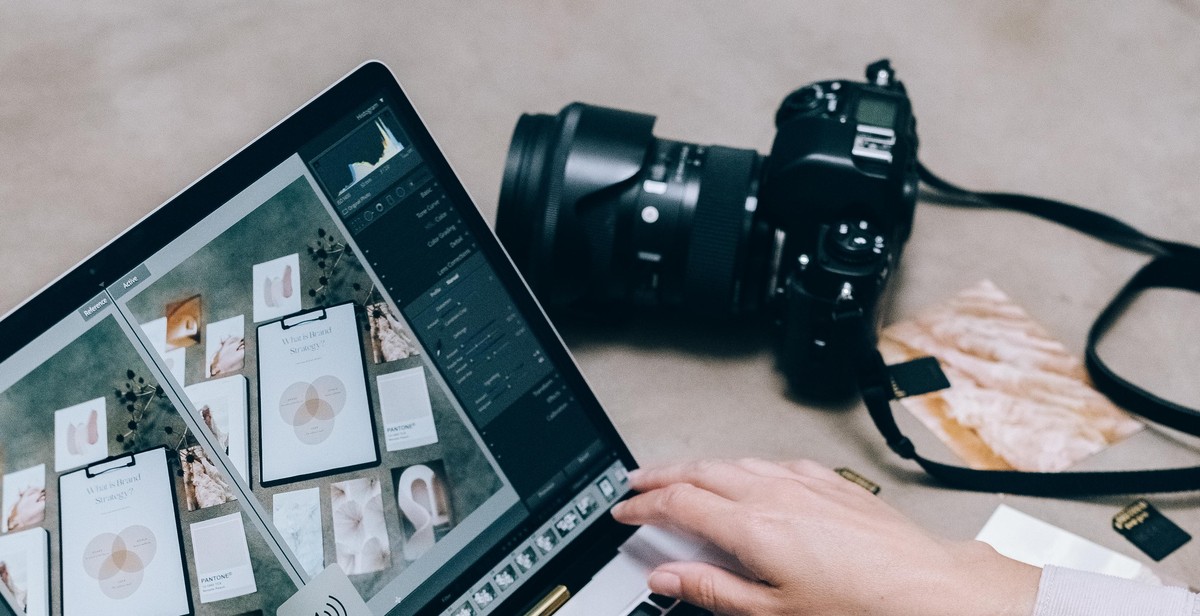
- Desktop software: For more advanced editing capabilities, desktop software such as Adobe Photoshop and Lightroom are popular choices among professional photographers.
Basic Editing Techniques
Once you have selected your editing software, it’s time to start editing your travel photos. Some basic editing techniques to consider include:
- Adjusting exposure: This involves brightening or darkening your photo to bring out the details and colors.
- Adjusting color and contrast: This can help to make your photos pop by enhancing the colors and making them more vibrant.
- Cropping: Cropping your photos can help to improve the composition and remove any distracting elements.
- Straightening and leveling: This involves adjusting the horizon line and ensuring that your photos are straight and level.
Advanced Editing Techniques
For more advanced editing techniques, consider experimenting with:
- Retouching: This involves removing blemishes, smoothing skin, and making other adjustments to improve the overall look of your photos.
- Adding filters: Filters can help to create a specific mood or aesthetic in your photos.
- Creating composites: Combining multiple images to create a single, stunning photo can help to tell a more compelling story.
By following these tips and techniques, you can take your travel photography to the next level and showcase your adventures in a truly unique and captivating way.

Choosing the Right Editing Software
Editing software is an essential tool for enhancing your travel photography. However, with so many options available, it can be challenging to choose the right one. Here are some factors to consider when selecting editing software:
Consider Your Budget and Skill Level
Before choosing editing software, it is essential to determine your budget and skill level. If you are a beginner, you may want to start with a simpler and more affordable option, such as Adobe Photoshop Elements or Lightroom. These tools offer basic editing features and are user-friendly.
If you have a higher budget and more experience, you may prefer a more advanced editing software such as Adobe Photoshop or Capture One. These tools offer a wide range of features and allow for more advanced editing and manipulation of images.
Comparing Popular Editing Software Options
There are several popular editing software options available, each with its own strengths and weaknesses:
| Software | Pros | Cons |
|---|---|---|
| Adobe Photoshop | Offers advanced editing features and manipulations. Industry standard. | Expensive and has a steep learning curve. |
| Adobe Lightroom | Easy to use with a user-friendly interface. Offers basic editing features. | Not as powerful as other editing software options. |
| Capture One | Offers advanced editing features and excellent color correction tools. | Expensive and has a steep learning curve. |
| Skylum Luminar | Offers a wide range of editing features, including AI-powered tools. | May not be as powerful as other editing software options. |
Ultimately, the right editing software for you will depend on your budget, skill level, and specific editing needs. Be sure to research and compare different options before making a final decision.

Basic Editing Techniques
Editing is an essential part of photography that helps to enhance the visual appeal of your images. Basic editing techniques can make a significant difference in transforming your travel photos from average to extraordinary. Here are some basic editing techniques that you can use to enhance your travel photography:
Adjusting Exposure and Contrast
Adjusting exposure and contrast can help to improve the overall brightness and contrast of your images. Overexposed or underexposed photos can be corrected by adjusting the exposure. Increasing the contrast can help to bring out the details in your photos and make them look more vivid. Most photo editing software, including Adobe Photoshop and Lightroom, have exposure and contrast adjustment tools that you can use to make these corrections.
Cropping and Straightening
Cropping and straightening can help to improve the composition of your photos. Cropping allows you to remove unwanted elements from your photos and focus on the main subject. Straightening helps to fix tilted horizons and make your photos look more balanced. These adjustments can be made using the crop and straighten tools in your photo editing software.
Color Correction
Color correction is another essential editing technique that can help to improve the color balance of your photos. Adjusting the white balance can help to remove any color casts and make your photos look more natural. Increasing saturation can make colors more vibrant, while decreasing saturation can create a more muted look. Most photo editing software has color correction tools that you can use to make these adjustments.
| Editing Technique | Software Tool |
|---|---|
| Adjusting Exposure and Contrast | Exposure and Contrast Adjustment Tool |
| Cropping and Straightening | Crop and Straighten Tool |
| Color Correction | White Balance and Saturation Adjustment Tool |
Using these basic editing techniques can help to enhance the visual appeal of your travel photos and showcase your adventures in the best possible way. Experiment with different editing tools and techniques to find the right balance for your photos.

Advanced Editing Techniques
Editing travel photography is all about bringing out the best in your images. In addition to basic editing tools like adjusting brightness, contrast, and saturation, there are a number of advanced techniques that can take your travel photos to the next level. Here are three advanced editing techniques to try:
Removing Unwanted Objects
Nothing ruins a great travel photo like an unwanted object in the frame. Whether it’s a stray tourist or a piece of litter, these distractions can detract from the beauty of your image. Fortunately, removing unwanted objects is easier than ever with modern photo editing software. Simply use the clone or healing brush tool to erase the object and replace it with a similar area of the image.
Creating Panoramas
Travel photography often involves capturing sweeping landscapes and stunning vistas. To really showcase these scenes, consider creating a panorama. Most photo editing software has a built-in panorama tool that allows you to stitch together multiple images into a single, wide-angle shot. The result is a breathtaking view that truly captures the essence of your travel experience.
Adding Filters and Effects
Filters and effects can add a unique touch to your travel photos. Whether you want to give your image a vintage feel or make it pop with bright colors, there are countless filters and effects to choose from. Some popular options include black and white, sepia, and HDR. Just be sure not to overdo it – too many filters can make your image look artificial.
| Filter/Effect | Description |
|---|---|
| Black and White | Turns your image into a classic black and white photo |
| Sepia | Gives your image a warm, vintage feel |
| HDR | Enhances the dynamic range of your image for a more detailed look |
With these advanced editing techniques, you can take your travel photography to the next level. Whether you’re removing unwanted objects, creating panoramas, or adding filters and effects, these tools can help you showcase your adventures in the best possible light.

Enhancing Specific Types of Travel Photos
Landscapes
Landscape photos are one of the most popular types of travel photography. To enhance your landscape photos, consider adjusting the following:
- Exposure: Adjust the exposure to make sure the photo is not too bright or too dark.
- Contrast: Increase the contrast to make the colors in your landscape photo pop.
- Saturation: Adjust the saturation to make the colors in your landscape photo more vibrant.
- Sharpness: Increase the sharpness to make sure the details in your landscape photo are clear and crisp.
- Crop: Consider cropping your landscape photo to create a more balanced composition.
Cityscapes
Cityscape photos can be challenging to capture, but with the right editing techniques, they can look stunning. To enhance your cityscape photos, consider adjusting the following:
- Exposure: Adjust the exposure to make sure the photo is not too bright or too dark.
- Contrast: Increase the contrast to make the colors in your cityscape photo pop.
- Saturation: Adjust the saturation to make the colors in your cityscape photo more vibrant.
- Straighten: Use the straighten tool to make sure the buildings in your cityscape photo are vertical.
- Remove distractions: Use the clone tool to remove any distractions in your cityscape photo.
Food and Drink
Food and drink photos are a great way to showcase the local cuisine of the places you visit. To enhance your food and drink photos, consider adjusting the following:
- Brightness: Adjust the brightness to make sure the photo is not too dark.
- Contrast: Increase the contrast to make the colors in your food and drink photo pop.
- Saturation: Adjust the saturation to make the colors in your food and drink photo more vibrant.
- Sharpness: Increase the sharpness to make sure the details in your food and drink photo are clear and crisp.
- Crop: Consider cropping your food and drink photo to create a more balanced composition.
- Remove distractions: Use the clone tool to remove any distractions in your food and drink photo.

Tips for Showcasing Your Adventures
Once you’ve edited and enhanced your travel photos, it’s time to showcase them to the world! Here are some tips for getting your adventures out there:
Creating a Cohesive Instagram Feed
- Stick to a consistent color palette: Choose a color scheme that reflects the mood and style of your photos and stick to it. This will create a cohesive look across your feed.
- Use editing apps: Use apps like VSCO or Lightroom to edit your photos and maintain a consistent look across your feed.
- Plan your grid: Use a planning app like UNUM to plan out your feed and make sure it flows well.
Designing a Photo Book
- Choose a theme: Decide on a theme for your photo book, whether it’s a specific trip or a collection of your favorite travel photos.
- Select your photos: Choose the best photos that tell the story of your adventures and fit with your theme.
- Design your book: Use a photo book design tool like Blurb or Shutterfly to design your book and add captions or text.
Submitting Your Photos to Stock Photography Websites
- Research stock photography websites: Look for reputable stock photography websites like Shutterstock or iStock that align with your photography style.
- Ensure your photos meet the requirements: Make sure your photos meet the technical and aesthetic requirements of the stock photography website.
- Submit your photos: Submit your photos and wait for approval. Once approved, your photos will be available for purchase and use by others.
| Tips: |
|---|
| Remember to always credit yourself and tag the locations you visited when posting your photos. |
