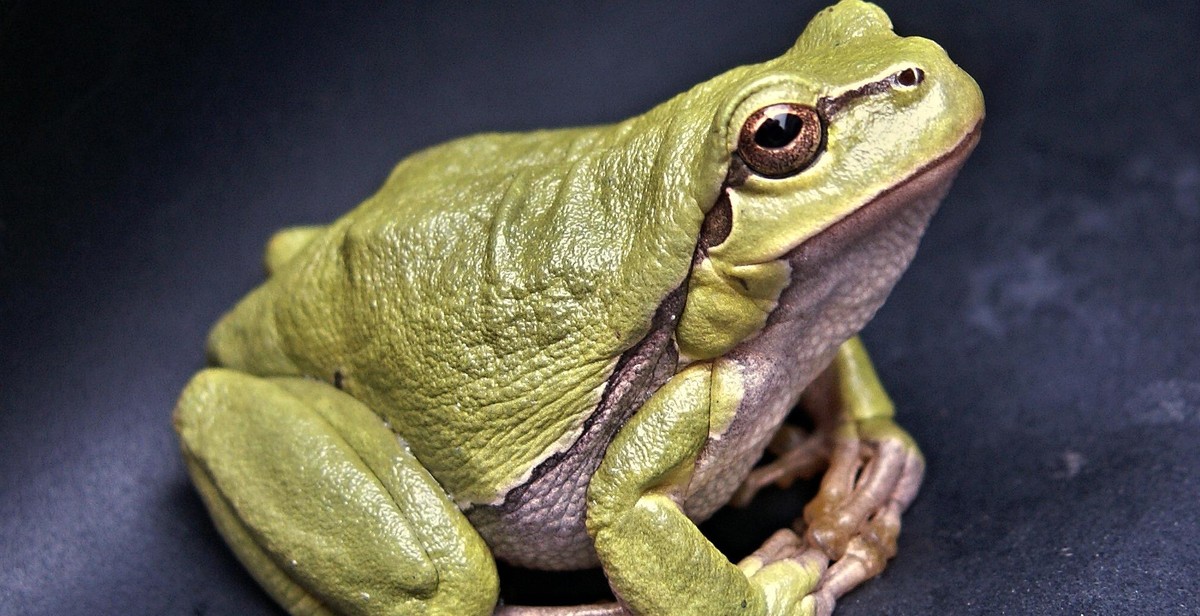
How to Crochet a Frog Amigurumi: Patterns and Instructions for Making Crocheted Frogs
Crocheting is an art that has been around for centuries. It is a fun and creative way to make beautiful and unique items. One of the most popular crocheted items is the amigurumi. Amigurumi is the Japanese art of crocheting small, stuffed animals and other cute creatures. Among the different amigurumi animals, frogs are a favorite for many people.
In this article, I will provide step-by-step instructions on how to crochet a frog amigurumi. I will also provide patterns for making different types of crocheted frogs, including tree frogs and poison dart frogs. Whether you are a beginner or an experienced crocheter, this article will provide you with all the information you need to make your own crocheted frogs.
Why Crochet a Frog Amigurumi?
Crocheting a frog amigurumi is not only a fun and creative activity, but it also has many benefits. Firstly, it is a great way to relieve stress and anxiety. Crocheting has been shown to have a calming effect on the mind and body, making it a perfect activity for those who need to relax and unwind.
Secondly, crocheted frogs make great gifts for children and adults alike. They are soft, cuddly, and cute, and can be customized to suit the recipient’s preferences. Finally, crocheting a frog amigurumi is a great way to improve your crocheting skills. It involves different techniques, such as increasing and decreasing stitches, and can help you develop your crocheting abilities.
What You Will Need
Before you start crocheting your frog amigurumi, you will need a few supplies. These include:
Crochet hook
Yarn in different colors
Fiberfill stuffing
Scissors
Yarn needle
Once you have gathered all the necessary supplies, you are ready to start crocheting your frog amigurumi. Follow the instructions and patterns provided in this article to create your own crocheted frog.
Materials Needed
If you’re looking to make your own crocheted frog amigurumi, you’ll need a few essential materials to get started. Here’s a list of everything you’ll need:
Yarn
When it comes to choosing the right yarn for your crocheted frog amigurumi, you’ll want to look for something that’s soft and easy to work with. Acrylic yarn is a popular choice for amigurumi projects, as it’s affordable and comes in a wide range of colors. You can also opt for cotton yarn, which is a bit more expensive but has a nice, natural feel.
Crochet Hook
You’ll need a crochet hook to create your frog amigurumi. The size of your hook will depend on the weight of your yarn and the desired size of your finished project. For this pattern, you’ll need a 3.5mm (E/4) crochet hook.
Stuffing
To give your frog amigurumi its shape, you’ll need stuffing. You can use any type of stuffing you like, but polyester fiberfill is a popular choice for amigurumi projects. You can find it at most craft stores or online.
Other Tools
In addition to yarn, a crochet hook, and stuffing, you’ll also need a few other tools to complete your crocheted frog amigurumi. These include:
Scissors
A yarn needle
A stitch marker
With these materials on hand, you’ll be ready to start crocheting your very own frog amigurumi!
Crochet Pattern for the Body
Creating the body of your crocheted frog amigurumi is a fun and easy process. Follow these simple instructions to get started:
Round 1
Start with a magic ring and chain 1.
Crochet 6 single crochet stitches into the ring, and slip stitch to the first stitch to close the round.
Round 2
Chain 1 and crochet 2 single crochet stitches into each stitch from the previous round.
Slip stitch to the first stitch to close the round (12 stitches).
Round 3
Chain 1 and *crochet 1 single crochet stitch into the first stitch from the previous round, then crochet 2 single crochet stitches into the next stitch.* Repeat from * to * around the circle.
Slip stitch to the first stitch to close the round (18 stitches).
Round 4
Chain 1 and *crochet 1 single crochet stitch into the first 2 stitches from the previous round, then crochet 2 single crochet stitches into the next stitch.* Repeat from * to * around the circle.
Slip stitch to the first stitch to close the round (24 stitches).
Round 5
Chain 1 and *crochet 1 single crochet stitch into the first 3 stitches from the previous round, then crochet 2 single crochet stitches into the next stitch.* Repeat from * to * around the circle.
Slip stitch to the first stitch to close the round (30 stitches).
Round 6
Chain 1 and *crochet 1 single crochet stitch into the first 4 stitches from the previous round, then crochet 2 single crochet stitches into the next stitch.* Repeat from * to * around the circle.
Slip stitch to the first stitch to close the round (36 stitches).
Round 7
Chain 1 and crochet 1 single crochet stitch into each stitch from the previous round.
Slip stitch to the first stitch to close the round (36 stitches).
Round 8
Chain 1 and crochet 1 single crochet stitch into each stitch from the previous round.
Slip stitch to the first stitch to close the round (36 stitches).
Round 9
Chain 1 and crochet 1 single crochet stitch into each stitch from the previous round.
Slip stitch to the first stitch to close the round (36 stitches).
Round 10
Stitch
Instructions
1-2
Crochet 1 single crochet stitch into the first 2 stitches from the previous round.
3-4
Crochet 1 half double crochet stitch into the next 2 stitches.
5-6
Crochet 1 double crochet stitch into the next 2 stitches.
7-8
Crochet 1 treble crochet stitch into the next 2 stitches.
9-10
Crochet 1 double crochet stitch into the next 2 stitches.
11-12
Crochet 1 half double crochet stitch into the next 2 stitches.
13-14
Crochet 1 single crochet stitch into the next 2 stitches.
Crochet Pattern for the Legs
Crocheting the legs of your frog amigurumi is a crucial step in bringing your cute little creature to life. Here’s a step-by-step guide on how to crochet the legs:
Making the Legs
Start by creating a magic ring and then chain 2 to begin.
Next, make 6 single crochets into the magic ring.
For the next round, increase each single crochet by making 2 single crochets in each stitch. This will give you 12 stitches.
For rounds 3-9, single crochet in each stitch around.
For round 10, decrease each stitch by making a single crochet decrease in each stitch. This will give you 6 stitches.
Fasten off and leave a long tail for sewing.
Attaching the Legs to the Body
Once you have both legs crocheted, it’s time to attach them to the body of your frog amigurumi. Here’s how:
Place the legs on the body where you want them to be and use a yarn needle to sew them in place.
Make sure they are symmetrical and in the right position before sewing them on permanently.
Use the long tail left from crocheting the legs to sew them to the body.
Make sure to knot the yarn securely when finished sewing.
Following these steps will ensure that your frog amigurumi has sturdy and adorable little legs to stand on!
Crochet Pattern for the Arms
For this frog amigurumi, we will be making the arms separately and then attaching them to the body.
Making the Arms
Here is the step-by-step process for making the arms:
Start with a magic ring and chain 1.
Single crochet 6 stitches into the magic ring and join with a slip stitch to the first single crochet.
Chain 1 and single crochet in each stitch around (6 stitches).
Repeat step 3 until the arm measures 2 inches in length.
Fasten off and leave a long tail for sewing.
Repeat this process to make the second arm.
Attaching the Arms to the Body
Here is how to attach the arms to the body:
Place the arms on either side of the frog’s body, about 1 inch below the head.
Using a yarn needle and the long tail left from the arms, sew the arms onto the body, making sure they are secure.
Fasten off and weave in any loose ends.
Now your frog amigurumi has arms! You can continue following the pattern instructions to complete the rest of the body and add the finishing touches.
Crochet Pattern for the Eyes
When it comes to crocheting an amigurumi, the eyes are one of the most important features. They bring the character to life and give it personality. Here is a simple crochet pattern for making the eyes for your crocheted frog:
Making the Eyes
Start with a magic circle.
Round 1: 6 single crochet (sc) into the magic circle. Join with a slip stitch (sl st) to the first sc. (6 stitches)
Round 2: Chain 1, 2 sc in each stitch around. Join with a sl st to the first sc. (12 stitches)
Round 3: Chain 1, *2 sc in the first stitch, 1 sc in the next stitch* repeat from * to * around. Join with a sl st to the first sc. (18 stitches)
Round 4: Chain 1, *2 sc in the first stitch, 1 sc in the next 2 stitches* repeat from * to * around. Join with a sl st to the first sc. (24 stitches)
Round 5: Chain 1, *2 sc in the first stitch, 1 sc in the next 3 stitches* repeat from * to * around. Join with a sl st to the first sc. (30 stitches)
Fasten off and leave a long tail for sewing.
Attaching the Eyes to the Body
Once you have made the eyes, it’s time to attach them to the body of the frog. Here are the steps:
Using a tapestry needle, thread the long tail of one eye through the center of the eye and tie a knot at the back.
Position the eye on the body where you want it to be and use the tail to sew it in place. Repeat with the other eye.
Once both eyes are securely attached, you can add the pupils using black yarn or embroidery floss.
Secure the pupils in place and weave in any loose ends.
With these simple instructions, you can now crochet the perfect eyes for your crocheted frog amigurumi.
Finishing Touches
Now that you have completed your crocheted frog amigurumi, it’s time to add the finishing touches.
Weaving in the Ends
First, you’ll want to weave in any loose ends from your crocheting. This will give your frog a clean and polished look. To do this, thread your yarn tail onto a tapestry needle and weave it in and out of the stitches on the backside of your work. Trim any excess yarn once you’ve woven it in enough to secure it.
Adding the Mouth
To give your frog some personality, you’ll want to add a mouth. Using black embroidery floss and a tapestry needle, sew a small straight stitch in the shape of a smile or a frown, depending on the expression you want to give your frog. Alternatively, you can use a small piece of felt or fabric glue to attach a pre-made mouth.
Thread a tapestry needle with black embroidery floss.
Insert the needle where you want the mouth to start and pull it through to the front side.
Make a small stitch to form the corner of the mouth, then make a few more stitches to complete the mouth shape.
Tie off the thread on the backside of your work and trim any excess.
Now your crocheted frog amigurumi is complete and ready to be enjoyed!
Conclusion
Crocheting a frog amigurumi is a fun and easy project that can be enjoyed by crocheters of all skill levels. With the right pattern and instructions, anyone can create a cute and cuddly crocheted frog that will bring joy to children and adults alike.
When starting your frog amigurumi project, it’s important to choose the right materials, including the type and color of yarn and the appropriate size crochet hook. Following the pattern and instructions carefully will also ensure that your frog turns out just the way you want it.
Whether you’re making a frog amigurumi as a gift or for yourself, there are endless possibilities for customizing your creation. From adding accessories like hats and scarves to experimenting with different colors and patterns, the sky is the limit when it comes to making your frog amigurumi unique.
Don’t be afraid to experiment and try new things when crocheting your frog amigurumi. With a little bit of creativity and imagination, you can create a truly one-of-a-kind crocheted frog that you’ll be proud to display or give as a gift.
Happy Crocheting!
Thank you for reading this article on how to crochet a frog amigurumi. We hope that it has provided you with the information and inspiration you need to get started on your own frog amigurumi project. If you have any questions or comments, please feel free to leave them below.