
How to Build a DIY Vertical Wall Planter using PVC Pipes
Vertical wall planters are a great way to add greenery and style to any space, whether indoors or outdoors. They can be expensive to buy, but with a little creativity and some basic DIY skills, you can easily make one yourself using PVC pipes. PVC pipes are lightweight, durable, and easy to work with, making them an ideal material for this project.
Materials Needed
- PVC pipes
- End caps
- Adhesive
- Drill
- Drill bits
- Saw
- Sandpaper
- Measuring tape
- Pencil
- Plants and soil
Step-by-Step Guide
- Measure and cut the PVC pipes into equal lengths, depending on the size of your planter.
- Sand the edges of the pipes to smoothen them out.
- Drill holes in the pipes, making sure they are evenly spaced and aligned.
- Attach the end caps to the pipes using adhesive.
- Arrange the pipes in a desired pattern and layout, making sure they fit together snugly.
- Fill the pipes with soil and plant your desired plants.
With these simple steps, you can create a beautiful and functional vertical wall planter using PVC pipes that will add a touch of nature to your space. So, go ahead and give it a try!
Materials Needed
If you’re looking for a fun and easy DIY project for your garden, a vertical wall planter made from PVC pipes is a great option. Here are the materials you’ll need:
| Material | Quantity |
|---|---|
| PVC pipes | 6-8 pieces, 4-6 inches in diameter and 5-6 feet in length |
| End caps | 6-8 pieces, matching the diameter of the PVC pipes |
| Hacksaw | 1 piece |
| Drill and drill bits | 1 set |
| Measuring tape | 1 piece |
| Sandpaper | 1 piece, medium grit |
| Spray paint | 1 can, any color of your choice |
| Screws and wall anchors | 8-12 pieces, matching the size of the PVC pipes |
| Potting soil and plants | enough to fill the PVC pipes and plant your desired plants |
Make sure to choose high-quality materials to ensure the longevity of your vertical wall planter. With these materials, you’re ready to get started on your DIY project!
Step-by-Step Instructions for Building a DIY Vertical Wall Planter using PVC Pipes
Step 1: Cut the PVC pipes
Start by measuring and cutting the PVC pipes to the desired length. You can use a saw or a PVC pipe cutter to make the cuts. Make sure to measure accurately to ensure that all pipes are of the same length.
Step 2: Sand the edges
After cutting the pipes, use sandpaper to smoothen the sharp edges. This will prevent any injuries during the installation process.
Step 3: Drill holes for drainage
Using a drill, make small holes at the bottom of each pipe to allow for drainage. This will prevent water from accumulating at the bottom of the pipes and causing damage to your plants.
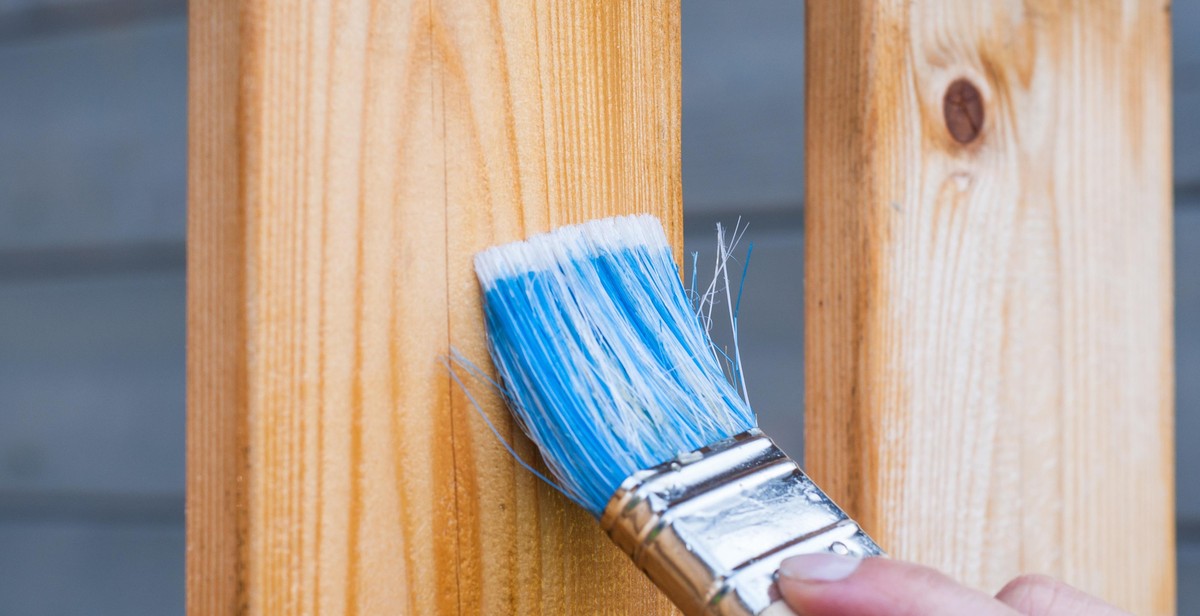
Step 4: Paint the pipes
If you want to add some color to your vertical planter, you can paint the PVC pipes with your preferred color. Let the paint dry completely before moving on to the next step.
Step 5: Attach the end caps
Attach the end caps to the PVC pipes using PVC glue. This will prevent soil from falling out of the bottom of the pipes and also give them a finished look.
Step 6: Install the pipes on the wall
Using screws and a drill, install the PVC pipes onto the wall. Make sure they are securely fastened to prevent any accidents. You can arrange the pipes in any pattern you prefer.
Step 7: Add potting soil and plants
Fill each pipe with potting soil and add your preferred plants. You can choose plants that thrive in vertical planters such as succulents, herbs, and small flowers. Water your plants regularly and watch them grow beautifully.
By following these simple steps, you can create a beautiful and functional vertical wall planter using PVC pipes. This DIY project is perfect for those who love gardening and want to add some greenery to their homes.

Tips and Tricks for Building a DIY Vertical Wall Planter using PVC Pipes
Building a vertical wall planter using PVC pipes is a fun and creative way to add greenery to your home or garden. However, to ensure that your vertical wall planter is successful, there are a few tips and tricks that you should keep in mind. Here are some of the most important ones:
Choose the Right Size Pipes
When building your vertical wall planter, be sure to choose the right size PVC pipes. The size you choose will depend on the type of plants you want to grow and the amount of space you have available. For example, if you want to grow small succulents, you can use smaller pipes, while if you want to grow larger plants, you will need larger pipes.
Use Different Colors for a Fun Look
One of the great things about using PVC pipes for your vertical wall planter is that you can choose from a variety of colors. Using different colors can create a fun and unique look for your planter. You can even paint the pipes yourself to match your home or garden decor.
Choose Plants that Do Well in Vertical Planters
Not all plants are suitable for growing in vertical planters. When choosing plants for your PVC pipe wall planter, choose plants that do well in this type of environment. Some examples of plants that do well in vertical planters include succulents, herbs, and trailing plants like ivy or pothos.
Make Sure the Wall Can Support the Weight
Before you start building your vertical wall planter, make sure that the wall you plan to attach it to can support the weight. PVC pipes can be heavy, especially when they are filled with soil and plants. Make sure to use appropriate anchors and screws to secure the planter to the wall.
Conclusion
By following these tips and tricks, you can create a beautiful and successful DIY vertical wall planter using PVC pipes. Whether you are looking to add some greenery to your home or garden, or simply want to get creative with your DIY projects, a vertical wall planter is a great way to do it.
Conclusion
Building a vertical wall planter using PVC pipes is an excellent way to grow plants in small spaces and add a touch of greenery to your home or office. With the right tools and materials, this DIY project is easy to complete in just a few hours.
When designing your planter, consider the size and spacing of your plants to ensure they have enough room to grow. Be sure to use a high-quality potting soil and provide adequate drainage to prevent root rot.
One of the benefits of using PVC pipes is their durability and resistance to weathering, making them a long-lasting option for your vertical planter. Additionally, PVC pipes are lightweight and easy to move, which is ideal for those who like to rearrange their living spaces frequently.
Overall, building a DIY vertical wall planter using PVC pipes is a fun and rewarding project that allows you to flex your creative muscles and showcase your green thumb. Plus, it’s an eco-friendly way to add some life to your living space.
- Make sure to follow all safety precautions when working with power tools and PVC pipes.
- Consider adding a drip irrigation system to your planter to make watering easier and more efficient.
- Experiment with different plant combinations and arrangements to create a unique and personalized planter.
With a little bit of patience and creativity, you can create a beautiful vertical wall planter that will be the envy of all your friends and neighbors.