
How to Build a DIY Vertical Bike Rack: Introduction
For many bike enthusiasts, storage can be a challenge, especially for those who live in small apartments or homes with limited space. This is where a DIY vertical bike rack comes in handy. A vertical bike rack is a great solution for storing your bike vertically on a wall, saving you valuable floor space.
While there are many pre-made bike racks available in the market, building a DIY vertical bike rack can be a fun and rewarding project. Not only will it save you money, but you can also customize it to fit your specific needs and preferences.
Why Build a DIY Vertical Bike Rack?
Building a DIY vertical bike rack has several advantages:
- Cost-effective: Building your own bike rack is much cheaper than buying a pre-made one.
- Customizable: You can design your bike rack to fit your specific bike and storage needs.
- Easy to build: With the right tools and materials, building a vertical bike rack is a straightforward and simple process.
- Space-saving: A vertical bike rack can save you valuable floor space and make your bike storage more efficient.
- Environmentally-friendly: By building your own bike rack, you are reducing waste and promoting sustainability.
In this article, we will provide step-by-step instructions on how to build your own DIY vertical bike rack, including a list of materials and tools needed. Let’s get started!
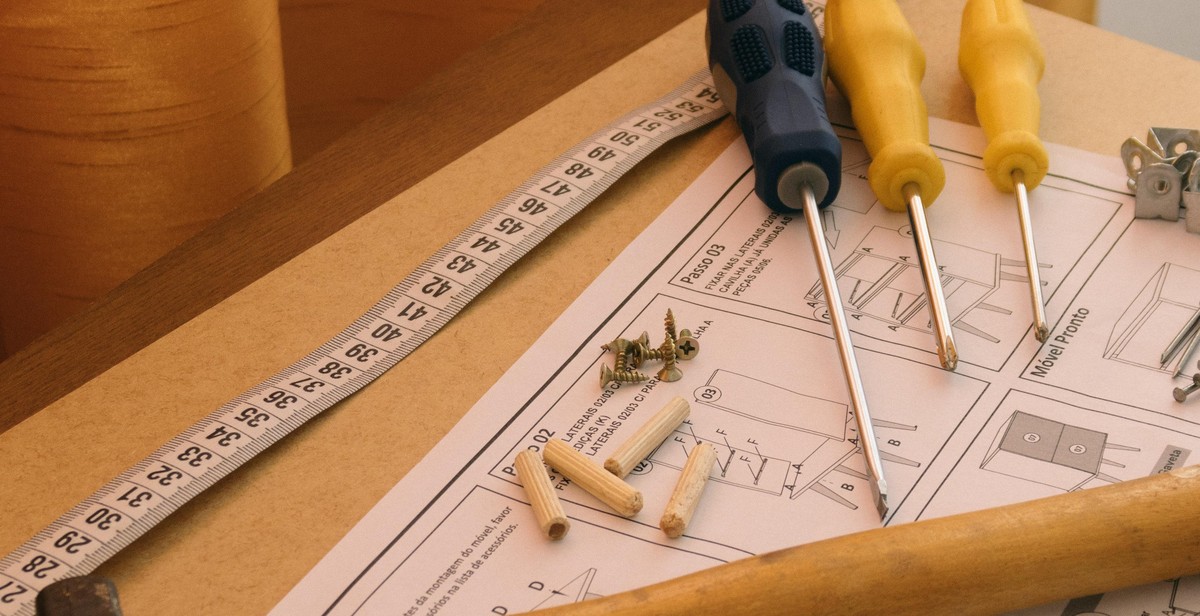
Step 1: Gather Materials
Before you start building your DIY vertical bike rack, it’s important to gather all the necessary materials. Here’s what you’ll need:
Materials:
- 2×4 lumber (8ft)
- 1×4 lumber (8ft)
- 1×2 lumber (8ft)
- Wood screws (3in)
- Wood glue
- Sandpaper (120 grit)
- Paint or stain (optional)
Tools:
- Table saw or circular saw
- Miter saw or handsaw
- Drill
- Drill bits
- Screwdriver bit
- Clamps
- Tape measure
- Pencil
- Safety glasses
- Dust mask
It’s important to have all the necessary materials and tools before you start building your bike rack. Make sure to measure and cut all wood pieces accurately, and use clamps to hold pieces in place while you work.
Additionally, if you plan on painting or staining your bike rack, make sure to do so after you’ve finished building it. Sand the wood smooth before applying any finish, and allow it to dry completely before using your new bike rack.
| Material | Quantity |
|---|---|
| 2×4 lumber (8ft) | 4 |
| 1×4 lumber (8ft) | 2 |
| 1×2 lumber (8ft) | 2 |
| Wood screws (3in) | 24 |
By gathering all the necessary materials and tools, you’ll be ready to start building your DIY vertical bike rack with ease.
Step 2: Measure and Cut the Wood
Before you begin cutting the wood, it is important to measure the dimensions of the bike rack to ensure that it will fit your bikes. Make sure to consider the width and height of the bikes, as well as the space you have available for the rack.
Once you have determined the dimensions, you can begin cutting the wood. The materials you will need include:
- 2×4 lumber
- 1×4 lumber
- Plywood
Follow these steps to cut the wood:
- Cut the 2×4 lumber into four 6-foot pieces using a saw.
- Cut the 1×4 lumber into four 2-foot pieces using a saw.
- Cut the plywood into two 2×4-foot pieces using a saw.
Make sure to measure carefully and use a straight edge to ensure accurate cuts.
| Material | Size | Quantity |
|---|---|---|
| 2×4 lumber | 6 feet | 4 |
| 1×4 lumber | 2 feet | 4 |
| Plywood | 2×4 feet | 2 |
After cutting the wood, it is important to sand any rough edges or splinters to prevent injury.
Now that you have cut the wood, you are ready to move on to the next step: assembling the bike rack.
Step 3: Sand and Paint the Wood
After cutting and assembling the wooden pieces, it’s time to sand and paint them to give the bike rack a professional finish. Here’s how to do it:
Sanding the Wood
Before painting, sanding the wood is crucial to make sure the surface is smooth and free of any rough spots or splinters. Follow these steps:
- Start with a coarse grit sandpaper (around 80 grit) to remove any roughness or unevenness on the surface of the wood.
- Gradually move to a finer grit sandpaper (around 120 grit) to smooth out the surface.
- Finish with an even finer grit sandpaper (around 220 grit) to create a smooth and polished surface.
- Use a tack cloth or a damp cloth to remove any dust or debris left on the surface after sanding.
Painting the Wood
Painting the wood not only gives it a polished look but also protects it from wear and tear. Here’s how to do it:
- Choose a paint that is suitable for wood, preferably an outdoor paint that can withstand weather conditions.
- Apply a primer coat to the wood before painting to ensure that the paint adheres well to the surface.
- Use a paintbrush to apply the paint evenly to the surface of the wood. You may want to apply two or three coats, depending on the paint’s thickness and the desired finish.
- Allow the paint to dry completely before handling the wood or attaching it to the bike rack.
Following these steps will ensure that your DIY vertical bike rack looks professional and is protected from wear and tear.
Step 4: Assemble the Bike Rack
Now that you have cut the wood pieces and drilled the necessary holes, it’s time to assemble the bike rack. This step involves attaching the brackets and wood pieces together to create a sturdy and functional bike rack.
Attaching the Brackets
Begin by attaching the brackets to the wall. Use a level to ensure that they are straight and even. Mark the location of the screw holes on the wall with a pencil. Drill pilot holes into the wall at the marked locations. Then, use screws and a screwdriver or drill to attach the brackets securely to the wall.
Tip:
- For added stability, use toggle bolts instead of screws if you are attaching the bike rack to drywall.
Attaching the Wood Pieces
Next, attach the wood pieces to the brackets. Insert the screws into the pre-drilled holes in the wood pieces and attach them to the brackets. Make sure that the screws are secure and the wood pieces are level. Repeat this step for all the wood pieces until the bike rack is fully assembled.
Tip:
- For a sleeker look, you can paint or stain the wood pieces to match your wall color or decor.
| Materials Needed: | Tools Needed: |
|---|---|
| Wood pieces | Drill |
| Brackets | Screws |
| Screws | Screwdriver or drill |
| Pencil | Level |
Once you have assembled the bike rack, it’s time to hang your bikes on it. Congratulations, you have successfully built a DIY vertical bike rack!

Step 5: Mount the Bike Rack to the Wall
Now that you have built your DIY vertical bike rack, it’s time to mount it to the wall. Follow these simple steps to ensure a secure and sturdy installation.
Locating Studs
The first step is to locate the studs in your wall where you will be attaching the bike rack. Using a stud finder, locate the studs and mark their location on the wall. It’s important to attach the bike rack to the studs for maximum support and stability.
Attaching the Bike Rack
Once you have located the studs, it’s time to attach the bike rack to the wall. Place the bike rack against the wall, making sure it is level and centered. Use a pencil to mark the location of the screw holes on the wall.
Next, drill pilot holes into the wall at the marked locations. This will make it easier to screw in the screws and prevent the wall from splitting. Use screws that are long enough to go through the bike rack and into the wall studs.
Attach the bike rack to the wall using the screws and a drill. Make sure the screws are tight and the bike rack is securely attached to the wall.
Finally, hang your bikes on the rack and enjoy your newly organized space!
| Materials Needed: | Tools Needed: |
|---|---|
| – Bike rack – Screws |
– Stud finder – Drill – Pencil |
Conclusion
Building a DIY vertical bike rack is a practical and cost-effective solution for storing your bikes at home. Not only does it help you save space, but it also keeps your bikes organized and easily accessible. In addition, constructing your own bike rack allows you to customize it according to your specific needs and preferences.
Benefits of Building a DIY Vertical Bike Rack
- Cost-effective
- Customizable
- Space-saving
- Organizes your bikes
- Easily accessible
By following the steps outlined in this article, you can build your own vertical bike rack using materials that are readily available at your local hardware store. With a little bit of time and effort, you can create a functional and stylish bike rack that will serve you well for years to come.
Remember to always prioritize safety when building your bike rack. Make sure that it is securely anchored to the wall and that it can support the weight of your bikes. With these precautions in mind, you can enjoy the benefits of having a DIY vertical bike rack in your home.
| Author: | Your Name |
| Date Published: | Month Day, Year |